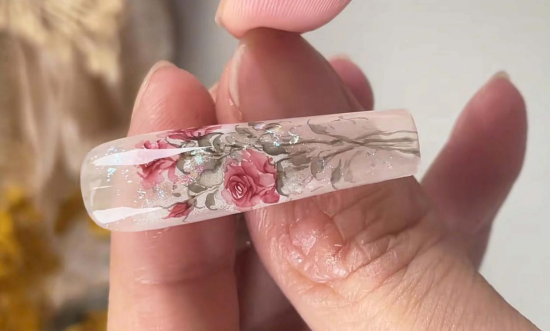
A must-learn for nail art lovers! Today, follow this tutorial and bring the romantic Rose Manor to your fingertips. From the foundation to the detailed carving, we’ll teach you step-by-step how to create a dreamy “Rose Manor” manicure. Every step hides a little secret for a more exquisite manicure!
Creating a Dreamy Base: Base Color and Foundation Layers
Gentle Base Color:
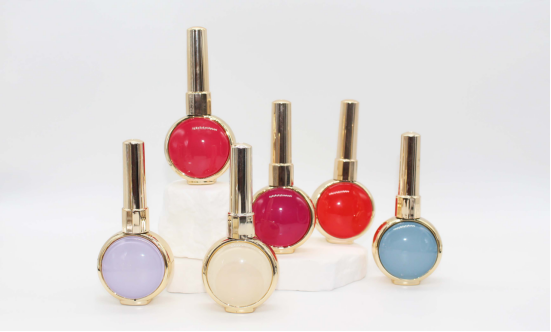
Apply an even coat of nude-pink nail polish (I used CHROMÉCLAIR Hema Free Gel Polish #13, which is non-toxic, healthy, and easy to apply, making it perfect for today’s tutorial) to establish a romantic tone and complement the flowers that will follow.
Firm Primer:
Recommended next step
Build the Nail Art Look Kit
Tutorial looks need more than a color bottle. Choose the color, art detail, transfer or sticker step, and a top coat as one look kit.
- Choose the main color or set.
- Add the art detail: sticker, transfer gel, magnet, or brush.
- Seal the finished look with top coat.
Apply base coat to enhance nail polish adhesion and durability.
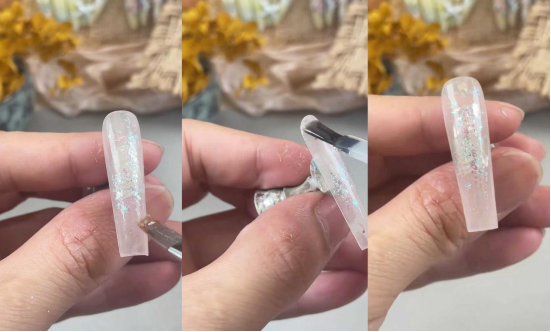
Hazy Gloss:
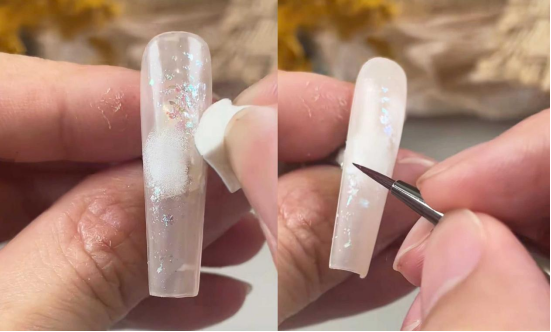
Sprinkle fine, iridescent brocade powder, apply evenly and lightly, then cure under a backlight for a luxurious, hazy sheen.
Preparing the Perfect “Canvas”: Leveling and Cleaning the Nail
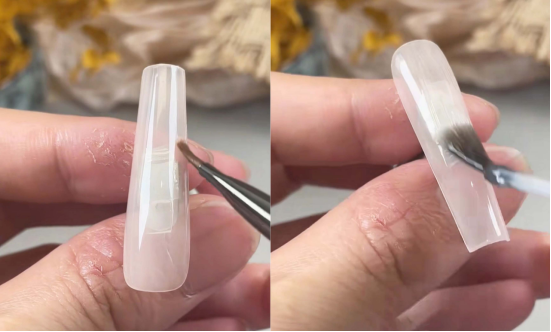
Smooth the Nail:
Apply a thin layer of reinforcing glue to fill in any uneven surfaces, ensuring smoother painting. Curing under a light.
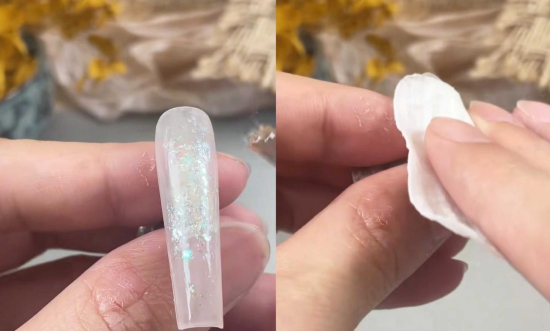
Remove Excessive Glue:
Use a cotton pad dipped in cleaning solution to thoroughly wipe away excess glue (a crucial step!). This ensures a clean, smooth surface for optimal paint adhesion.
Painting a Dynamic Rose: Key Steps for the Flower
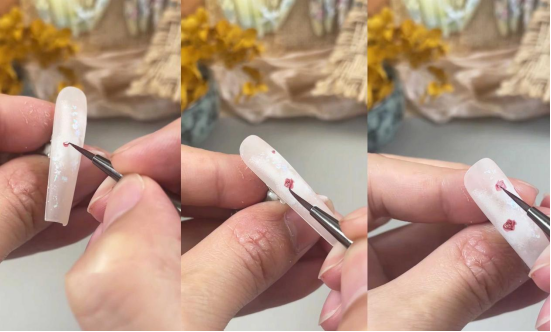
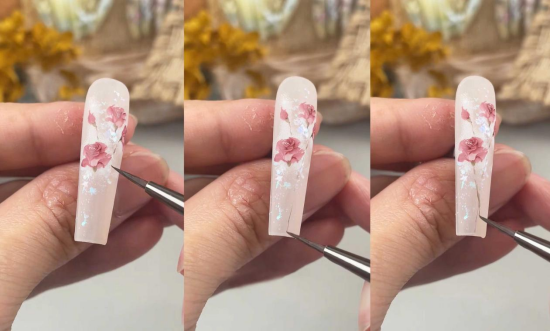
Applying Cheek White (Key to the Atmosphere):
Lightly pat the Cheek White paint onto the flower area to create a matte, cloud-like texture and enhance the atmosphere.
Outline the center of the flower:
Use dark rose color to draw the center of the flower in the “upper middle” position of the cheek white area with natural and flexible “6-shaped” brushstrokes (you can draw multiple points to simulate a flower cluster).
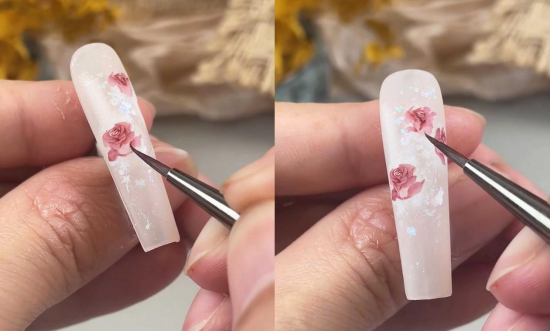
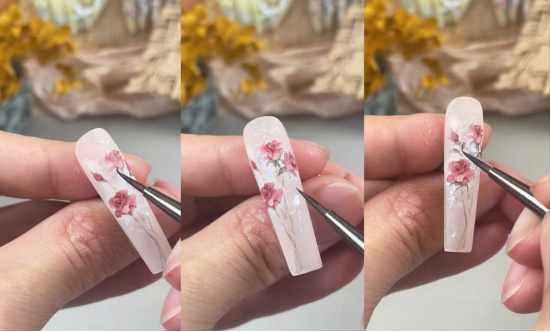
Stacking Petals:
Begin by creating a circle of 3-4 small petals around the center of each flower.Add petals to the left and right sides, creating a full, relaxed oval shape.

Create layers:
After filling the inside of the petals with color, add petals that curl outward to create a sense of blooming movement.
Rich scenes:
flower buds, branches and leaves
Decorate the flower buds:
Use rose color to draw a teardrop shape with a pointed top and a round bottom to simulate a bud about to bloom.
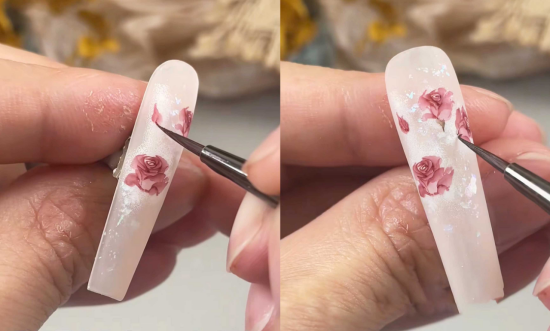
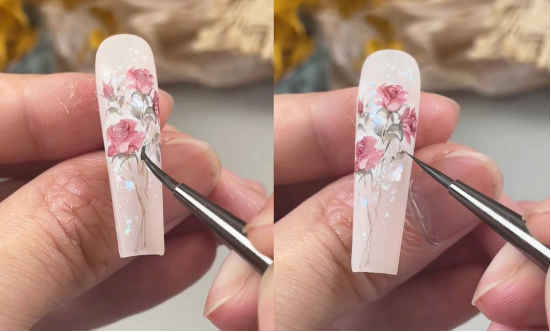
Outline the natural branches:
Connect the flower buds with slightly naturally curved lines as branches (avoid straight lines).
Add lively leaves:
Dot the flowers with small leaves below, elongating the leaf tips to create a lively look. Add leaves based on the density of the painting to create a sense of lushness.
Locking in a refined look: Detail optimization and overlay
Optimizing lines:
Use leaves to naturally “interrupt” or obscure monotonous branches, creating a more organic and integrated image.
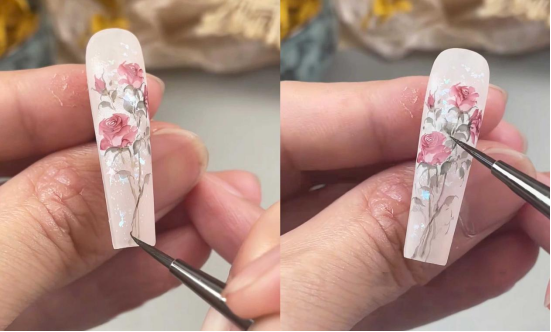
Blending (cheat!):
Randomly blend light-colored blocks into the gaps between the nails to create a sense of three-dimensionality and a hazy atmosphere.
Brighten the light and shadow:
Use light pink to lightly sweep the upper half of the picture to focus the visual center and simulate the transparent feeling of sunlight.
A durable sealer:
After the watercolors have dried, apply a reinforcing adhesive to protect all the hand-painted details.
Finally, apply a sealer to enhance gloss and durability. Curing under a lamp completely seals in your exquisite “Rose Manor” look!
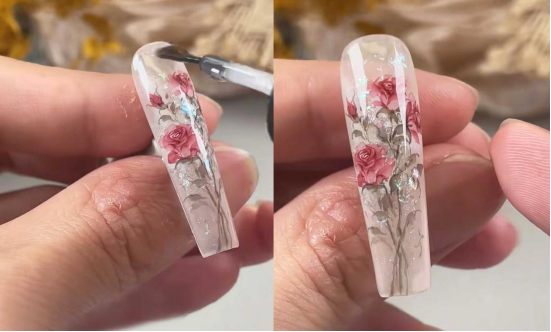
The result: a romantic manor lingering on your fingertips—a soft, misty base, vibrant roses, and natural branches, radiating tenderness. Follow these steps and you too can become a fingertip “manor designer”!
✨ Tips:
For fine lines, use a fine nail art brush.
For blending, choose a low-saturation color to avoid overpowering the main color.
In this tutorial, I used CHROMÉCLAIR gel polish. Their products are safe, hypoallergenic, and environmentally friendly, containing no harmful ingredients to reduce allergy risk (Hema-Free Gel Polish). They protect healthy nails and offer a wide variety of shades to suit mainstream aesthetics, ensuring a safe and secure experience for every customer.
Don’t worry if you encounter any problems! If you have any questions, the video tutorial with more intuitive step-by-step instructions is at the end of the article, so be sure to check it out!
Manicure enthusiasts, please subscribe. There will be tons of fun and easy-to-do manicure tutorials waiting to be shared with you. You can also leave a comment with your desired manicure, and if I see it, I’ll create a tutorial just for you.