Hallo allemaal, vandaag wil ik met jullie een tutorial delen voor een super getextureerde amber goudfolie blauwe en groene lijn nail art! Deze nail art is visueel prachtig en gelaagd, maar het is eigenlijk heel gemakkelijk om te gebruiken, zelfs beginners kunnen het gemakkelijk onder de knie krijgen. Volg nu samen de stappen.

Stap 1: Grondverf en goudfolie
- Breng eerst een laag basislaag op je nagels. Plaats ze na het drogen onder een UV/LED-lamp. Deze stap beschermt de nagels en zorgt ervoor dat de nagellak beter hecht.
- Nadat de basislaag is opgedroogd, breng je een lichte amberkleurige gelpolish aan (ik gebruikte CHROMÉCLAIR’s Hema-vrije gelpolish SR-17, which has a high-quality, fluid, and is non-toxic and environmentally friendly). Don’t try to apply it too evenly. Use a brush to rub the polish across your nails a few times to create a natural texture. Then place them under a UV/LED light to dry.
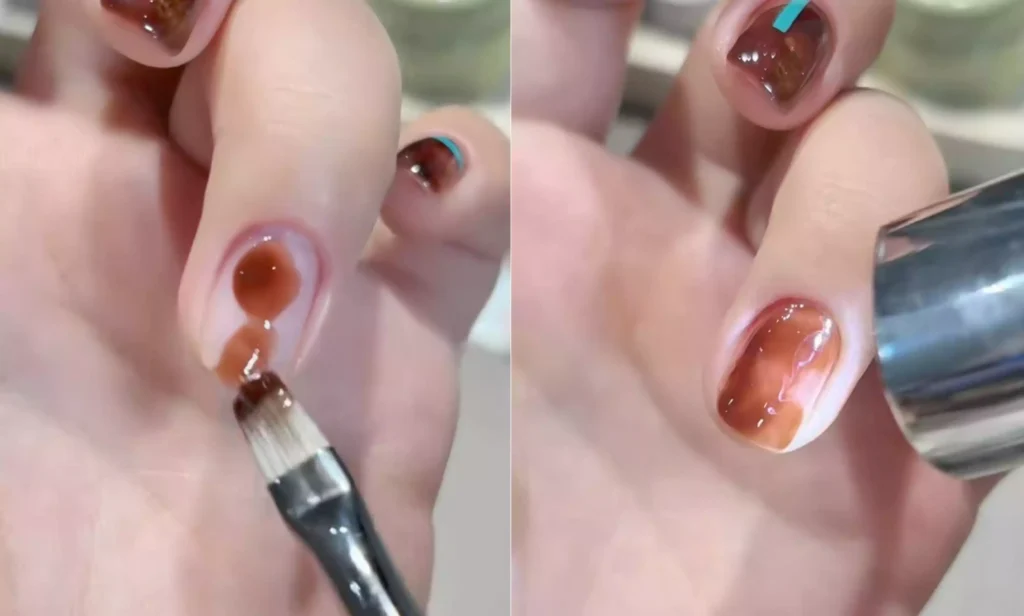
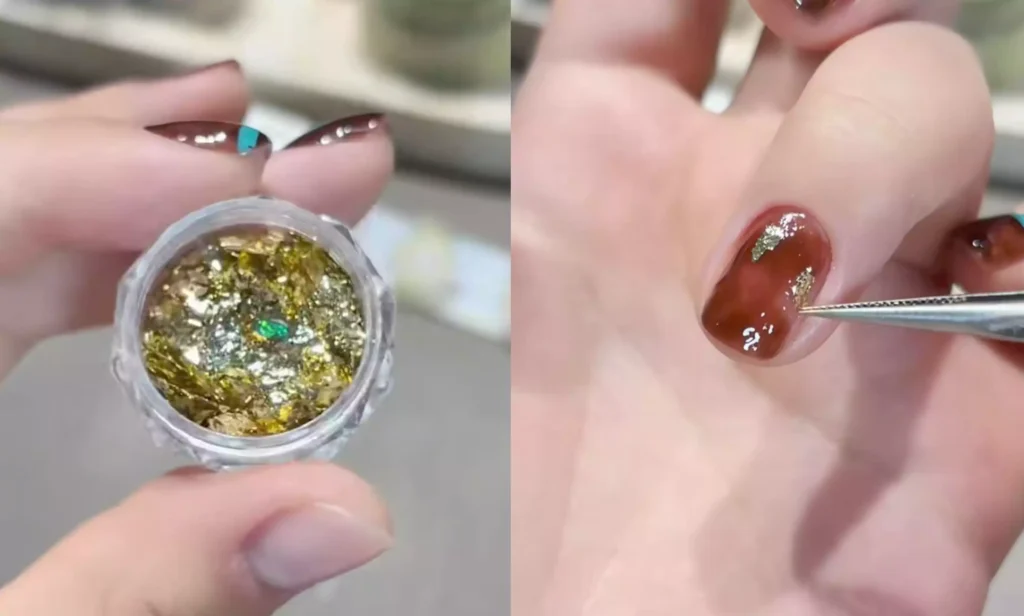
-Nadat de lichte amberkleurige lijm is opgedroogd, gebruik je de overgebleven lijm op het nageloppervlak om een geschikte hoeveelheid goudfolie te nemen en deze voorzichtig op de nagel te plakken. Je kunt de verdeling van de goudfolie aanpassen aan je voorkeur om de nagel helderder te maken.
Recommended next step
Build the Nail Art Look Kit
Tutorial looks need more than a color bottle. Choose the color, art detail, transfer or sticker step, and a top coat as one look kit.
- Choose the main color or set.
- Add the art detail: sticker, transfer gel, magnet, or brush.
- Seal the finished look with top coat.
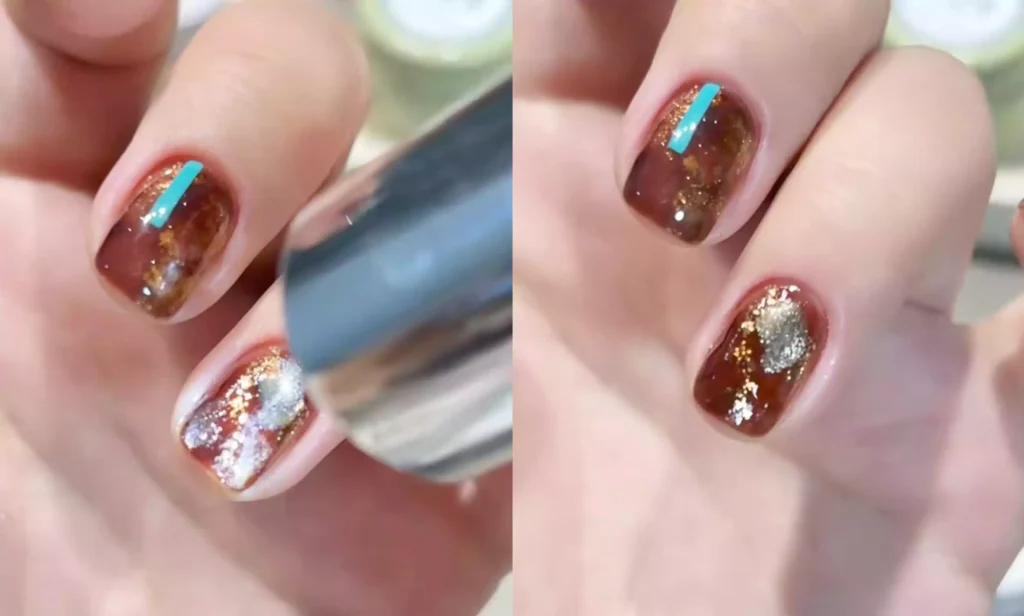
Step 2: Layering Colors and Creating a Cat’s Eye Effect
– After applying the gold leaf, apply a dark amber polish to the nails, focusing on covering the gold leaf to create a gradient effect. After application, dry under a UV/LED light.
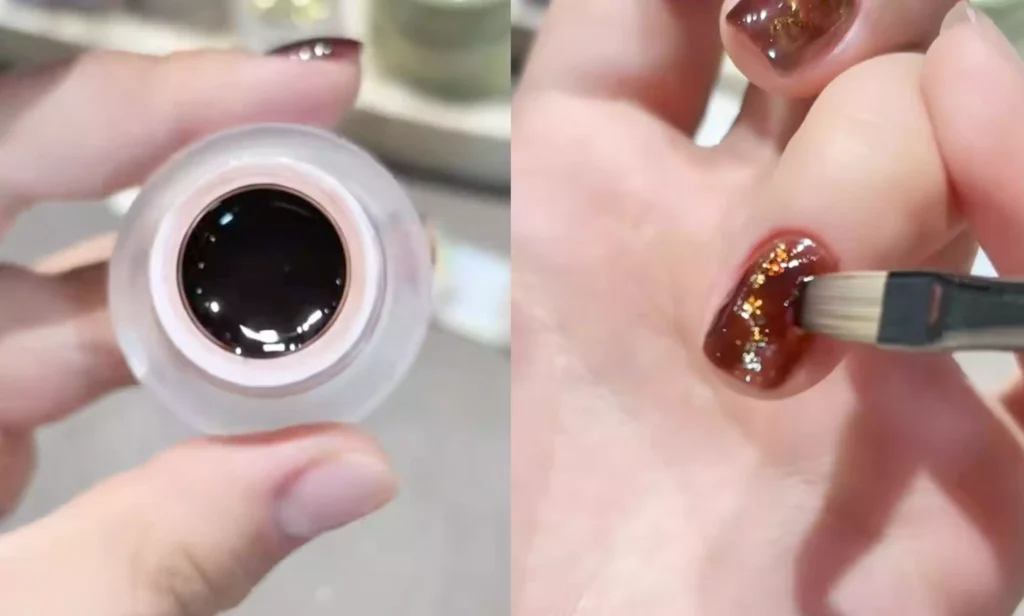
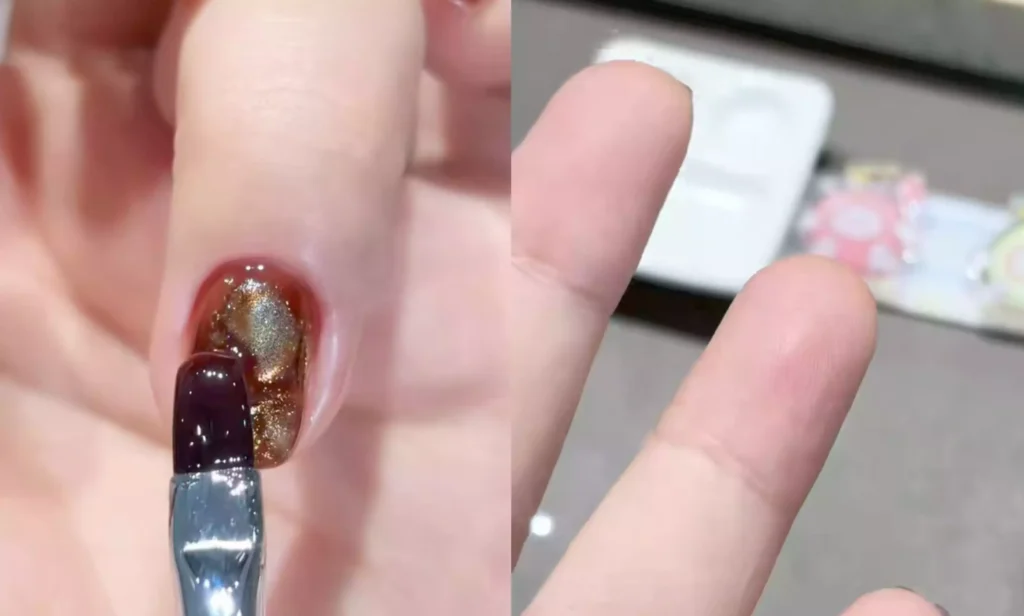
– After the dark amber gel has dried, apply a layer of gold gelpolish voor kattenogen (CE-07) en gebruik dan een magneet om zachtjes over het nageloppervlak te bewegen om een duidelijk cat-eye effect te creëren. Als je tevreden bent met het effect, leg je het onder een UV/LED-lamp om te drogen.
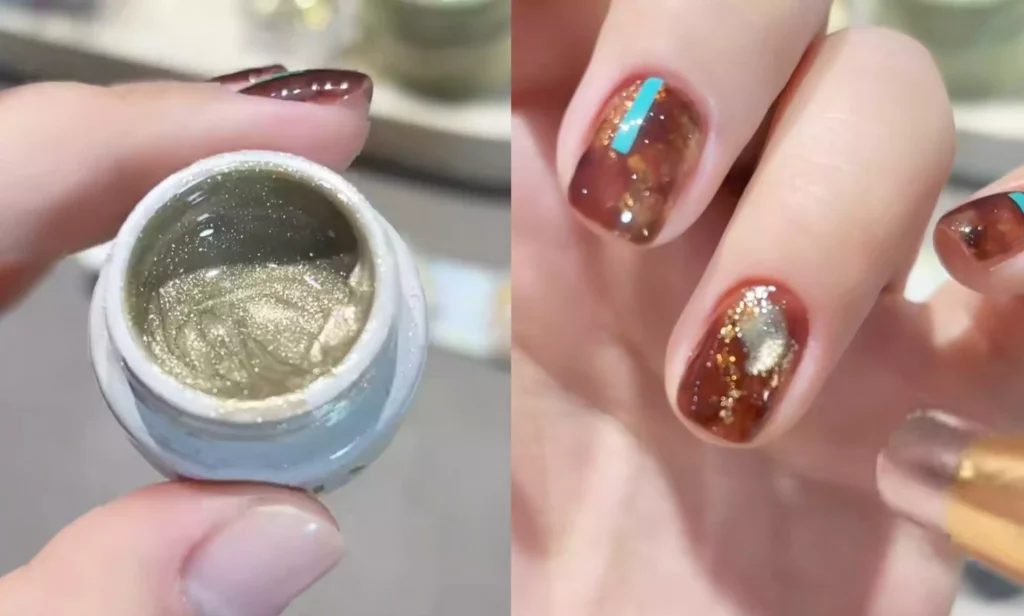
– After drying, take a small amount of amber glue and gently blend the edges of the nails to make the color transition more natural, then put it under UV/LED to dry again.
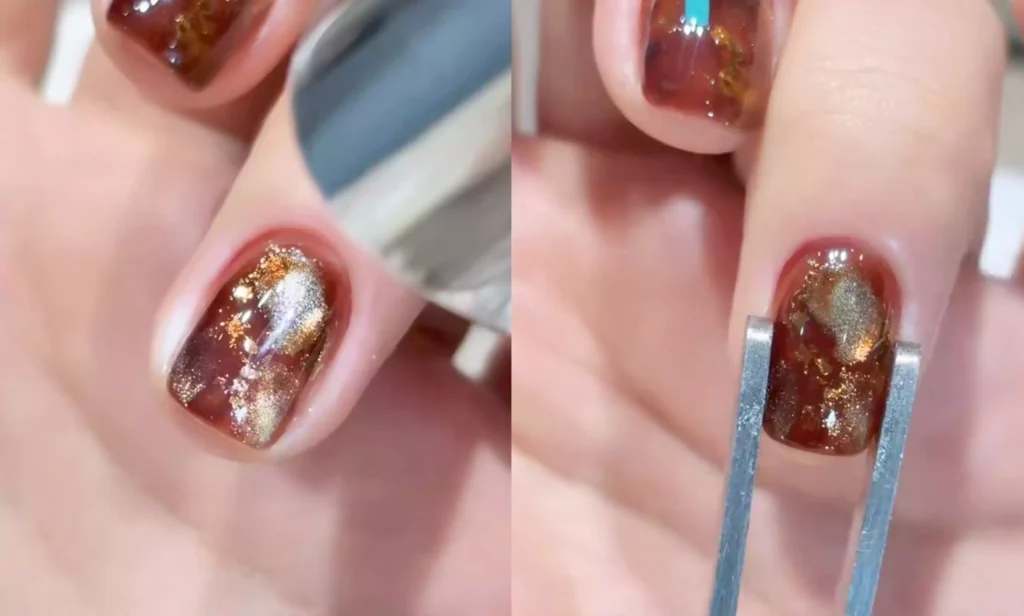
Stap 3: Vormgeven na de bouw
Gebruik een constructielijmstift om een geschikte hoeveelheid constructielijm aan te brengen en breng deze gelijkmatig aan op het hele nageloppervlak. Na het aanbrengen draai je je vinger om en pas je voorzichtig de lijmstroom aan om de juiste hoge punten op het nageloppervlak te creëren. Plaats de nagel vervolgens onder een UV/LED-lamp om goed te drogen.
-Constructielijm maakt het nageloppervlak niet alleen gladder en glanzender, maar kan ook worden gebruikt om de nagel vorm te geven en het probleem van schulpende nagels te verhelpen. Het is hard genoeg om de nagel effectief te beschermen tegen krassen.
Stap 4: Lijntekening en verzegeling
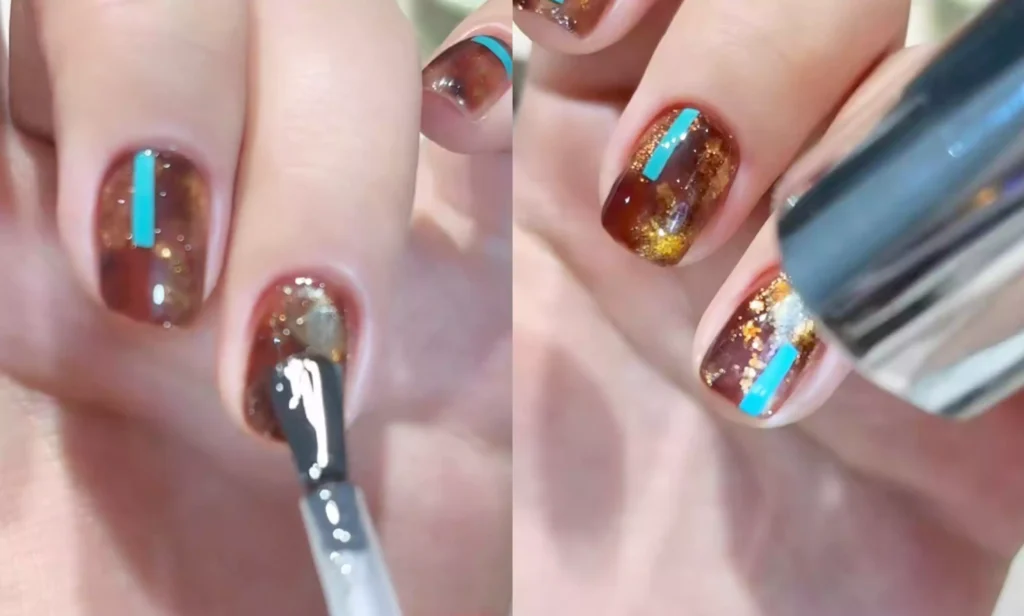
– After the construction glue has dried, use a teal color and a fine-tipped marker to draw your desired line pattern on the nail. The lines can be straight, curved, or irregular, depending on your aesthetic.
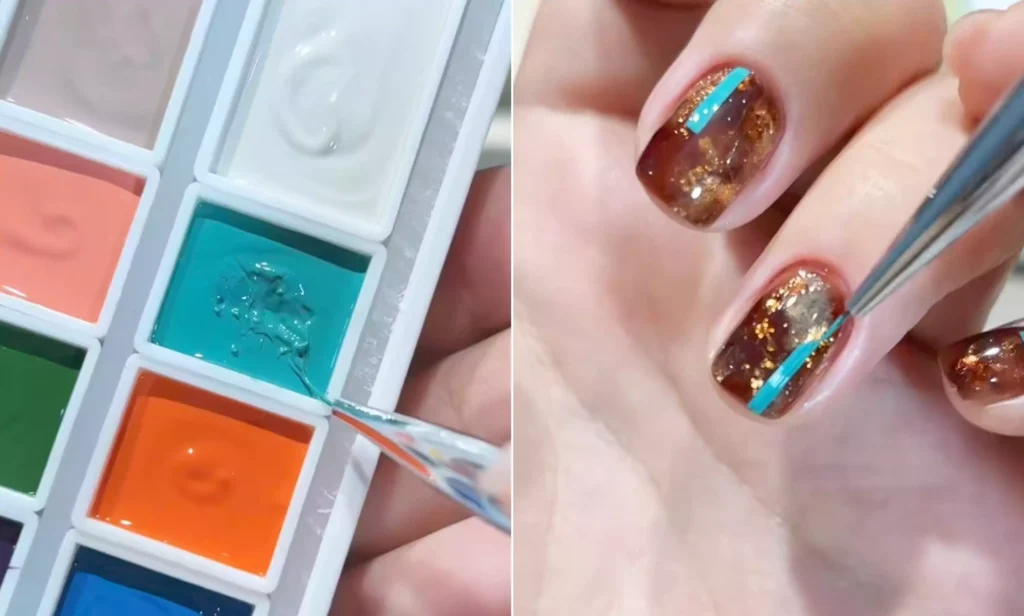
– If you make a mistake or excess glue overflows, use a cotton pad dipped in a small amount of alcohol to gently wipe off the excess and correct the shape of the line.
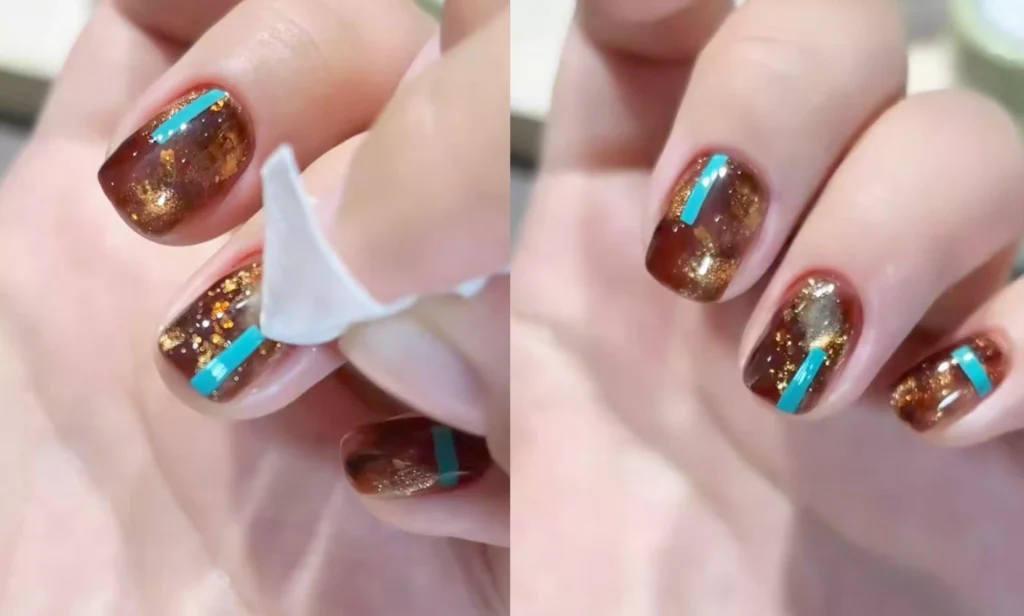
– After you’ve finished drawing the lines and are satisfied with them, apply a layer of topcoat to your nails. Be careful to wrap the edges to prevent the polish from falling off. After applying, place them under a UV/LED light to dry. Your exquisite amber gold foil blue-green line manicure is now complete.
Isn’t this manicure easier to create than you might think? It’s perfect for everyday wear or pairing with a skirt, so give it a try!
Tot slot raad ik aan CHROMÉCLAIR‘s HEMA-vrije gelpolish. They prioritize safety, are hypoallergenic, and eco-friendly, and are both HEMA- and TPO-free, significantly reducing the risk of allergies and gently protecting nails. They also offer a wide range of shades and a long-lasting hold (approximately 21-35 days), ensuring every user can experience a product that’s both safe and reassuring.

Problemen met de bediening? Vergeet dan niet de onderstaande instructievideo te bekijken. Als je het nuttig vindt, like en verzamel het dan ⭐, abonneer je op mij en tot de volgende tutorial!