Those who have tried gel nail polish at home know how frustrating it is to go through all the steps of application only to find out that there are bubbles everywhere on your nails. The great thing is that bubbling does not occur by chance and is not always due to an error in the products used.
There is always a certain reason behind it, and once you figure out what causes your nails to bubble, you can achieve perfect results without visiting the salon.
What Causes Bubbles to Form With Gel Polish?
A gel polish is more challenging to work with than an ordinary nail polish. It has a thicker consistency, must be cured with UV light, and demands careful application. The presence of bubbles means that there was something in there, such as air, moisture, or contaminants. These are six reasons why bubbles form with your gel polish.
1. Applying Coats That Are Too Thick
This is the most common mistake for novices. It may be tempting to apply gel using a loaded brush, hoping to achieve a full coat in a single application. However, the thicker the coat, the quicker you’ll end up with bubbles.
The reason is simple: with a thick coat, the UV lamp won’t be able to reach the entire thickness of the gel. The surface dries out first, creating an already-cured shell on top of the uncured gel beneath, which is still sticky. Trapped air is unable to escape from this uncured layer, leading to bubbles once it dries out completely.
Recommended next step
Smooth, Long-Lasting Gel Routine
Bubbling, peeling, shrinkage, and dull wear are usually system problems. Build the manicure with prep, base, color, and top coat together.
- Prep the nail plate before color.
- Use a base coat that matches the gel system.
- Finish with a compatible top coat for wear and shine.
Shop long-lasting routine kitSee no-wipe top coatCompare all routines
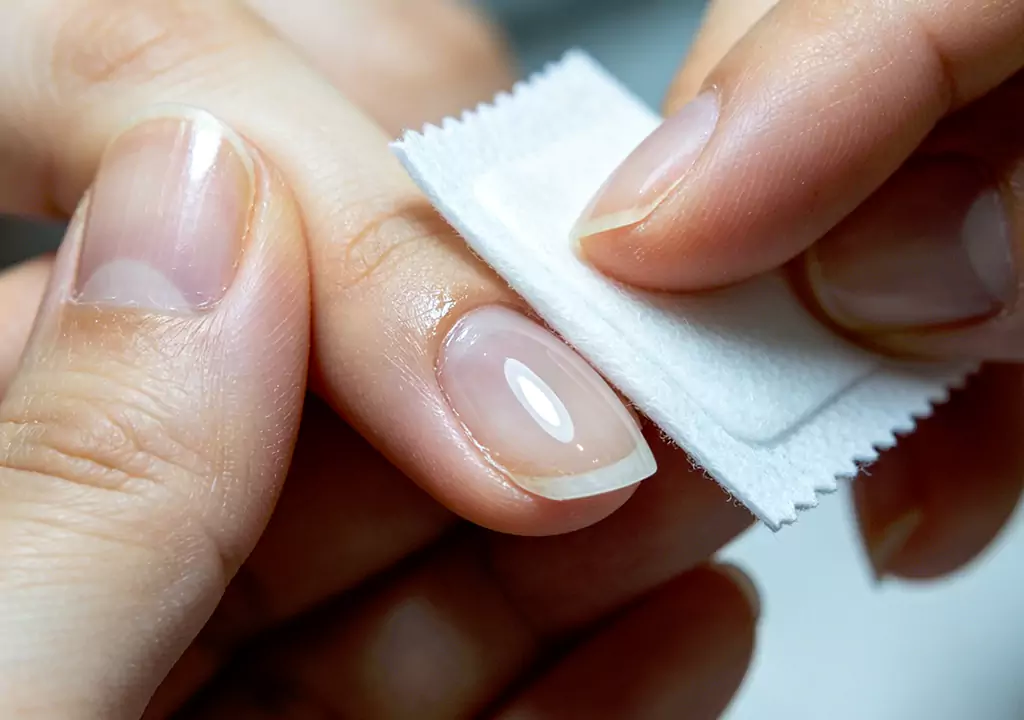
2. Neglecting to Properly Prepare Nails Prior
Gel nail applications rely heavily on clean nails, which go beyond merely cleaning hands. Oil, dirt, dry skin, or any other material that might be remaining on the nail plate will not allow for proper attachment of the gel. The air will creep into these small spaces and will result in lifting or peeling.
A frequently overlooked mistake would be when individuals touch their nails after cleaning them. Even the slightest touch can result in oil being transferred back to the nail plate.
3. Shaking the Bottle
Once the pigment particles have settled down in the bottom of the bottle, it’s tempting to give the bottle a shake. Don’t. The agitation creates microscopic air bubbles within the formula, bubbles that aren’t visible in the bottle itself but become apparent only after curing on your nail.
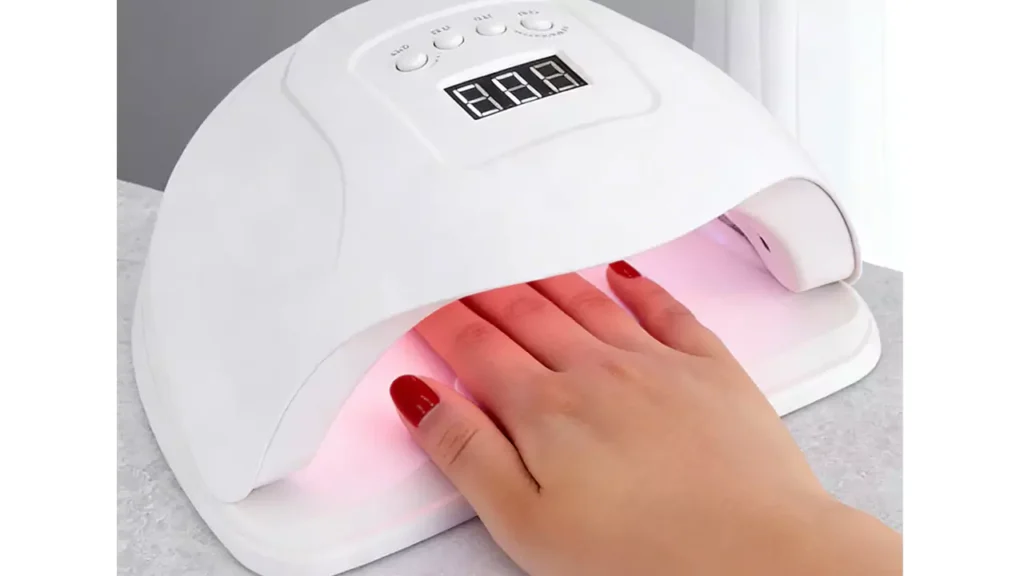
4. Not Curing Long Enough Between Coats
Each layer, including the base layer, the color layer, and the top layer, must be allowed sufficient time to cure before applying another coat. The formation of dense bubbles can result from insufficient curing time since the air gets trapped between the two layers when applying a new coat over an un-cured previous layer.
The amount of time required for a proper cure depends on both the wattage of the lamp being used and the gel polish brand.
5. Working in the Wrong Environment
This is usually surprising for many individuals because the humidity and temperatures in the working environment have an effect on the curing of the gel.
Humid weather increases the presence of moisture in the gel while it cures, resulting in bubbles in the gel. Low temperatures make the gel more viscous, making application difficult since air gets trapped within the gel.
6. Dirty Brushes or Old Gel
A brush that hasn’t been cleaned properly carries old gel residue and debris into fresh product, creating contamination bubbles. And gel polish that’s expired or been sitting open too long starts to thicken and lose its ability to self-level — no matter how careful your technique, it’ll bubble.
A Special Note on Top Coat Bubbling
While many are able to apply their color gels with no problem whatsoever, but they usually encounter problems during the final steps. The top coat tends to bubble easily compared to the others since it is one of the heaviest coats and is more susceptible to the external environment.
The cause of bubbles will remain the same, either by applying too much, insufficient curing, dirty brushes, and/or working in a moist area. But due to the fact that the top coat is the visible layer, even the slightest bubble is already a disaster for a manicure job.
How to Prevent Bubbles: A Simple Checklist
The good news is that most bubbles are 100% preventable. Here’s what to do:
- Prep thoroughly: Push back cuticles, buff off the natural shine with a fine-grit file, and wipe the nail down with alcohol. Once you’ve cleaned the surface, don’t touch it again.
- Apply thin coats: Two or three thin layers always beat one thick one. Thin gel cures evenly and completely, leaving no room for trapped air.
- Instead of shaking: roll the bottle in your palm to mix it for 30 to 60 seconds. This technique does the same thing, but it will not create any air bubbles in the mixture.
- Take the necessary time to cure between layers: Place the whole hand under the light and let it cure according to the instructions for the specific product. Give it some extra time to be safe.
- Find a proper location: Do not work in your bathroom, kitchen, or any other area where it is too warm or too humid. It should be dry and well-ventilated.
- Maintain hygiene: Clean your tools properly before and after working. Dispose of old gel if it became too thick or separated.
Already Have Bubbles? Here’s How to Fix Them
Just because you see bubbles after curing doesn’t mean you need to start from scratch.
Tiny bubbles on the surface: Buff the cured gel lightly, brush off the dust, and put on a new thin layer. This will often give you that shiny look again.
Bubbles everywhere or heavy ones: If there are many bubbles, or they’re very deep, or even give a textured look, then it might be best to remove the whole gel and do it again. Patches don’t usually work well for bubbles.
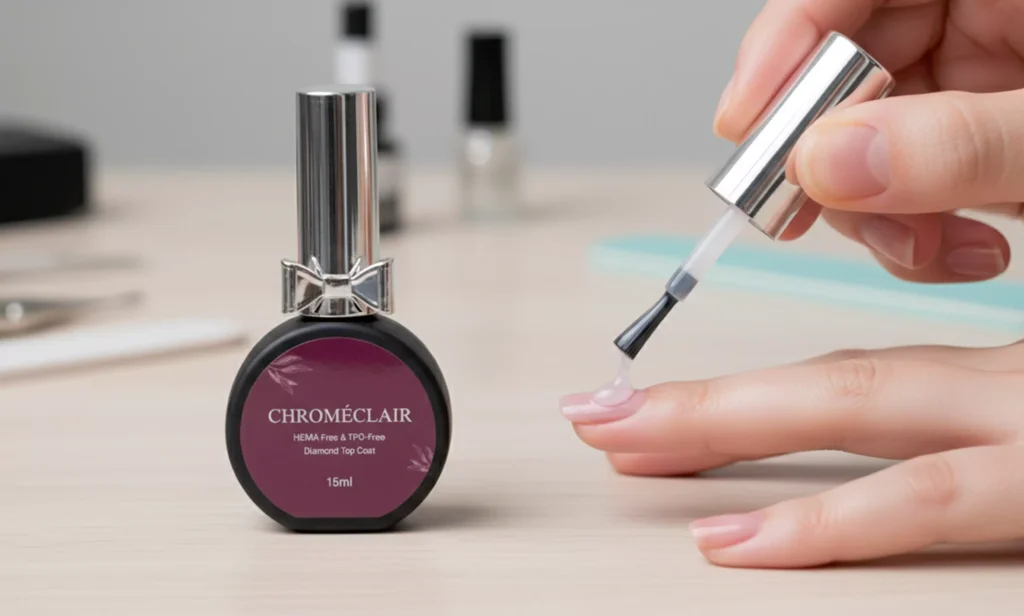
The Right Products Make It Easier
Despite your best practices, inferior quality of your gel polish formulation will always be an obstacle in your way, causing problems such as air bubbles, chipped nails, and other issues irrespective of how much practice you have in applying it.
Chroméclair produces hema free & tpo free gel polishes that work great even on amateur level. All their formulas are designed in a way to provide easy application and quick curing without any bubbles. The variety of Chroméclair products includes all types of gel polish formulations from various brands in different shades along with concealers, all tailored to ensure flawless finish without damaging your nails.
The Bottom Line
Bubbling with gel polish usually results from one of five factors: preparation, technique, curing process, surroundings, and product. Solve those issues, and you’ll eliminate the problem completely.
Stop yourself from engaging in behaviors that lead to it — using too much polish at once, agitating the polish container, and not properly curing it under a UV lamp. In addition, control your surroundings and work with good products, and there will be no reason your home-grown gel polish shouldn’t look professionally applied.