Nail art is an artistic expression full of creativity and individuality. The “luminous butterfly” nail art has become a popular style for its unique visual effects and exquisite craftsmanship. The following video will show you the steps of making this nail art and share some creative extensions.
Step 1.Base: Create a Cat-Eye Base Color
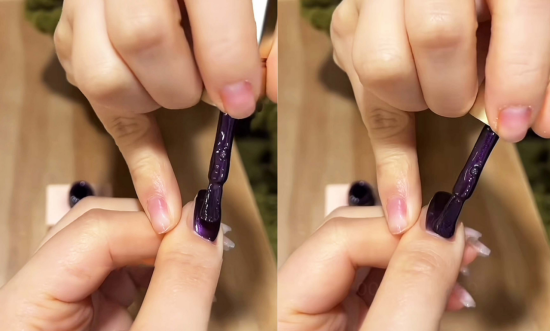
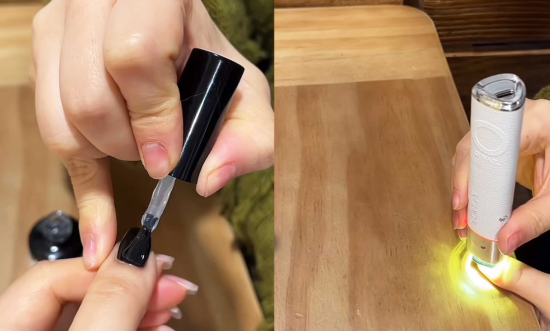
Apply Purple Cat-Eye Gel Polish:
Choose a deep or translucent purple cat-eye gel polish (I used CHROMÉCLAIR Hema Free Gel Polish 448 in this tutorial; the color is luxurious and mysterious, and it flows easily, allowing even beginners to apply it evenly). Use the brush to evenly apply the first coat over the nail. Be sure to rim the edges as you apply, ensuring a tighter bond and preventing future wear and tear.
To create a glass pearlescent effect:
Recommended next step
Build the Nail Art Look Kit
Tutorial looks need more than a color bottle. Choose the color, art detail, transfer or sticker step, and a top coat as one look kit.
- Choose the main color or set.
- Add the art detail: sticker, transfer gel, magnet, or brush.
- Seal the finished look with top coat.
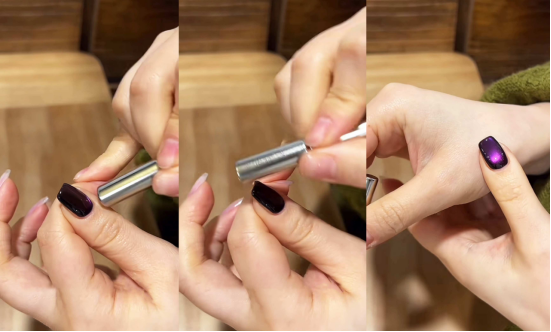
Take the included magnet (typically a long, rectangular magnetic rod) and place it near the freshly painted nail surface. Slowly move the rod. The magnetic particles in the polish will be attracted and reorganized, creating a delicate, glass pearlescent effect or gradient. By moving the rod at different angles, you can create a pearlescent texture with varying widths and directions, customizable to your preference.
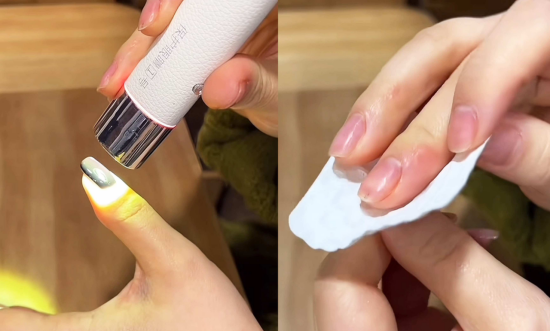
Curing with a Lamp:
Place the painted and pearlescent nails under a light therapy lamp (the specific duration depends on the type of polish, generally 60-120 seconds) to allow the polish to cure thoroughly and enhance its durability.
Wiping Off Glue:
After curing with the lamp, a sticky layer of “glue” may remain on the surface of the nails. Gently wipe it with a cotton pad or wipes dampened with cleaning solution to leave the nail surface smooth and dry, making it easier to remove later.
Step 2. Butterfly Shape: A Clash of Templates and Colors
Select a butterfly template:
Prepare a butterfly-shaped hollow template designed for nail art (usually made of plastic or metal foil, available in various sizes and styles). Use tweezers to precisely grasp the butterfly template that fits your nail size.
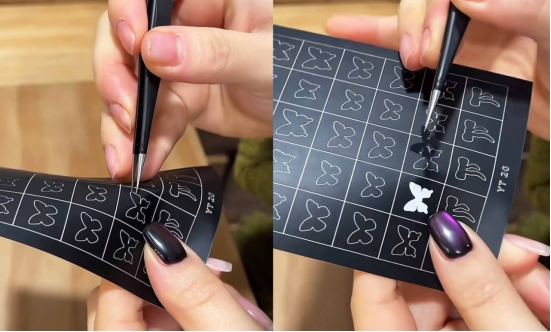
Paste and press the template tightly:
stick the butterfly template on the appropriate position of the nail (such as the middle or side of the nail surface, adjust according to the desired visual center of gravity), use tweezers or fingertips to gently press the edge of the template to ensure that the template fits completely with the nail surface without any gaps, otherwise the subsequent coloring will easily overflow and affect the refinement of the shape.

Fill with black pat glue:
Take a small amount of black pat glue (a soft, sticky gel polish that’s easy to spread and blend) and gently pat it onto the nail area where the stencil has been applied. Pat glue is known for its ability to create matte, gradient, or mottled textures. The pressure and frequency of patting can control the intensity of the effect—for a more solid color, apply more layers; for a translucent, hazy look, use fewer layers and pat gently to blend.

Put the glued nails into the light to solidify them, so that the black glue layer is fixed in the template. This step will ensure that the color remains firmly on the nail surface when the template is removed later, forming a clear butterfly outline.
Step 3. Finishing Seal: Make the Butterfly Glow Longer
Removing the Butterfly Template:
Under a light, use tweezers to gently lift the edge of the template and slowly peel it off completely. This will leave a butterfly shape formed by the black adhesive on the nail surface. If any rough edges are left during removal, use a fine-tipped cotton swab dipped in cleaning solution to carefully remove them.

Apply topcoat glue:
Choose a translucent nail topcoat glue and apply it evenly to the entire nail surface. The topcoat will not only make the nails more shiny (you can also choose a matte topcoat to create different styles), but also protect the previousgel polish and butterfly shape to prevent wear and discoloration.
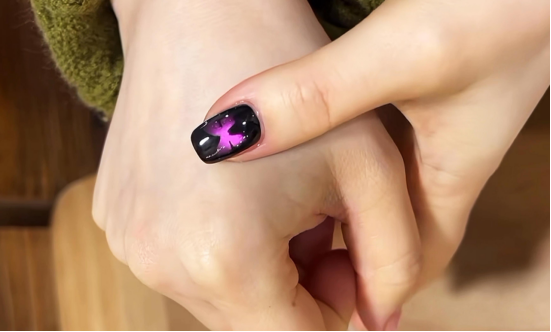
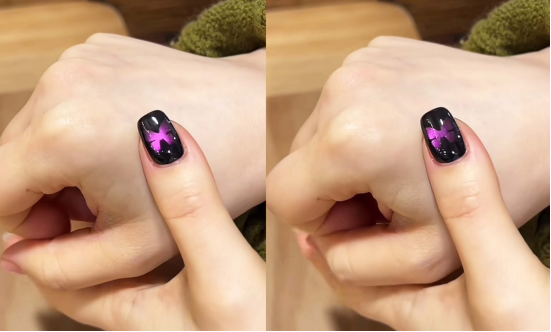
Finally, light it up and finish:
After applying the topcoat, light it up again to cure. When you are done, you will find that the gloss of the purple cat’s eye base and the black butterfly shape complement each other. Under the refraction of light, it seems as if the butterfly is “glowing” on the nail surface, which is delicate and smart.
Creative Extensions and Tips
Color Swaps:
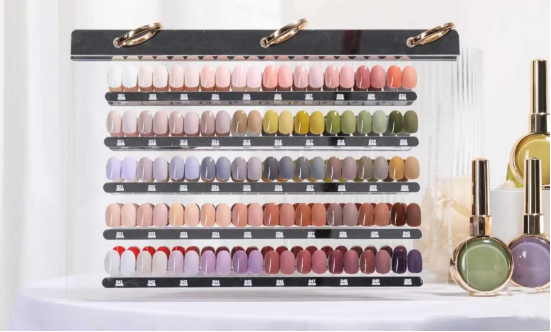
If you prefer not to use black patting glue, you can swap it out for gold, silver, or laser colors to create metallic or futuristic butterflies. Purple cat-eyes can also be swapped for blue, green, and other colors to suit different seasons and styles.
From foundational application to detailed styling, every patient step is dedicated to creating a unique and captivating fingertip. Follow the steps and let this “luminous butterfly” become a vibrant landscape on your fingertips!
In the tutorial, I used CHROMÉCLAIR gel polish. Their products focus on safety, low irritation, environmental protection, and do not contain harmful ingredients, reducing the risk of allergies (HEMA-free Gel Polish). They protect healthy nails and have a variety of colors to cater to mainstream aesthetics, ensuring that every consumer has a safe and secure user experience.
If you encounter any problems during the process, you can watch the video tutorial below. If you think the tutorial is useful, please like and subscribe to me. See you next time.