
Most gel base coats cure for 30–60 seconds under an LED/UV lamp or 60–120 seconds under a traditional UV lamp, but the exact time depends on the base coat formula and the lamp. The product label is the controlling instruction. Do not assume that one universal time works for every brand, wattage or layer thickness.
Apply a thin, even layer without flooding the cuticle, use the lamp specified for the product, and keep the hand centered under the LEDs. A cured gel base can remain tacky because of its inhibition layer; tackiness alone does not mean it failed to cure.
Gel Base Coat Cure Times at a Glance
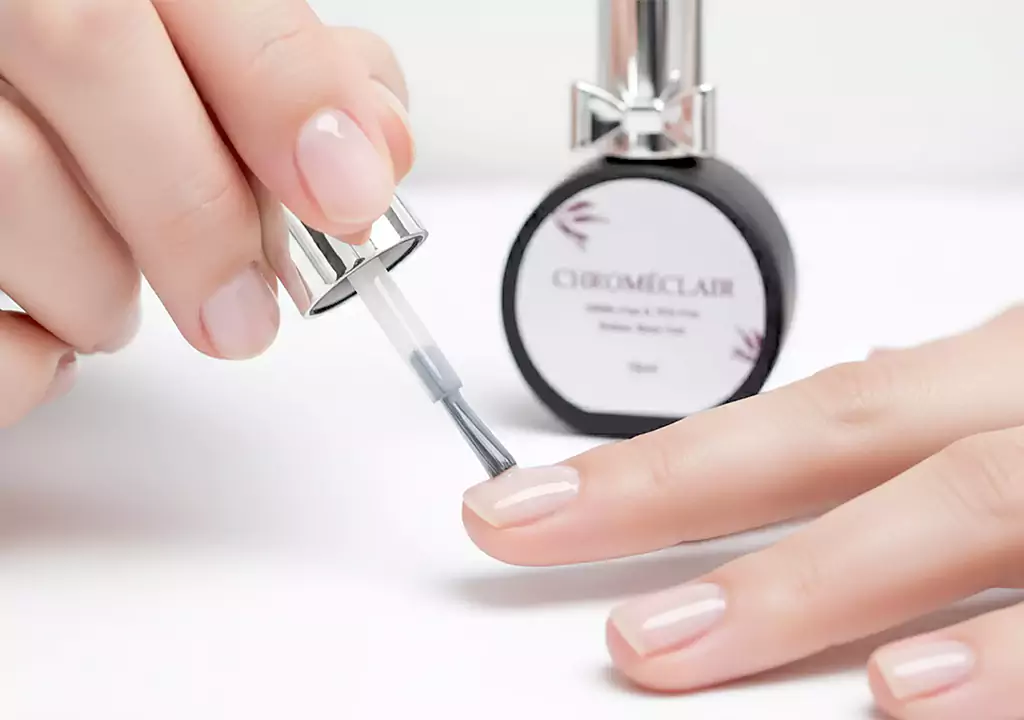
When the gel base is over-cured, the result is something like plastic that is not porous at all. There will be no more stickiness from these little sticky areas anymore. Now you can apply your color coating, which will go smooth and well, unless you’re applying it to something that won’t hold onto it for too long. But after just a couple of days, the regular movements of fingers will loosen this bond and cause your color to peel away in large pieces.
When using UV lights, use the 60 to 90 seconds method. While they may not be as powerful as LED lights, UV lights pose a certain danger due to their method of curing through penetration. Under no circumstance should UV lights remain longer than 2 minutes over the gel base coat.
The Science of That Sticky Layer (And Why You Must Keep It)
For you to be able to cure the gel base coat well, then you have to embrace the “tacky” feeling. Once you have taken away your fingers from the UV light after applying the gel base coat, then your nails will feel slightly tacky just like the feel of a Post-it note. This process of having a tacky feel is referred to as the inhibition layer – a very natural occurrence due to oxygen.
Recommended next step
Use a Compatible UV/LED Curing Setup
CHROMÉCLAIR gel polish and gel nail stickers require a compatible UV/LED nail lamp. Build the curing step into the complete routine instead of treating it as optional.
- Apply the compatible gel product in a controlled layer.
- Cure it under a UV/LED nail lamp according to the product label.
- Check the surface before continuing with the next coat or top coat.
Shop UV/LED nail lampSee handheld UV lampCompare all routines
The gel base coat is the point where this barrier coat turns into a golden opportunity. It is the chemical bonding that enables one to add another coat of gel. Wiping the base coat with alcohol before adding the colored layer means that one has just rendered this barrier coat useless. The sticky coat is only stripped away after applying the top coat.
LED vs. UV Lamps for Curing Your Gel Base Coat
The lamp you use sets the rhythm for your whole manicure.
- LED Lamps (36W or higher): These emit a narrow, intense band of light that matches the photoinitiators in modern gel base coat formulas perfectly. They cure the base in as little as 30 seconds, but I still stand by that 45-second rule for a safety cushion. Under a quality LED lamp, 45 seconds gives you the ideal balance of serious adhesion and easy removability.
- UV Lamps (36W): These put out a broader spectrum and cure a bit slower. For a gel base coat, 90 seconds is your go-to. Always keep an eye on your bulbs; a fading UV bulb loses intensity and leaves the deeper layers of your gel base coat under-cured, even if the surface feels dry.
If you’ve ever asked, “Why is my gel polish still soft or peeling off in one piece?”—check your lamp’s wattage and bulb age first. Then look directly at how long you’re curing your gel base coat. That’s usually where the problem lives.
The Biggest Mistake: Over-Curing Your Base Coat
Over-exposure of a gel base coat is not only detrimental to your manicure; it becomes practically impossible to remove your manicure. The gel base coat that is properly exposed can be dissolved by acetone. It penetrates the material, causes swelling and crumbling, making it easy to remove using light pressure.
The gel base coat that has been over-exposed to light exposure is resistant to acetone. It undergoes additional cross-linking until it becomes so dense that solvent molecules cannot penetrate it anymore. Now you have to resort to using electric file along with buffing and heat from friction as you grind your nails into stone hard substance. This eventually leads to thin, irritated and damaged nail beds.
Remember the golden rule: 45 seconds under LED, 90 seconds under UV. Even though your color coats and top coat will add their own UV exposure later, the gel base coat itself shouldn’t start its life already over-cooked.
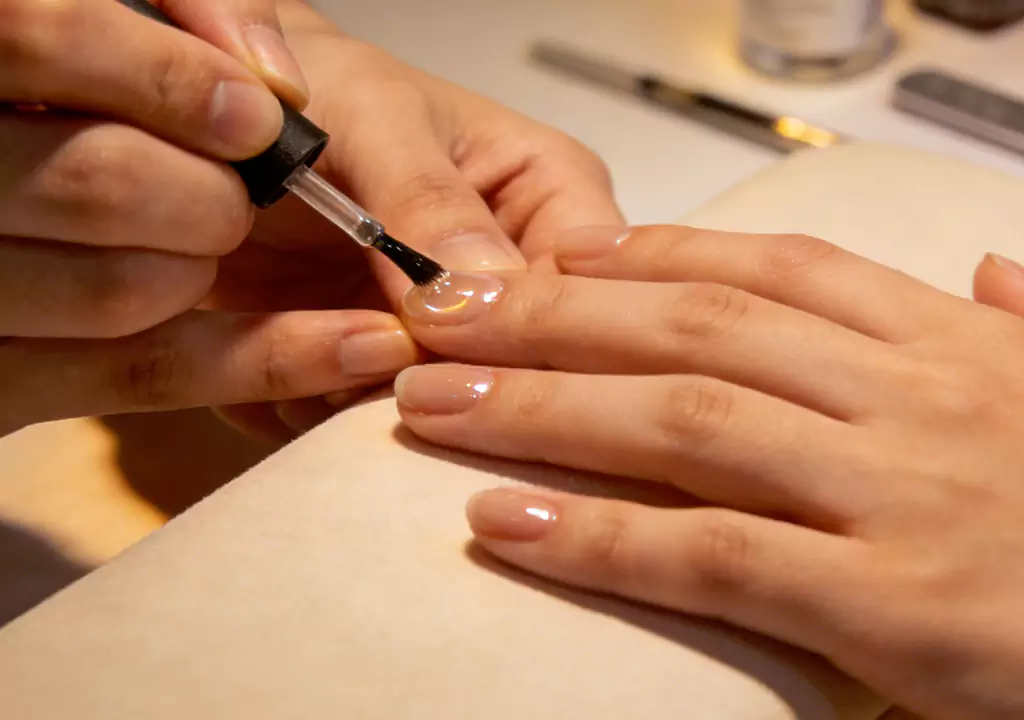
A Healthier Way: Meet the Chroméclair Approach
The dialogue surrounding gel base coat cure time is also advancing as a result of an entirely new line of health-aware formula options. With people increasingly focusing on how their choices affect their health, companies have come up with products that prioritize safety but do not compromise in terms of effectiveness.
CHROMÉCLAIR provides not just Gel Base Coat, but also an entire collection of other products such as Diamond, Matte, and No-Wipe Top Coats, Transfer Gel, Rubber Base Coat, and Builder Gel, all of which are free from HEMA and TPO and therefore classified as healthy gel polishes. What we have here is not only the removal of these particular substances from their product range, but also the introduction of an entirely different approach towards health and safety when it comes to manicures. What we get is fewer allergic reactions, professional coloring, and high-gloss polish without compromising on comfort and ease.
If you use a HEMA-free and TPO-free gel base coat, you are already working with a product designed for reduced reactivity and predictable curing. This makes it much more reliable when you have the 45-second rule with LED lights. The photoinitiators present in these modern gel lines are optimized for rapid and total polymerization, and don’t require you to stretch the time limit in order to achieve that. A HEMA-free and TPO-free gel base coat not only protects your nails, but also your skin.
How to Apply Your Gel Base Coat for a Flawless Cure
Even a perfect cure time can’t rescue a gel base coat that was applied wrong. Technique is half the battle.
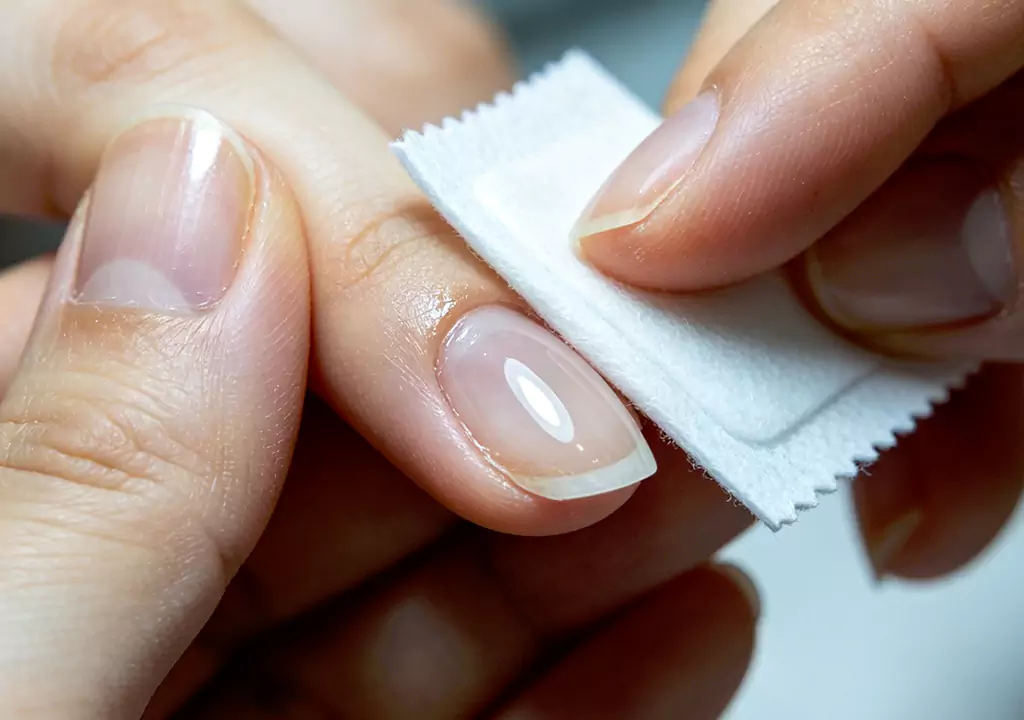
- Prep is everything. Lightly buff the natural nail to take away the shine, then cleanse with a dehydrator or alcohol. Oils and moisture are the number one enemy of a gel base coat.
- Go whisper-thin. Your gel base coat should feel like you’re barely putting anything on. Float the brush; don’t press down. A thick, pooled layer of base won’t cure fully, leaving wet, uncured gel trapped against your nail. That’s a fast lane to lifting and, worse, developing a gel allergy from repeated exposure to uncured product.
- Cap the free edge. Swipe the brush along the very tip of your nail. This tiny move locks the gel base coat around the edge where water and daily wear try to sneak in.
- Cure right away. Don’t let your gel base coat sit around before curing. It can pick up dust, level out too much, or start to separate.
Once you’ve mastered your gel base coat application and cure, you’ll notice that your color applies more evenly, your manicure easily reaches its full two-week potential, and removal feels almost effortless.
Common Questions About Curing Gel Base Coat
Do I have to use a primer under my gel base coat?
Not necessarily so. If you already have an adhering gel base coat that is enhanced with ingredients to provide maximum adherence and you do not usually have any problems with the lifting of your nails, then using a primer would not necessarily be needed. But if the surface of your nails are oily or peeling, then a little primer will give additional adherence.
Why is my gel base coat wrinkling or looking lumpy?
These form when the very top layer of your gel base coat dries up before everything else does. The dried layer ends up floating above the rest of your gel base coat, which is not yet dry. The solution to this problem is simply to make sure that you use the thinnest coat possible of your gel base coat.
Can I cure my gel base coat and color coat together?
Oh no! Each individual layer in the gel manicure has to be cured individually. Since you have applied the gel base coat and followed it by directly applying the color coat without curing it, you are now mixing two entirely different chemistries that do not cure together at all and cannot even be cured.
Is it normal for my gel base coat to feel hot while curing?
It is perfectly normal to have the temperature go up a bit as molecules connect, however, having intense heat and even a burning sensation may point to a few things – either the gel base coat is too thick or your natural nails are quite thin and sensitive to heat. All you have to do then is to take your hand away from the lamp for a moment and cure the product in several pulses.
Don’t Forget the Color and Top Coat
While it is true that the emphasis might be placed on applying the gel base coat at this stage, you are certainly not done there. Having made sure that your base coat is cured but still tacky, place the first layer of color. Every layer needs 60 seconds to be cured when using an LED lamp or 2 minutes when working with a UV lamp. Never over cure your colors as that will result in a cracked finish.
The top coat is what finishes everything off for you. Cure your top coat for 60 to 90 seconds using an LED lamp and then be sure to clean the sticky inhibition layer off with a gel cleanser or alcohol after finishing up. If you cure your top coat too long, it will turn yellow and will be very hard to file down. Your base coat, colors, and top coat create a system that comes off easily with acetone in 10 to 15 minutes.
Taking Care of Your Manicure and Your Body
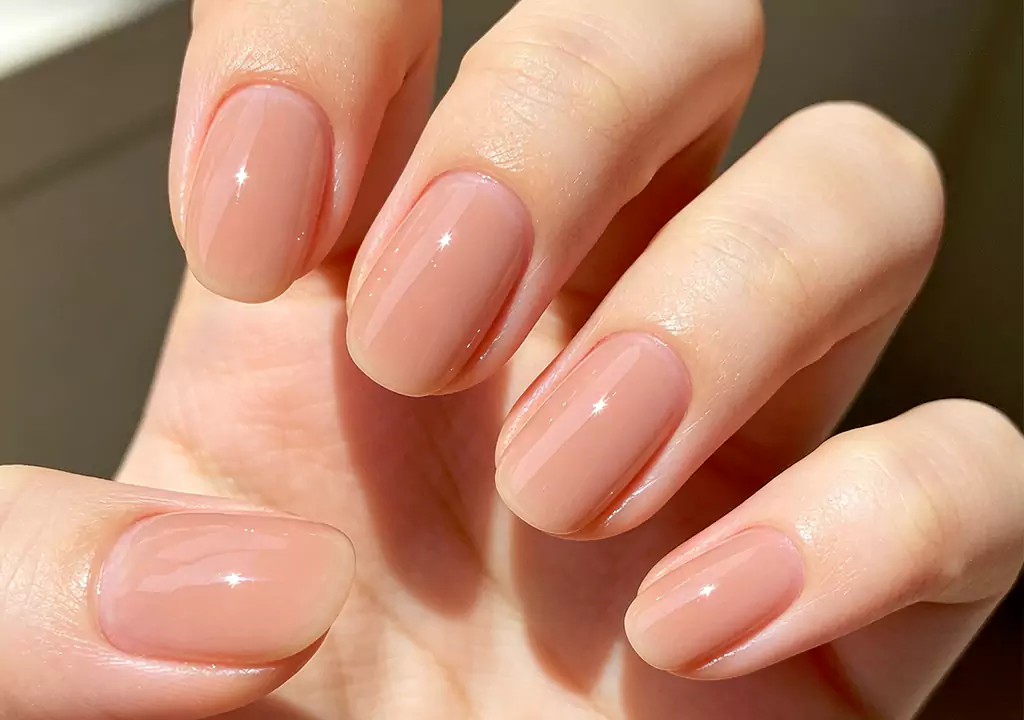
Having successfully applied your manicure, it is now time to maintain it. This involves making sure you apply daily cuticle oil since moisturized nails are less likely to have lifting due to injury. Should you wish to switch up your manicure, soak it off but never try peeling or picking it off since that will cause you to remove pieces of your natural nail along with your gel base coat.
Moreover, take into account your skin’s potential exposure to UV rays while curing. Even though the risks associated with UV exposure are considered minimal by the FDA for sporadic use, it is highly recommended that you put on a broad-spectrum sunscreen on your hands approximately 20 minutes prior to your scheduled appointment, or alternatively wear UV protective gloves with holes cut at the fingertips.
The Bottom Line
A flawless gel manicure isn’t about the color. It’s about the gel base coat that’s treated with respect by being applied lightly and cured perfectly. The right cure time is 45 seconds on an LED light and 90 seconds on a UV light. Do not fall into the trap of adding just a few extra seconds to be safe with your gel base coat, because with this product, it’s better to have too little than too much.
Combine the application method mentioned above with the right gel base coat (for example, HEMA and TPO free ones available at Chroméclair) and you will transform your ordinary manicure process into an actual self-care ritual. You get to protect your nails, keep their natural color and have enjoyable removals.
The next time you are giving yourself a homemade manicure, spend that very 45 seconds of your time on base coat application. The smallest amount of time invested into the process will bring you the most significant result – long-lasting, chip-free manicure.
 English
  Spanish
  German
  French
  Italian
  Dutch
Dutch