
Most gel base coats cure for 30–60 seconds under an LED/UV lamp or 60–120 seconds under a traditional UV lamp, but the exact time depends on the base coat formula and the lamp. The product label is the controlling instruction. Do not assume that one universal time works for every brand, wattage or layer thickness.
Apply a thin, even layer without flooding the cuticle, use the lamp specified for the product, and keep the hand centered under the LEDs. A cured gel base can remain tacky because of its inhibition layer; tackiness alone does not mean it failed to cure.
Gel Base Coat Cure Times at a Glance
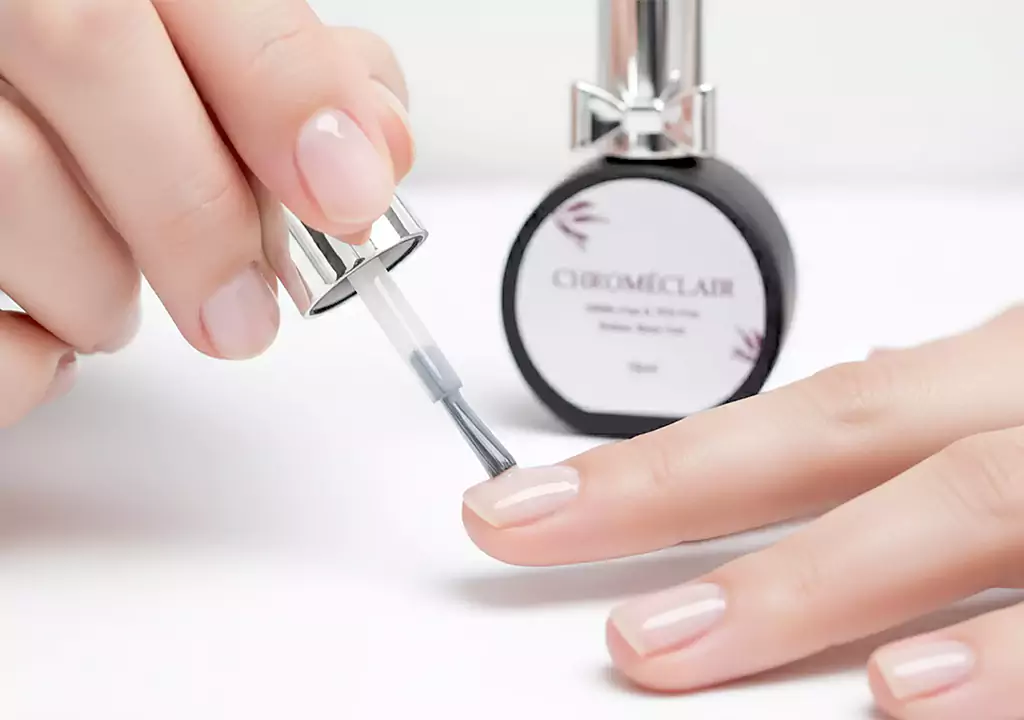
Quando la base in gel è eccessivamente polimerizzata, il risultato è una sorta di plastica non porosa. Non ci sarà più alcuna appiccicosità dovuta a quelle piccole zone appiccicose. A questo punto è possibile applicare lo strato di colore, che risulterà liscio e uniforme, a meno che non lo si applichi su una superficie che non lo tratterrà a lungo. Ma dopo solo un paio di giorni, i normali movimenti delle dita allenteranno questo legame e faranno sì che il colore si stacchi a pezzi.
Quando si utilizzano lampade UV, attenersi al metodo da 60 a 90 secondi. Sebbene non siano potenti come le lampade a LED, le lampade UV presentano un certo rischio a causa del loro metodo di polimerizzazione per penetrazione. In nessun caso le lampade UV devono rimanere esposte per più di 2 minuti sullo strato di base in gel.
La scienza dietro quello strato adesivo (e perché è fondamentale mantenerlo)
Per polimerizzare correttamente la base in gel, è importante accettare la sensazione di "appiccicosità" iniziale. Una volta allontanate le dita dalla lampada UV dopo l'applicazione della base in gel, le unghie risulteranno leggermente appiccicose, proprio come un post-it. Questa sensazione di appiccicosità è dovuta allo strato di inibizione, un fenomeno del tutto naturale causato dall'ossigeno.
Passo successivo consigliato
Use a Compatible UV/LED Curing Setup
CHROMÉCLAIR gel polish and gel nail stickers require a compatible UV/LED nail lamp. Build the curing step into the complete routine instead of treating it as optional.
- Apply the compatible gel product in a controlled layer.
- Cure it under a UV/LED nail lamp according to the product label.
- Check the surface before continuing with the next coat or top coat.
Shop UV/LED nail lampSee handheld UV lampConfronta tutte le routine
La base in gel è il punto in cui questo strato barriera si trasforma in un'opportunità d'oro. È il legame chimico che permette di applicare un altro strato di gel. Pulire la base con alcol prima di applicare lo strato colorato significa rendere inutile questo strato barriera. Lo strato appiccicoso viene rimosso solo dopo l'applicazione del top coat.
Lampade LED vs. lampade UV per la polimerizzazione della base coat in gel
La lampada che utilizzi detta il ritmo di tutta la manicure.
- Lampade a LED (36W o superiori): Questi emettono una banda di luce stretta e intensa che corrisponde ai fotoiniziatori nelle moderne base gel Le formule si asciugano alla perfezione. Polimerizzano la base in soli 30 secondi, ma io continuo a consigliare i 45 secondi come misura di sicurezza. Sotto una lampada LED di qualità, 45 secondi offrono il perfetto equilibrio tra un'adesione ottimale e una facile rimozione.
- Lampade UV (36W): Questi emettono uno spettro più ampio e polimerizzano un po' più lentamente. Per un base gel, 90 secondi è la soluzione ideale. Tieni sempre d'occhio le tue lampadine; una lampadina UV che si sta affievolendo perde intensità e lascia gli strati più profondi della tua pelle base gel non completamente stagionato, anche se la superficie risulta asciutta.
Se te lo sei mai chiesto, “"Perché il mio smalto semipermanente è ancora morbido o si stacca in un unico pezzo?"”—controlla prima la potenza della tua lampada e l'età della lampadina. Poi guarda direttamente per quanto tempo stai polimerizzando la tua base gel. Di solito è lì che risiede il problema.
L'errore più grande: polimerizzare eccessivamente la vernice di base
Over-exposure of a gel base coat is not only detrimental to your manicure; it becomes practically impossible to remove your manicure. The gel base coat that is properly exposed can be dissolved by acetone. It penetrates the material, causes swelling and crumbling, making it easy to remove using light pressure.
The gel base coat that has been over-exposed to light exposure is resistant to acetone. It undergoes additional cross-linking until it becomes so dense that solvent molecules cannot penetrate it anymore. Now you have to resort to using electric file along with buffing and heat from friction as you grind your nails into stone hard substance. This eventually leads to thin, irritated and damaged nail beds.
Ricorda la regola d'oro: 45 secondi sotto la lampada LED, 90 secondi sotto la lampada UV. Anche se i tuoi strati di colore e lo strato superiore aggiungeranno la loro esposizione ai raggi UV in seguito, base gel non dovrebbe iniziare la sua vita già troppo cotta.
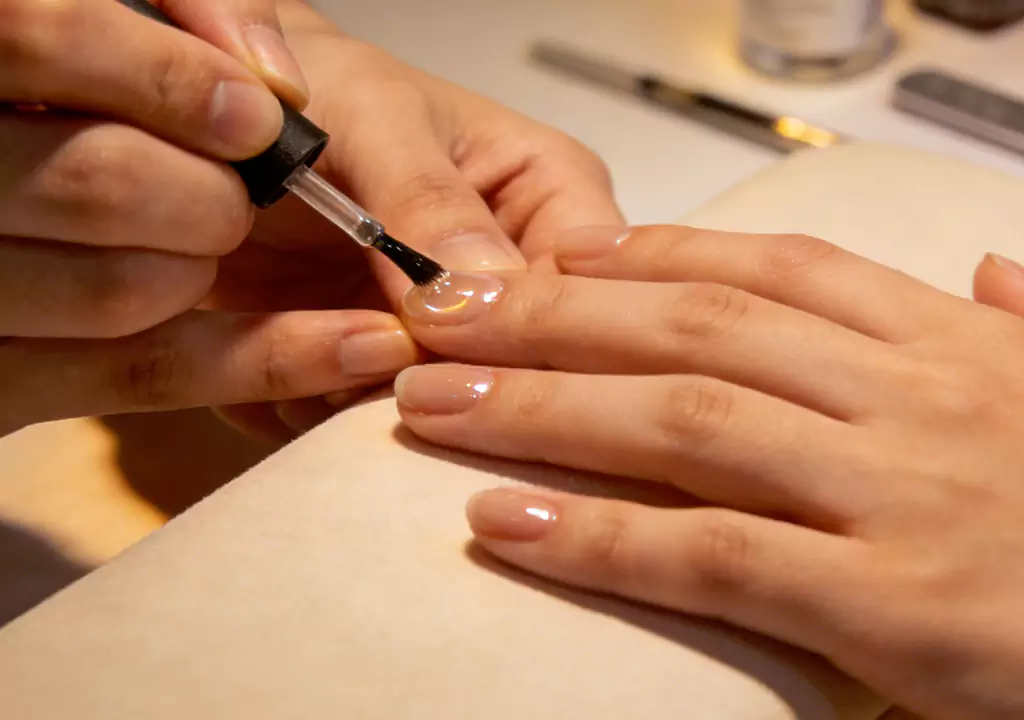
Un approccio più sano: scopri il metodo Chroméclair.
Il dibattito sui tempi di polimerizzazione della base coat in gel si sta evolvendo anche grazie a una nuova linea di formule pensate per la salute. Con le persone sempre più attente all'impatto delle proprie scelte sulla salute, le aziende hanno sviluppato prodotti che privilegiano la sicurezza senza compromettere l'efficacia.
CHROMÉCLAIR offre non solo la base gel, ma anche un'intera collezione di altri prodotti come top coat Diamond, Matte e No-Wipe, gel transfer, base gomma e gel costruttore, tutti privi di HEMA e TPO e quindi classificati come smalti gel salutari. Ciò non significa solo l'eliminazione di queste sostanze dalla gamma di prodotti, ma anche l'introduzione di un approccio completamente diverso in termini di salute e sicurezza per la manicure. Il risultato è una minore incidenza di reazioni allergiche, una colorazione professionale e uno smalto ad alta brillantezza, senza compromettere comfort e facilità d'uso.
Se utilizzi una base coat in gel senza HEMA e TPO, stai già lavorando con un prodotto progettato per una reattività ridotta e una polimerizzazione prevedibile. Questo lo rende molto più affidabile quando si applica la regola dei 45 secondi con le lampade LED. I fotoiniziatori presenti in queste moderne linee di gel sono ottimizzati per una polimerizzazione rapida e completa e non richiedono di prolungare il tempo di posa per ottenerla. Una base coat in gel senza HEMA e TPO non solo protegge le unghie, ma anche la pelle.
Come applicare la base in gel per una polimerizzazione impeccabile
Nemmeno un tempo di guarigione perfetto può salvare un base gel è stato applicato in modo errato. La tecnica è metà della battaglia.
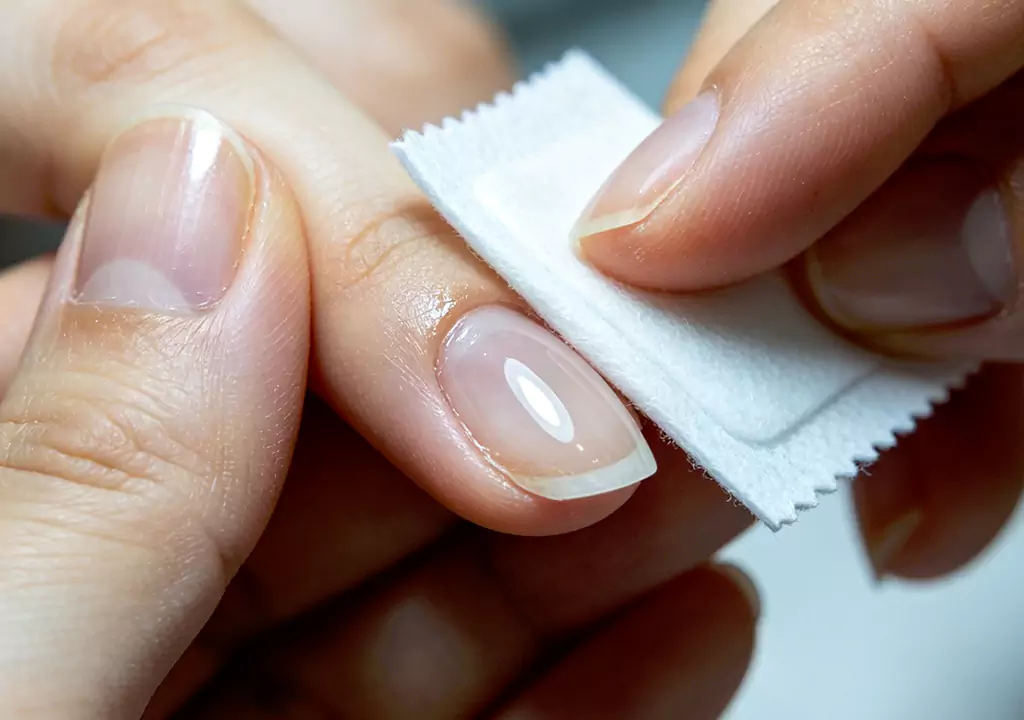
- La preparazione è tutto. Lucida leggermente l'unghia naturale per rimuovere la lucentezza, quindi puliscila con un disidratante o alcol. Oli e umidità sono il nemico numero uno di un'unghia naturale. base gel.
- Diventa sottilissima, quasi impercettibile. Il tuo base gel Dovresti avere la sensazione di applicare pochissimo prodotto. Muovi il pennello delicatamente, senza premere. Uno strato spesso e compatto di base non polimerizzerà completamente, lasciando del gel umido e non indurito intrappolato contro l'unghia. Questo è il modo più rapido per causare il sollevamento dello smalto e, peggio ancora, lo sviluppo di un'allergia al gel a causa della ripetuta esposizione al prodotto non polimerizzato.
- Tappare il bordo libero. Passa il pennello lungo la punta dell'unghia. Questo piccolo movimento blocca l'unghia base gel attorno al bordo dove l'acqua e l'usura quotidiana cercano di infiltrarsi.
- Guarigione immediata. Non lasciare che il tuo base gel Lasciare riposare prima dell'indurimento. Potrebbe accumulare polvere, livellarsi eccessivamente o iniziare a separarsi.
Una volta che avrai padroneggiato il tuo base gel Dopo l'applicazione e la polimerizzazione, noterai che il colore si stende in modo più uniforme, la tua manicure raggiunge facilmente la sua durata massima di due settimane e la rimozione risulta quasi senza sforzo.
Domande frequenti sulla polimerizzazione del gel coat
Devo usare un primer sotto la base in gel?
Non necessariamente. Se hai già una base in gel aderente, arricchita con ingredienti che garantiscono la massima aderenza, e di solito non hai problemi di sollevamento dello smalto, allora l'utilizzo di un primer non è strettamente necessario. Tuttavia, se la superficie delle unghie è oleosa o si sfalda, un po' di primer può migliorare ulteriormente l'aderenza.
Perché la mia base coat in gel si raggrinzisce o presenta grumi?
Questo problema si verifica quando lo strato più superficiale della base in gel si asciuga prima di tutto il resto. Lo strato asciutto finisce per galleggiare sopra il resto della base in gel, che non è ancora asciutto. La soluzione è semplicemente assicurarsi di applicare uno strato sottilissimo di base in gel.
Posso polimerizzare contemporaneamente la base in gel e lo strato di colore?
Oh no! Ogni singolo strato della manicure in gel deve essere polimerizzato separatamente. Avendo applicato la base in gel e subito dopo lo strato di colore senza polimerizzarlo, stai mescolando due sostanze chimiche completamente diverse che non polimerizzano insieme e non possono essere polimerizzate.
È normale che la base coat in gel risulti calda durante la polimerizzazione?
È perfettamente normale che la temperatura aumenti leggermente man mano che le molecole si legano, tuttavia, un calore intenso e persino una sensazione di bruciore potrebbero indicare diverse cose: o lo strato di base in gel è troppo spesso, oppure le unghie naturali sono piuttosto sottili e sensibili al calore. In tal caso, basta allontanare la mano dalla lampada per un momento e polimerizzare il prodotto con brevi impulsi.
Non dimenticare il colore e il top coat
Sebbene in questa fase l'attenzione si concentri sull'applicazione della base in gel, il lavoro non è ancora finito. Dopo esservi assicurati che la base sia indurita ma ancora appiccicosa, applicate il primo strato di colore. Ogni strato necessita di 60 secondi di polimerizzazione con una lampada LED o 2 minuti con una lampada UV. Non polimerizzate mai eccessivamente i colori, altrimenti la finitura si screpolerà.
Il top coat è ciò che completa il lavoro. Polimerizza il top coat per 60-90 secondi utilizzando una lampada LED e assicurati di rimuovere lo strato appiccicoso di inibitore con un detergente in gel o alcol al termine del processo. Se polimerizzi il top coat troppo a lungo, ingiallirà e sarà molto difficile da limare. La base, i colori e il top coat creano un sistema che si rimuove facilmente con acetone in 10-15 minuti.
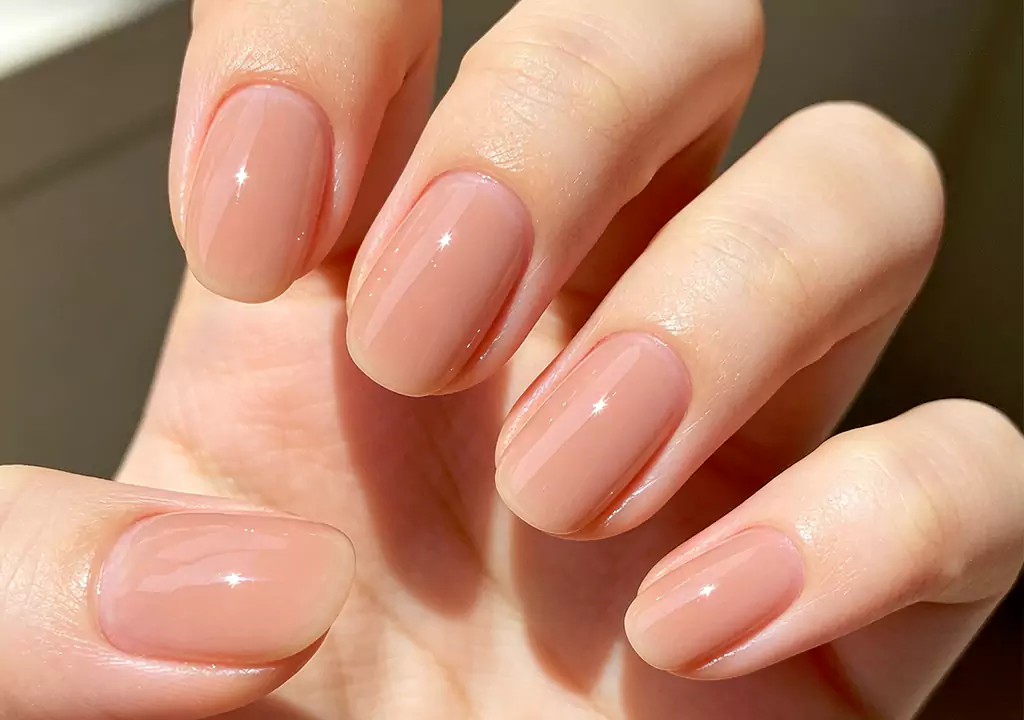
Prendersi cura della propria manicure e del proprio corpo
Dopo aver eseguito con successo la manicure, è il momento di prendersene cura. Ciò significa applicare quotidianamente un olio per cuticole, poiché le unghie idratate hanno meno probabilità di sollevarsi a causa di traumi. Se desideri cambiare manicure, puoi rimuoverla immergendola in un solvente, ma non tentare mai di staccarla o grattarla via, perché in questo modo rischieresti di rimuovere anche pezzi di unghia naturale insieme alla base in gel.
Inoltre, tieni conto della potenziale esposizione della tua pelle ai raggi UV durante il processo di polimerizzazione. Sebbene i rischi associati all'esposizione ai raggi UV siano considerati minimi dalla FDA per un uso sporadico, si raccomanda vivamente di applicare una crema solare ad ampio spettro sulle mani circa 20 minuti prima dell'appuntamento, oppure di indossare guanti protettivi anti-UV con fori sulla punta delle dita.
Il bilancio
Una manicure in gel impeccabile non dipende solo dal colore. Dipende dalla base in gel, che deve essere applicata con cura, con leggerezza e polimerizzata alla perfezione. Il tempo di polimerizzazione corretto è di 45 secondi con lampada LED e 90 secondi con lampada UV. Non cadete nella trappola di aggiungere qualche secondo in più per sicurezza con la base in gel, perché con questo prodotto è meglio usarne troppo poca che troppa.
Unendo il metodo di applicazione sopra descritto alla base in gel più adatta (ad esempio, quelle senza HEMA e TPO disponibili da Chroméclair), trasformerete la vostra normale manicure in un vero e proprio rituale di benessere. Proteggerete le vostre unghie, ne manterrete il colore naturale e la rimozione dello smalto sarà un'esperienza piacevole.
La prossima volta che ti fai una manicure fai da te, dedica quei 45 secondi del tuo tempo all'applicazione della base. Il minimo sforzo in questo processo ti darà il risultato più significativo: una manicure duratura e senza scheggiature.
 English
  Spanish
  German
  French
  Italian
  Dutch
Dutch