This tutorial shows you how to create “French shrimp line nails,” from the basic coloring to the detailed decoration, step by step, to achieve a refined effect. I have divided it into four steps to explain, and it is easy to learn, so even beginners can do it!
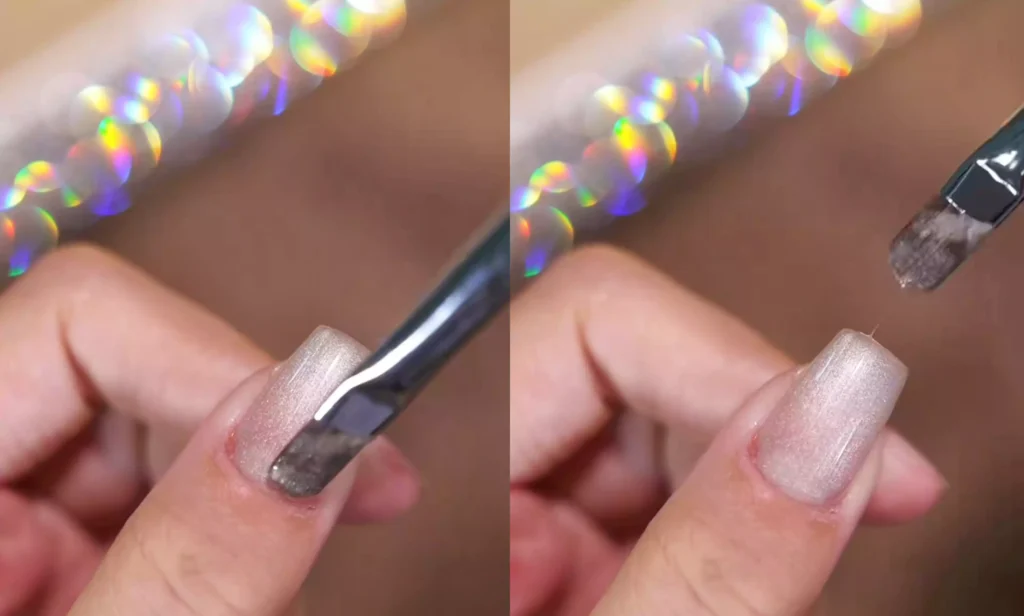
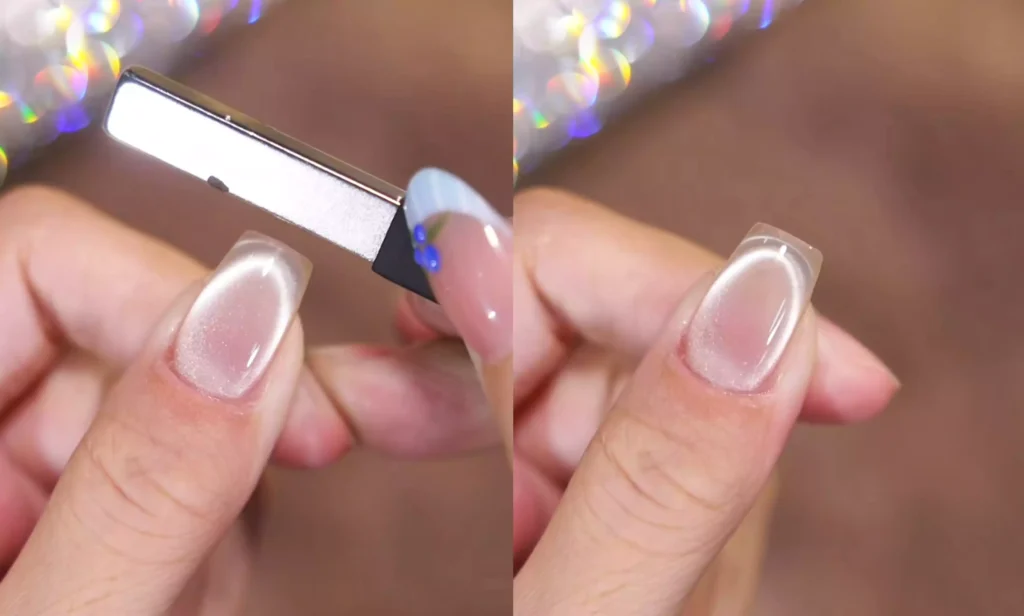
Step 1: Base coat
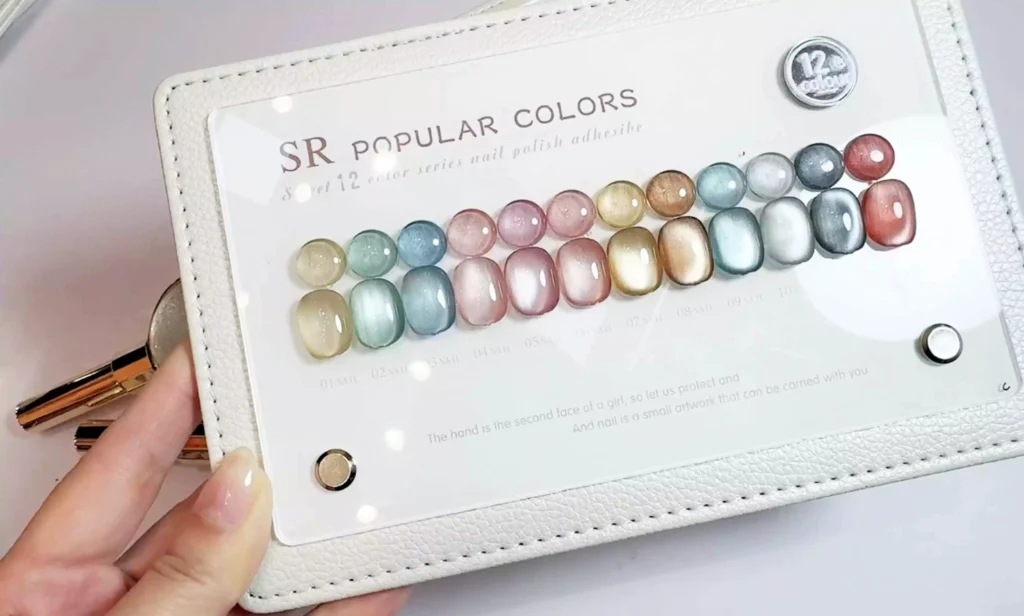
First, apply a thin coat of highly transparent cat’s eye gel polish (I used CHROMÉCLAIR’s Hema Free Gel Polish No. 424, which has a beautiful color, lasts long, flows well, and is easy to apply evenly even for beginners). This base coat should be thin and even to lay the foundation for the subsequent effects.
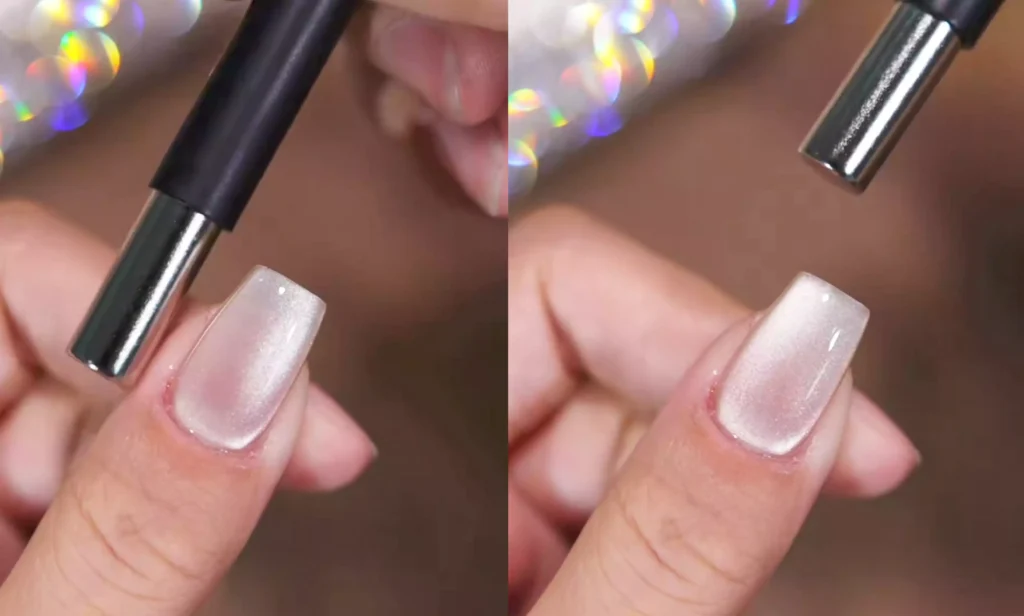
Step 2: Creating the cat’s eye effect
Take the magnetic tool, sweep it across both sides of your fingernails, wash the top, and pull out the wide light. When operating, bring the magnet close to the nail so that the magnetic powder in the gel polish is magnetized to create a wide light effect.
Recommended next step
Build the Nail Art Look Kit
Tutorial looks need more than a color bottle. Choose the color, art detail, transfer or sticker step, and a top coat as one look kit.
- Choose the main color or set.
- Add the art detail: sticker, transfer gel, magnet, or brush.
- Seal the finished look with top coat.
Next, tilt the magnet at a 45-degree angle and observe the nail. When a clear halo appears, adjust the position of the magnet up and down.
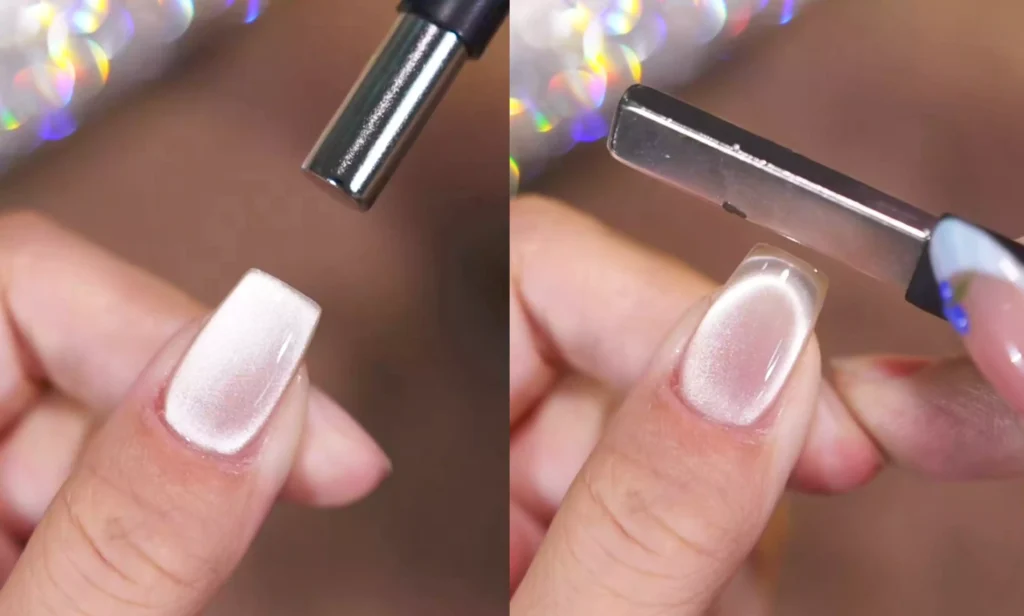
This will give the nail surface a unique effect similar to multiple layers of double eyelid rings, making the cat’s eye effect more layered. After completing the magnetic attraction operation, immediately use a lamp to dry the gel polish and fix the cat’s eye effect.
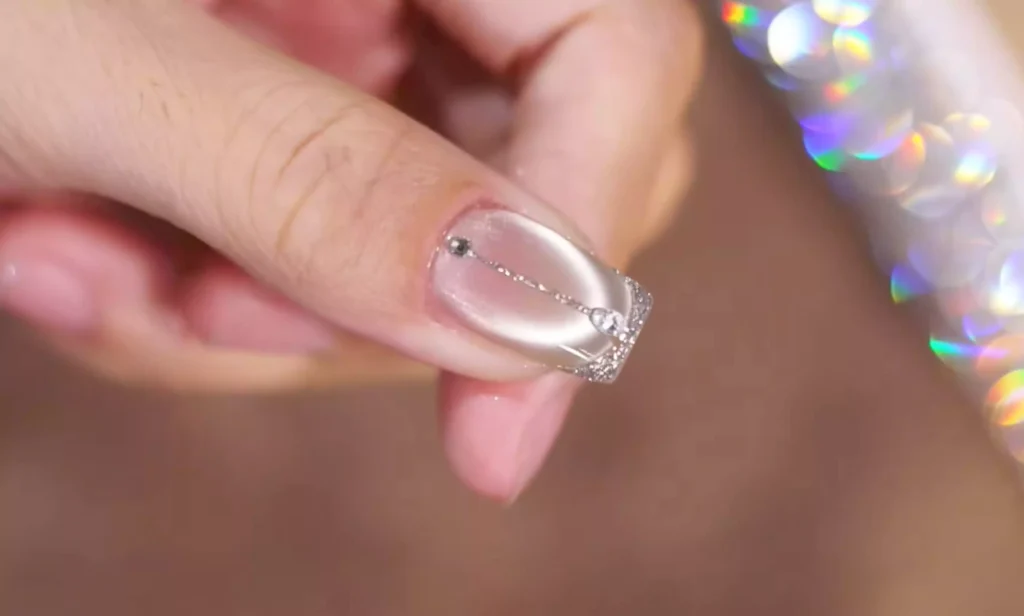
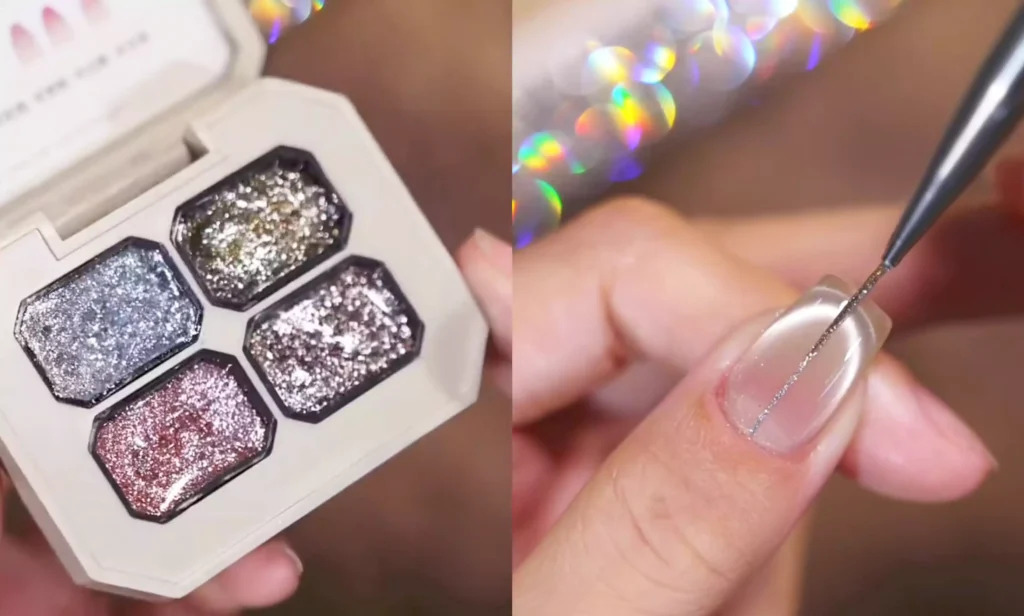
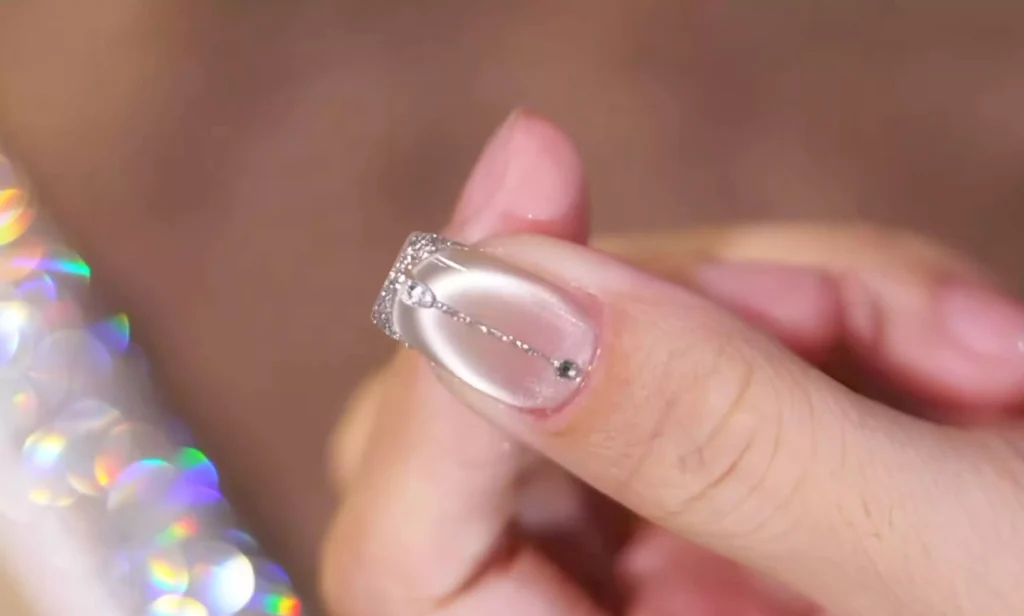
Step 3: Shrimp line and French manicure
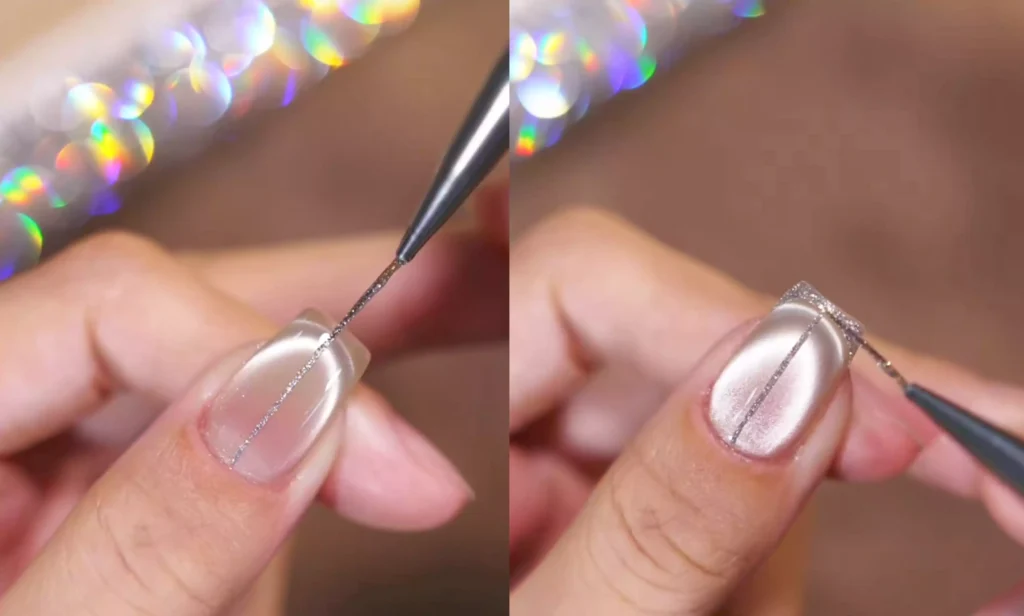
Use a liner pen and dip it in silver platinum glue. First, draw a shiny eyeliner-like “shrimp line” in the middle of the nail. The line should be smooth and thin.
Then draw French tips on the fingertips to give the manicure a more classic French look.
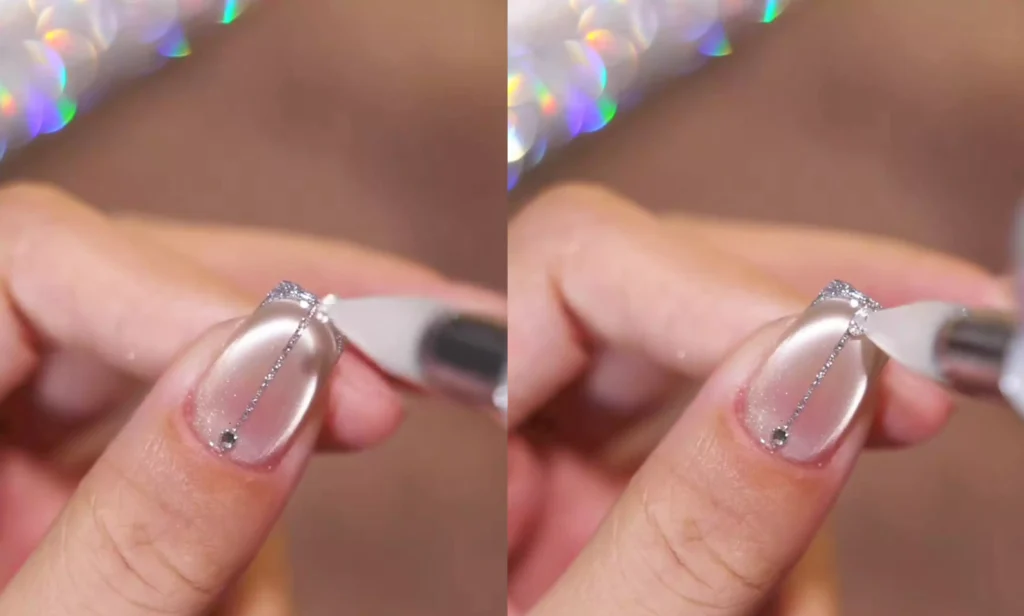
Step 4: Decorate and embellish
Finally, add small diamonds to the nails. Use adhesive to attach the diamonds in the appropriate positions to add a touch of elegance and glamour. At this point, the French shrimp line manicure is complete.
Conclusion:
By following the steps above, you can create French shrimp line nails that are both simple and sophisticated. Every step, from the base color to the decoration, pays attention to detail, ultimately presenting a unique and eye-catching effect on your fingertips.
In the tutorial, I used CHROMÉCLAIR’s HEMA-free Gel Polish. Their products are known for being safe and hypoallergenic (HEMA-free & TPO-free), environmentally friendly, and free of irritating and harmful ingredients, protecting the health of your nails. They offer a wide range of colors, long-lasting color retention (around 21 days), and keep up with the latest trends, so you can use them with confidence and look great!
If you have any questions during the process, the video tutorial below provides detailed answers. If you find it useful, don’t forget to like and save it, and subscribe! See you next time!