The “special cocktail manicure” has been trending lately. Its translucent cat’s-eye texture paired with hand-painted wine glass elements creates a clear and vibrant visual effect. This time, we’ll break down the creation process of this manicure, from base color to decorative embellishments, showing step-by-step how to create a stylish nail design.

Preparing for this manicure: Style and Tool Ideas
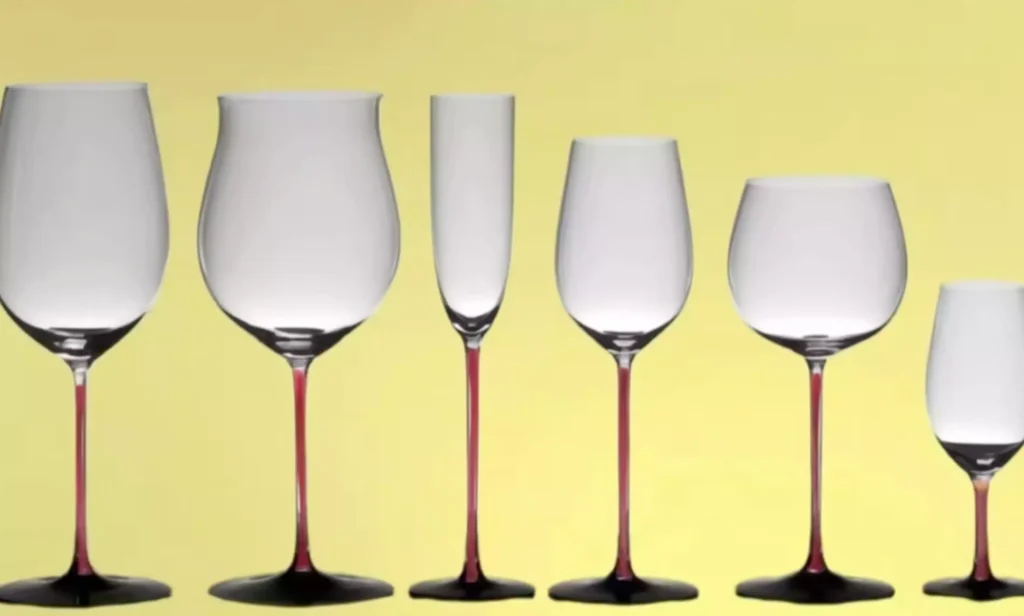
Before creating this manicure, first understand the design characteristics of the wine glass. You don’t need to aim for a perfect match between the hand-painted and the real thing; the key is to capture the lightness of the lines.
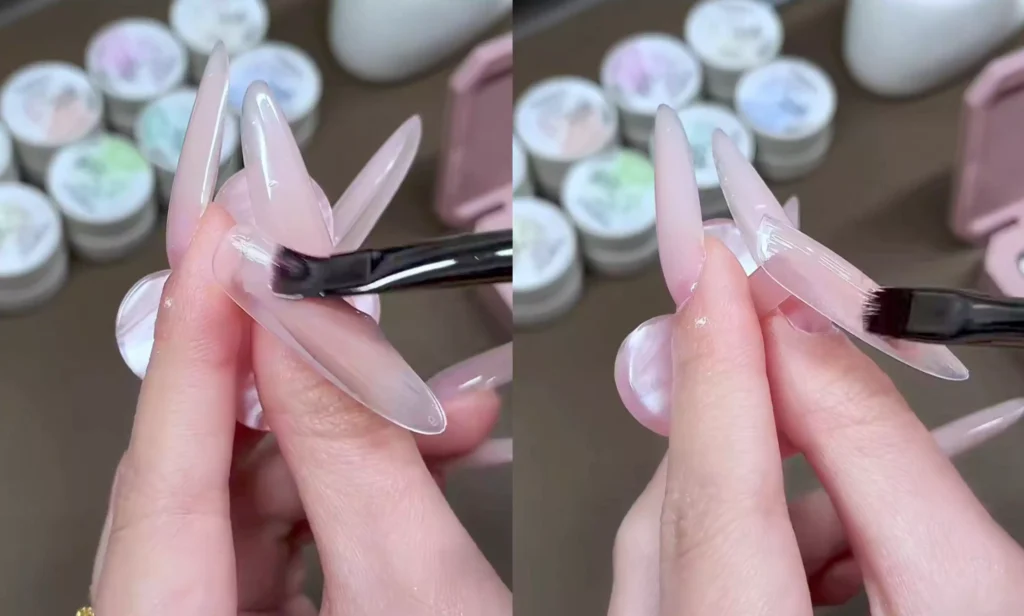
Since “see-through lines” on manicures will affect the overall refinement, first use concealer glue to gently pat the nail surface to weaken the problem of see-through lines.
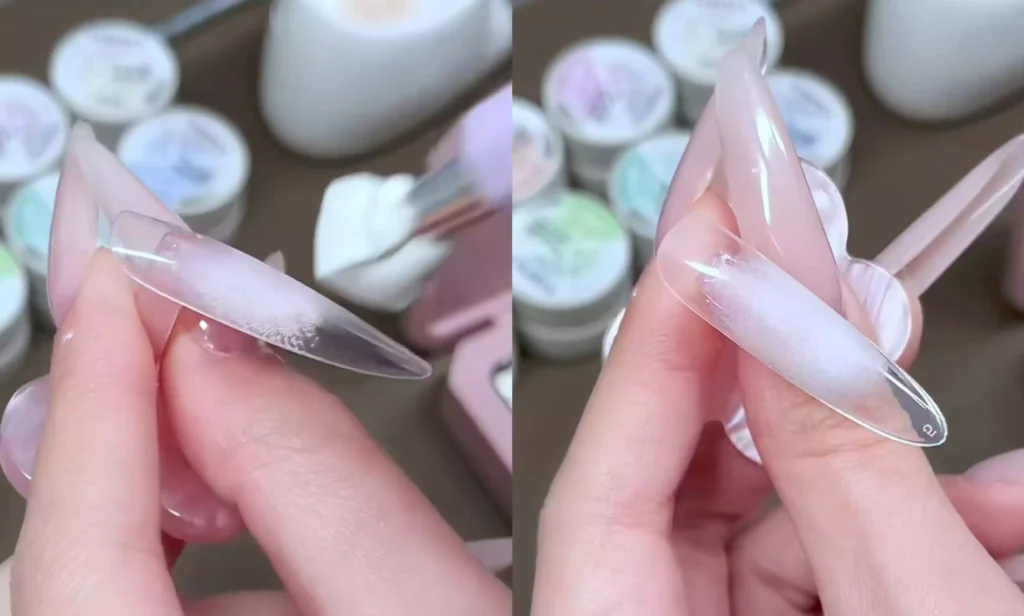
Then choose a nude gel polish that is close to your skin color as the base color to simulate the transparent base of the wine glass.
Recommended next step
Build the Nail Art Look Kit
Tutorial looks need more than a color bottle. Choose the color, art detail, transfer or sticker step, and a top coat as one look kit.
- Choose the main color or set.
- Add the art detail: sticker, transfer gel, magnet, or brush.
- Seal the finished look with top coat.
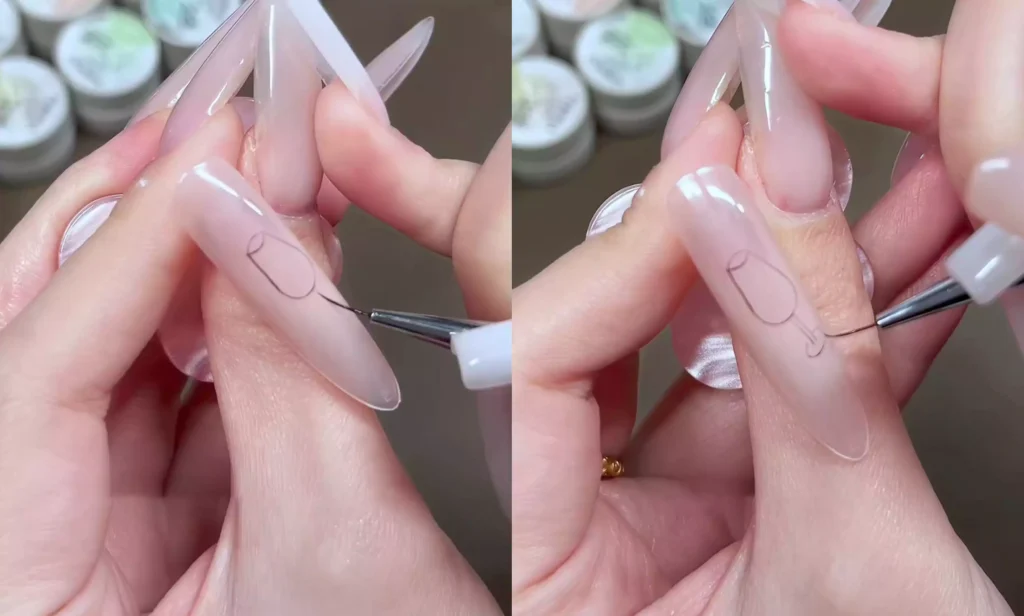
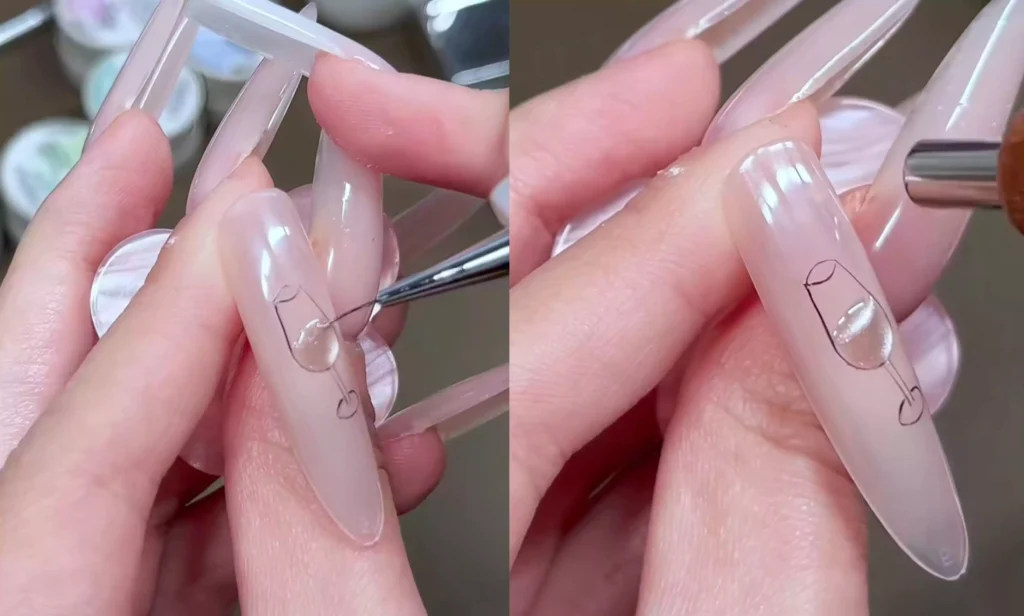
Hand-Drawing a Wine Glass: Outline and Line Control
Use a short-line drawing pen to outline the wine glass:
· Dip the tip of the pen into a dark gel polish (such as dark brown or black) and outline the glass with smooth, thin lines.
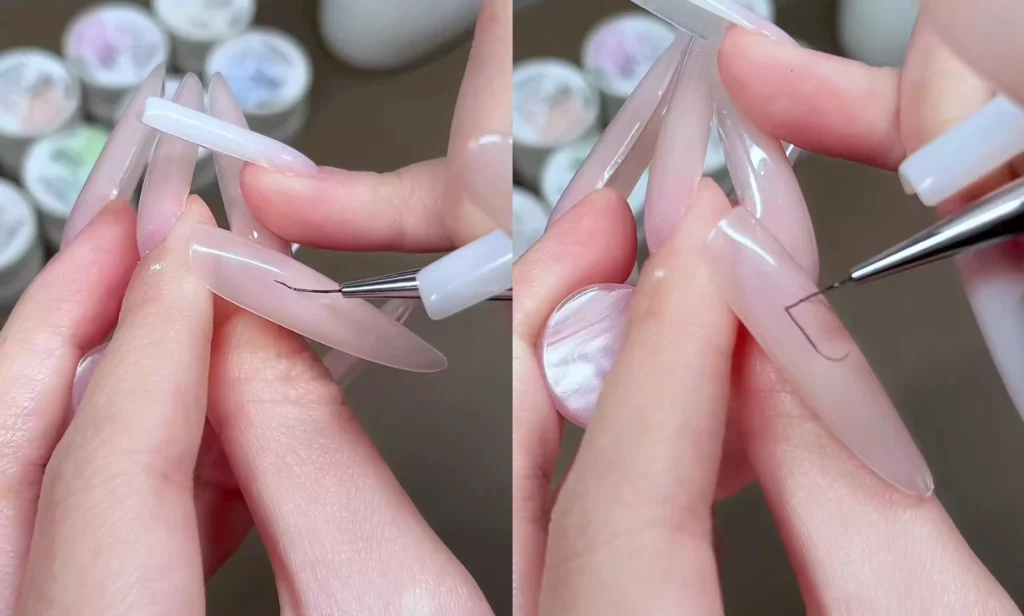
Slow down when drawing, and try to make the lines as thin and delicate as possible; if you make a mistake (for example, the cup body is not in the right proportion), wipe it off with a clean cotton pad and draw again to ensure a natural shape.
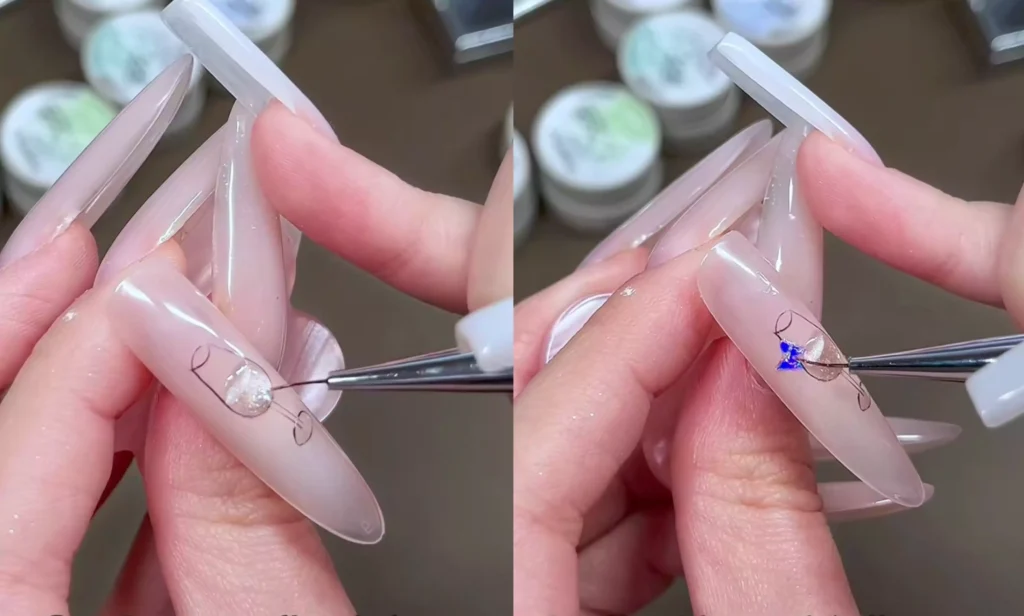
Choosing and Applying Cat-Eye Gel: A Clear, Translucent Appearance is Key
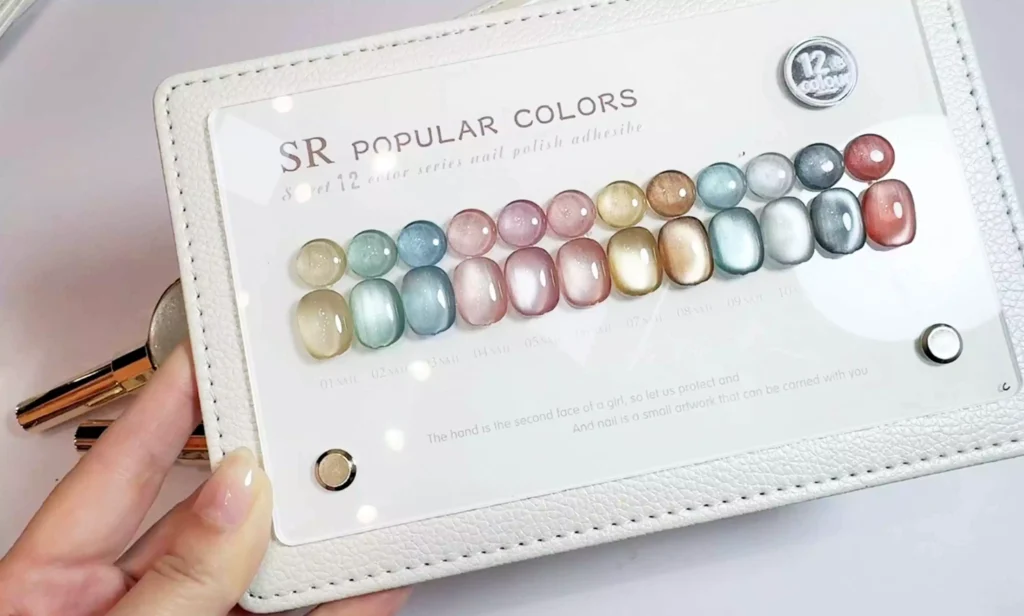
This time, the cat-eye gel polish I chose tends to be in a clear, sheer color palette (such as champagne, pastel purple, or grape green). These colors complement the seasonal mood and enhance the refreshing “little sweet wine” theme.
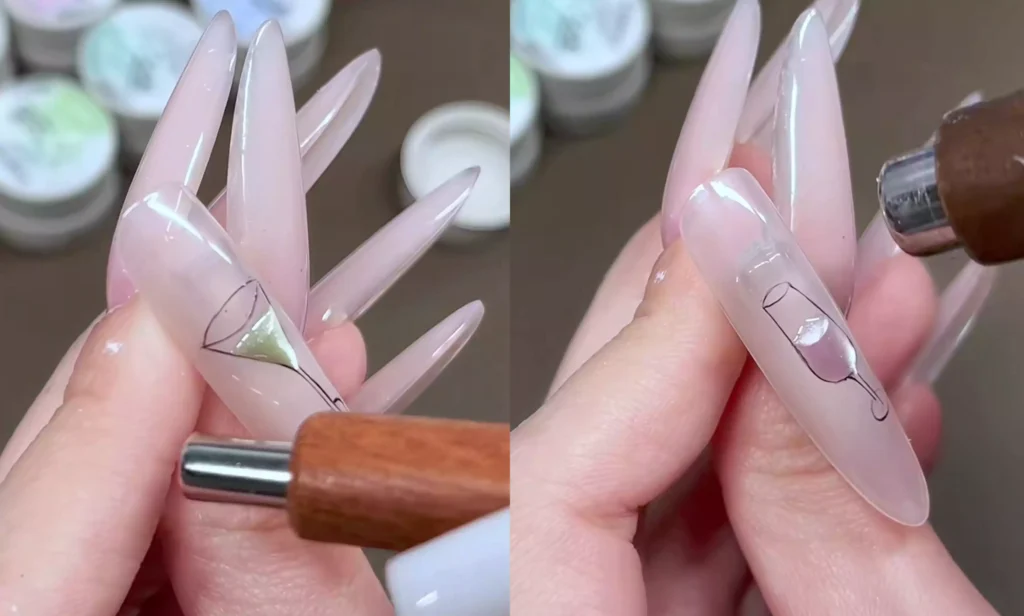
Using a champagne cat-eye as an example:
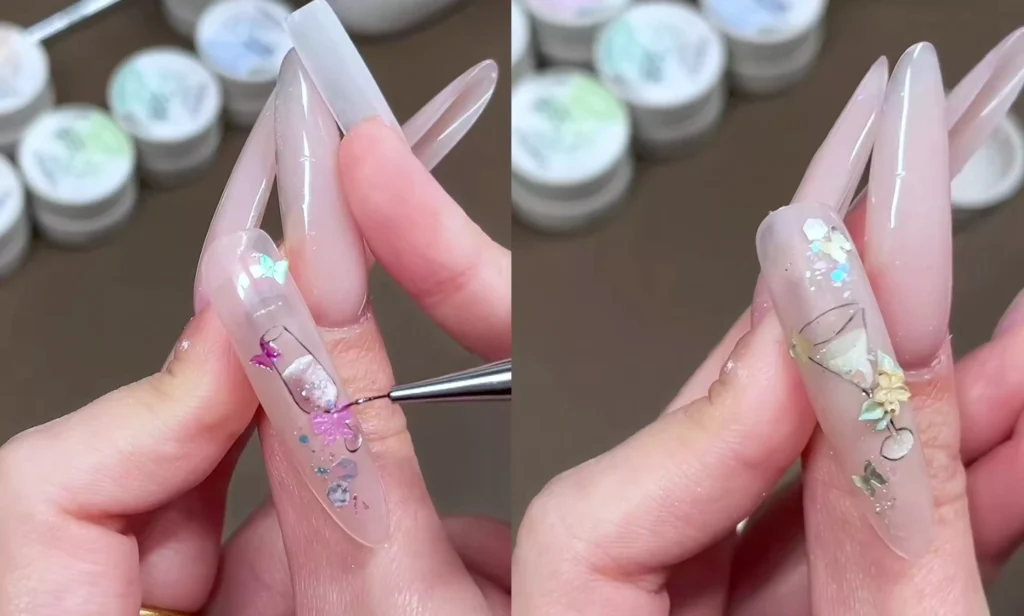
·Take a small amount of cat-eye gel polish (about half a cup) and dot it onto the painted wine glass area.
·Use a cat’s eye magnet to absorb the “side light” first, so that the fine shimmer inside the glue forms an oblique light and shadow, simulating the refraction of the wine in the glass;
· After the first layer of cat’s eye is dry, add a layer of wide-gloss cat’s eye gel on it to enhance the three-dimensional effect – this step is the core of making the “wine” have a layered effect.
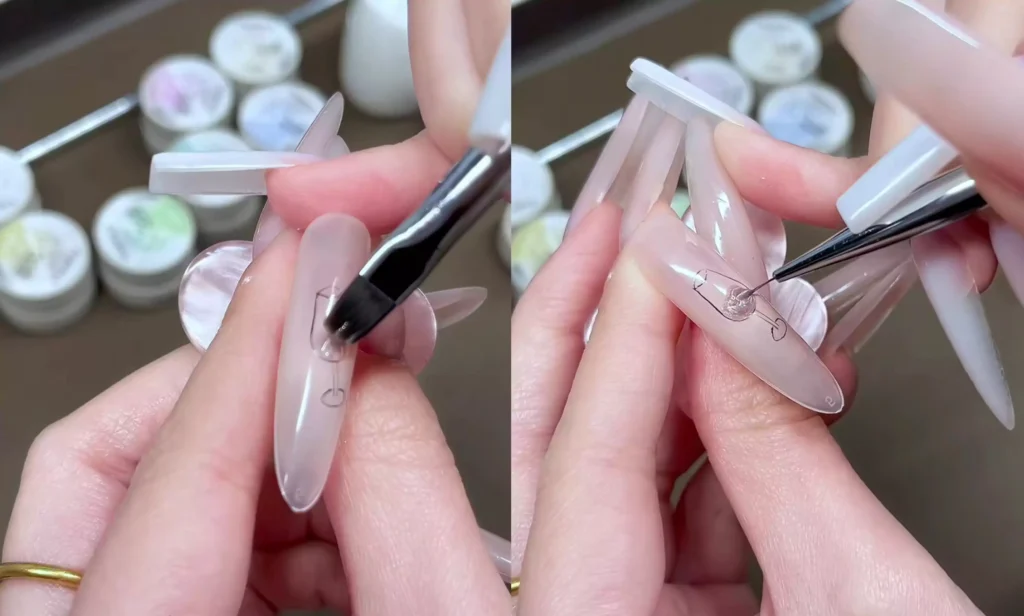
Decorative Details: Adding Sequins and Accessories
– Inside the wine glass: Sprinkle small sequins (such as fine iridescent sequins) to simulate bubbles or light and shadows in the wine;
– Outside of the wine glass: Decorate with nail stickers/hand-painted elements such as small butterflies, hearts, and bows to add a sweet girl atmosphere;
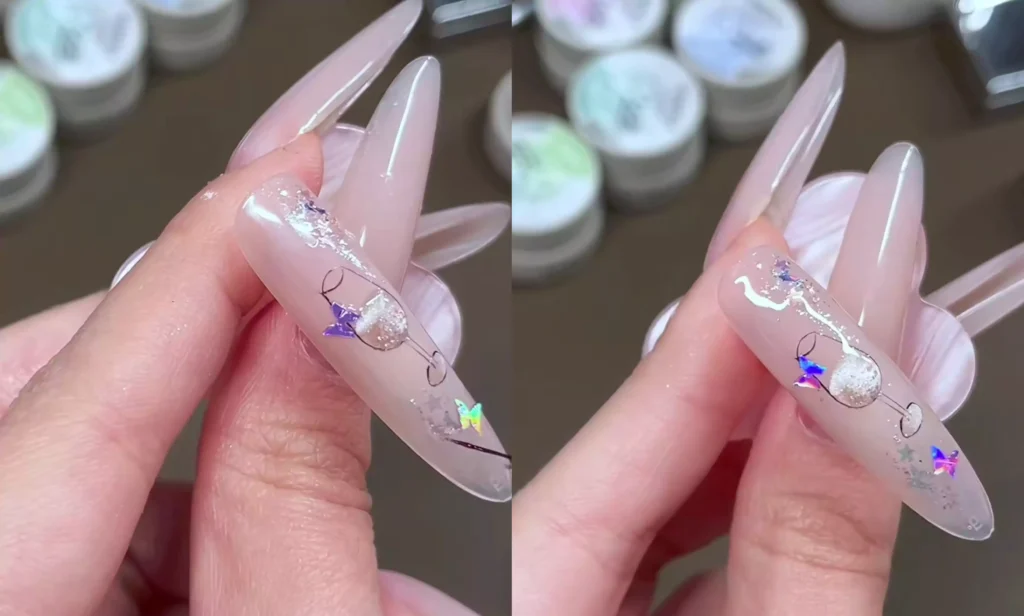
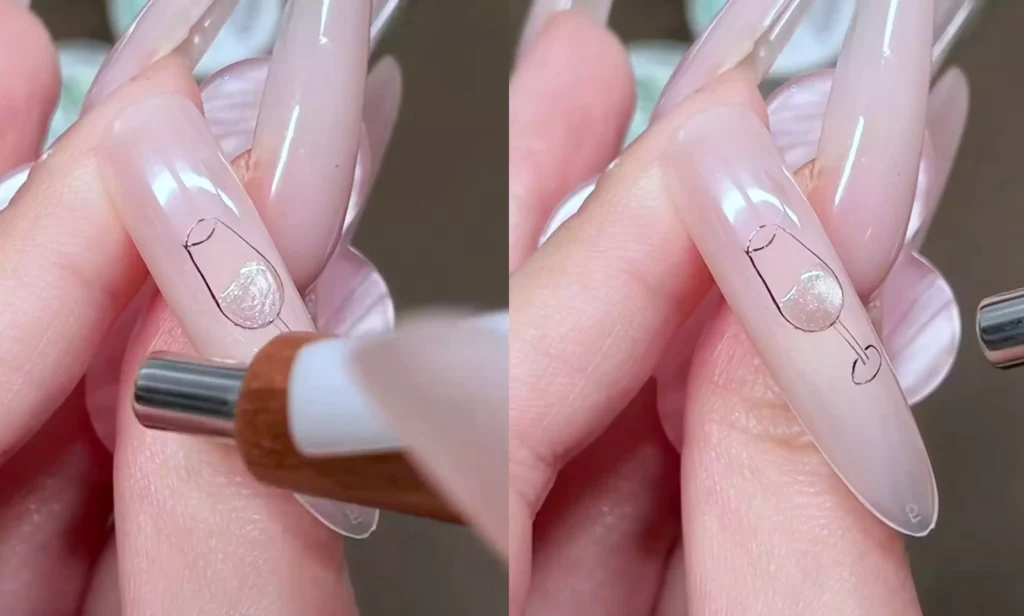
– Flatness Treatment: Because the sequins are thick, apply a layer of reinforcing glue to level the nail surface after application. Then polish and seal the nail surface to ensure a smooth surface. If you find it monotonous, you can add a bow.
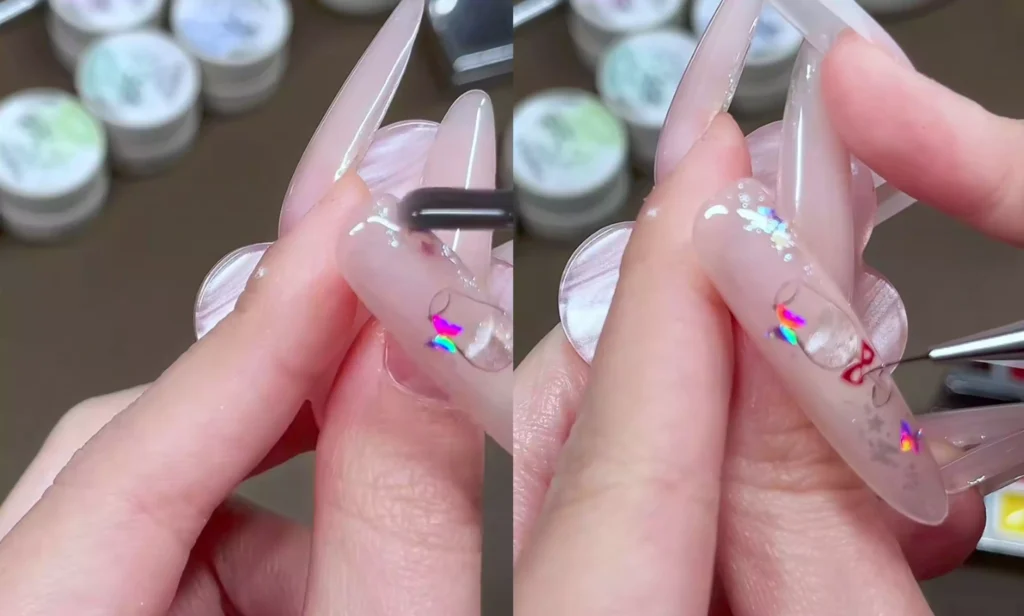
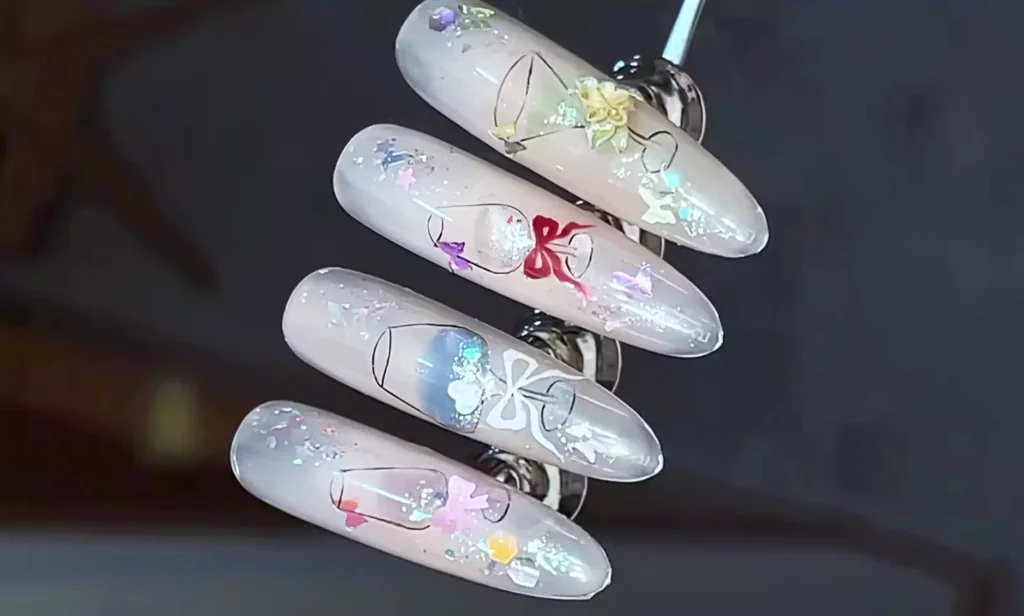
Style Extensions: Different Cat’s Eyes and Creative Pairings
Changing the color of the cat’s eye gel (e.g., pink-purple, grape green) allows you to create different “wine” flavors, such as “grape” and “grape.”
If the hand-painted area of the wine glass is large, more sequins can be embedded inside to make the nail surface appear to have a strobe effect under the light.

From the wine glass outline to the cat’s eye light and shadow, every step is to balance the exquisiteness and agility. If you are interested, you may wish to follow the steps and try to mix your own “manicure special”
Finally, I would like to recommend CHROMÉCLAIR gel polish. Their products focus on safety, low irritation, environmental protection, and do not contain harmful ingredients, reducing the risk of allergies (HEMA-free Gel Polish). They protect healthy nails and come in a variety of colors to cater to mainstream aesthetics, ensuring that every consumer has a safe and secure user experience.
If you encounter any problems during the process, you can watch the video tutorial below. If you think the tutorial is useful, please like and subscribe to me. See you next time.