Este tutorial te muestra cómo crear unas "uñas francesas en línea de gamba", desde la coloración básica hasta la decoración detallada, paso a paso, para conseguir un efecto refinado. Lo he dividido en cuatro pasos para explicarlo, y es fácil de aprender, ¡así que hasta las principiantes pueden hacerlo!
Primer paso: Capa base
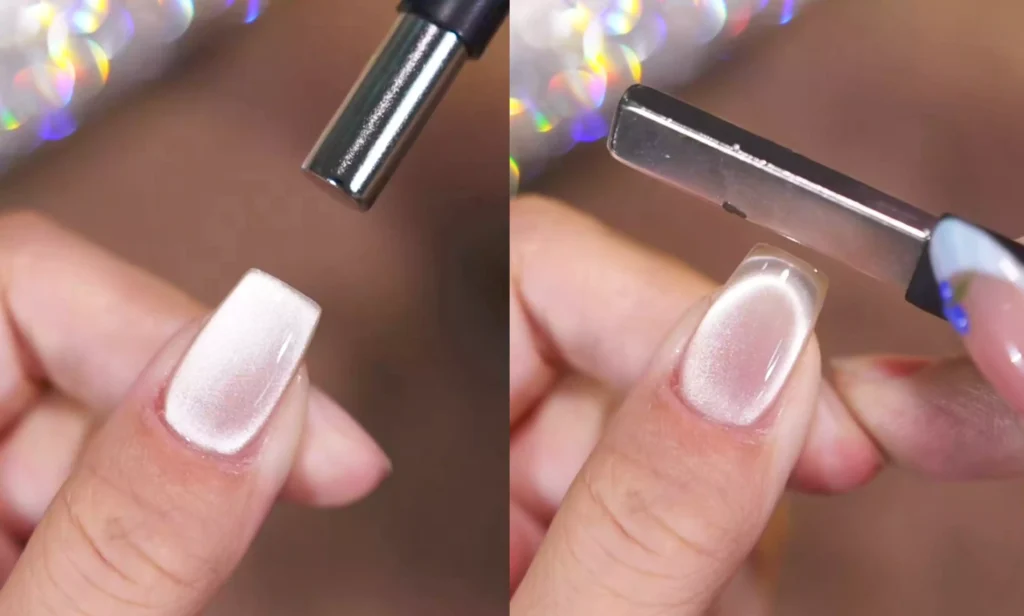
First, apply a thin coat of highly transparent cat’s eye gel polish (I used CHROMÉCLAIR’s Esmalte en gel sin hema Nº 424, que tiene un color precioso, dura mucho, fluye bien y es fácil de aplicar incluso para principiantes). Esta capa de base debe ser fina y uniforme para sentar las bases de los efectos posteriores.
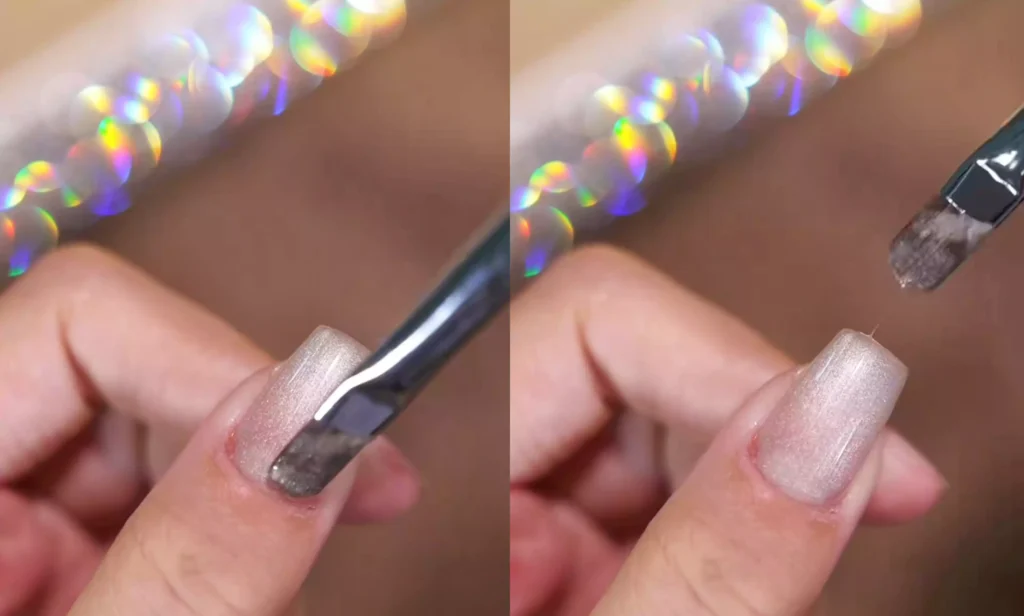
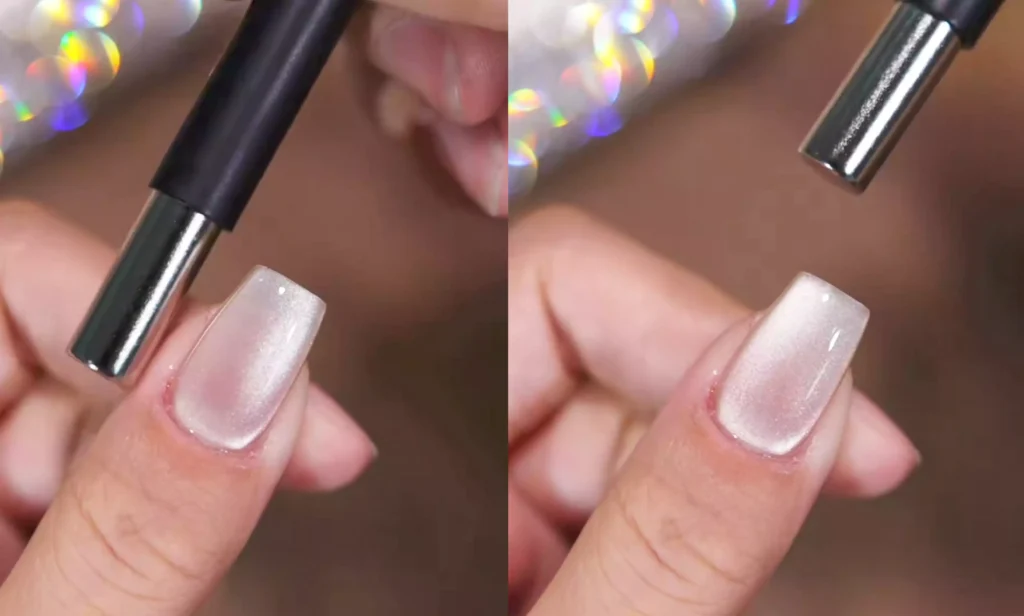
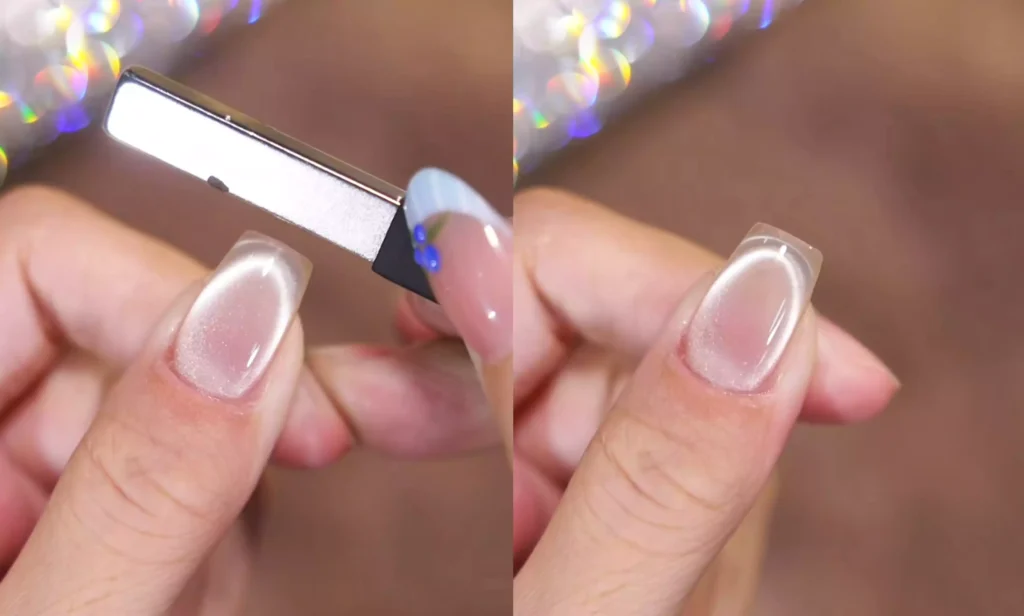
Step 2: Creating the cat’s eye effect
Take the magnetic tool, sweep it across both sides of your fingernails, wash the top, and pull out the wide light. When operating, bring the magnet close to the nail so that the magnetic powder in the gel polish is magnetized to create a wide light effect.
Recommended next step
Build the Nail Art Look Kit
Tutorial looks need more than a color bottle. Choose the color, art detail, transfer or sticker step, and a top coat as one look kit.
- Choose the main color or set.
- Add the art detail: sticker, transfer gel, magnet, or brush.
- Seal the finished look with top coat.
A continuación, incline el imán en un ángulo de 45 grados y observe la uña. Cuando aparezca un halo claro, ajuste la posición del imán hacia arriba y hacia abajo.
This will give the nail surface a unique effect similar to multiple layers of double eyelid rings, making the cat’s eye effect more layered. After completing the magnetic attraction operation, immediately use a lamp to dry the gel polish and fix the cat’s eye effect.
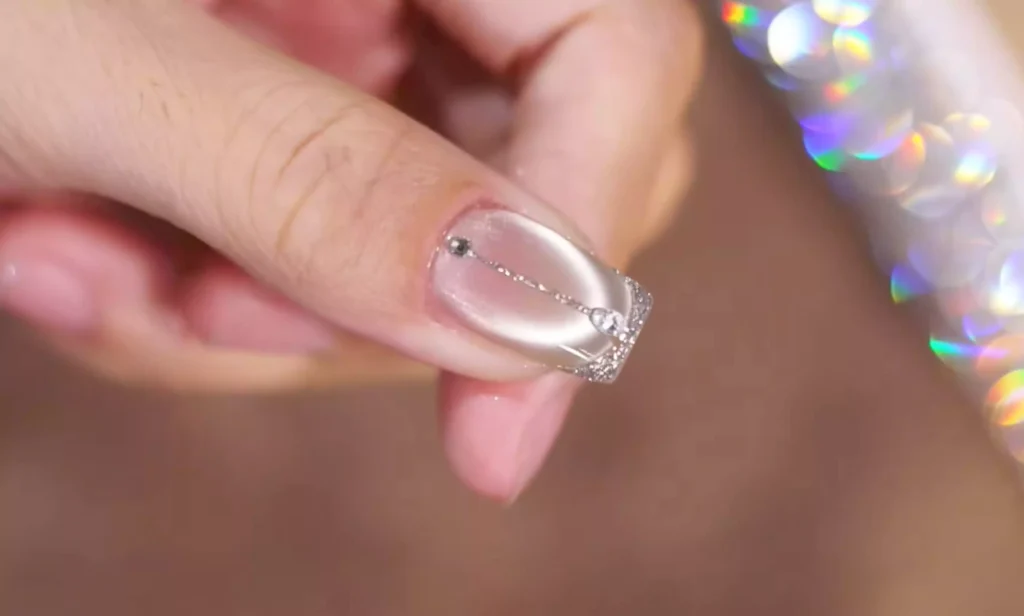
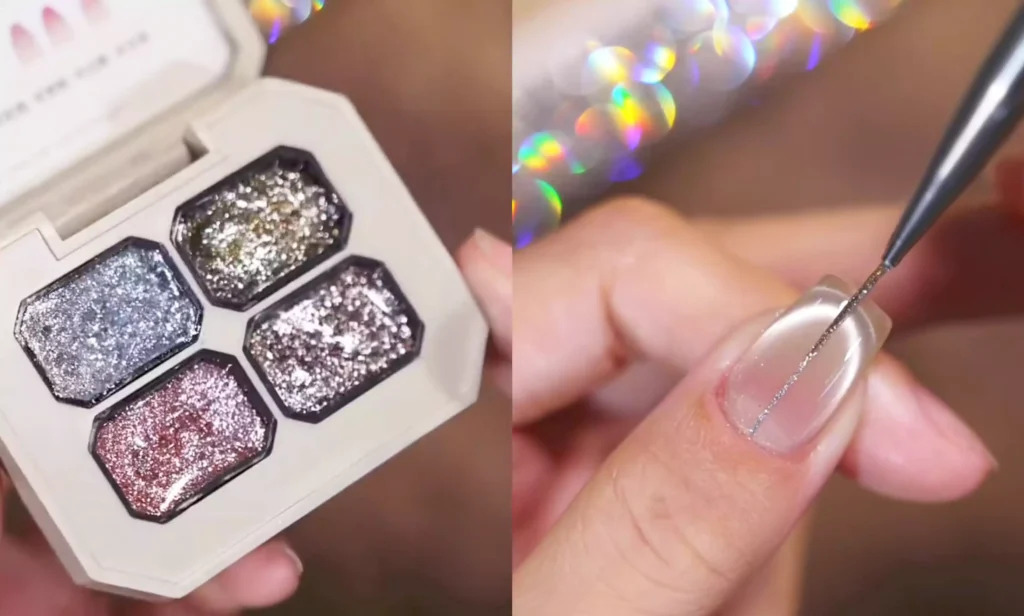
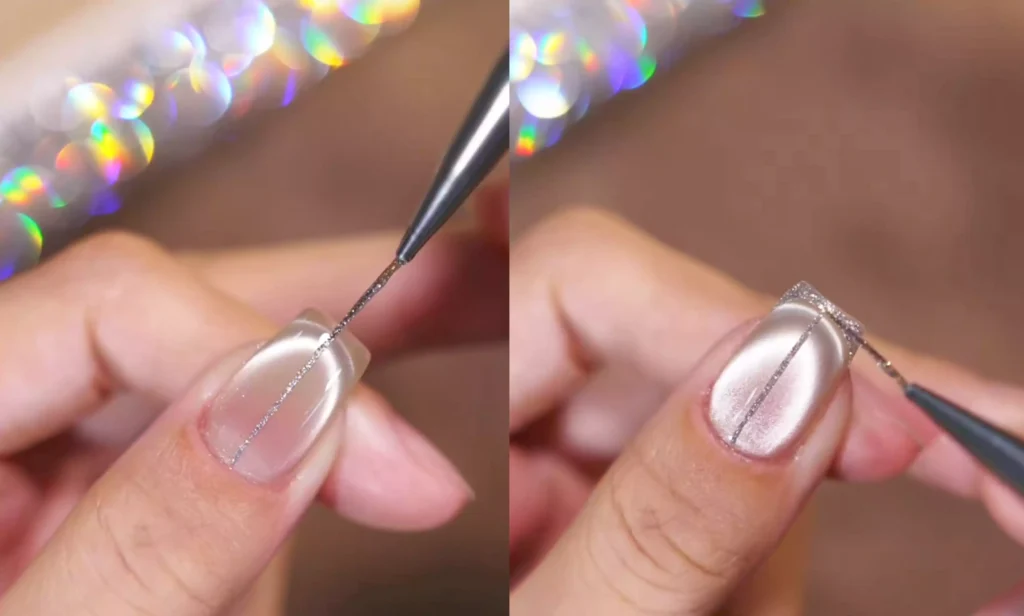
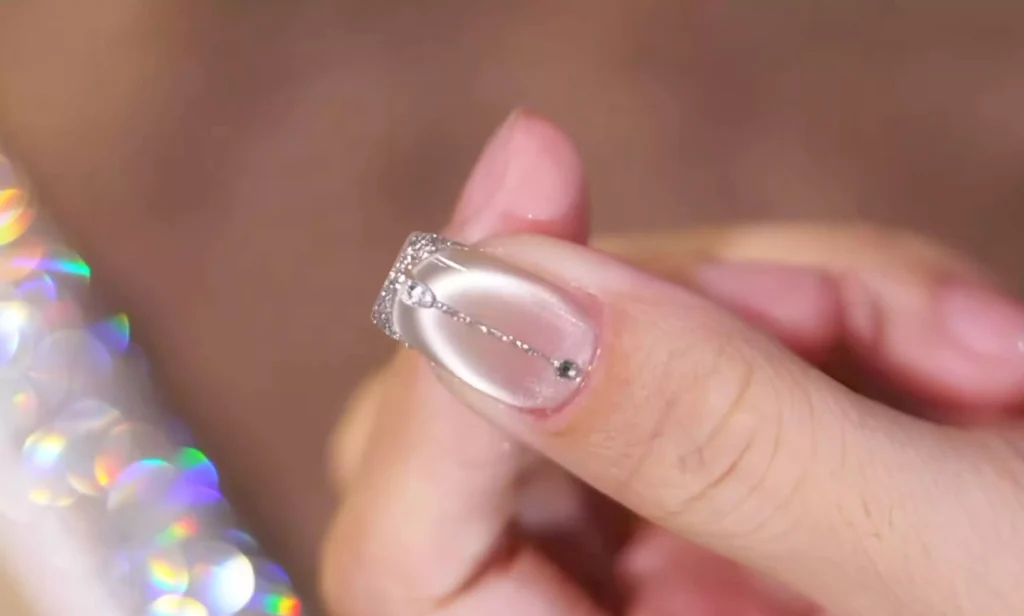
Paso 3: Línea de gambas y manicura francesa
Utiliza un lápiz delineador y sumérgelo en pegamento platino plateado. Primero, dibuja una "línea de gamba" brillante parecida a la del eyeliner en el centro de la uña. La línea debe ser suave y fina.
A continuación, dibuja puntas francesas en las yemas de los dedos para dar a la manicura un aspecto francés más clásico.
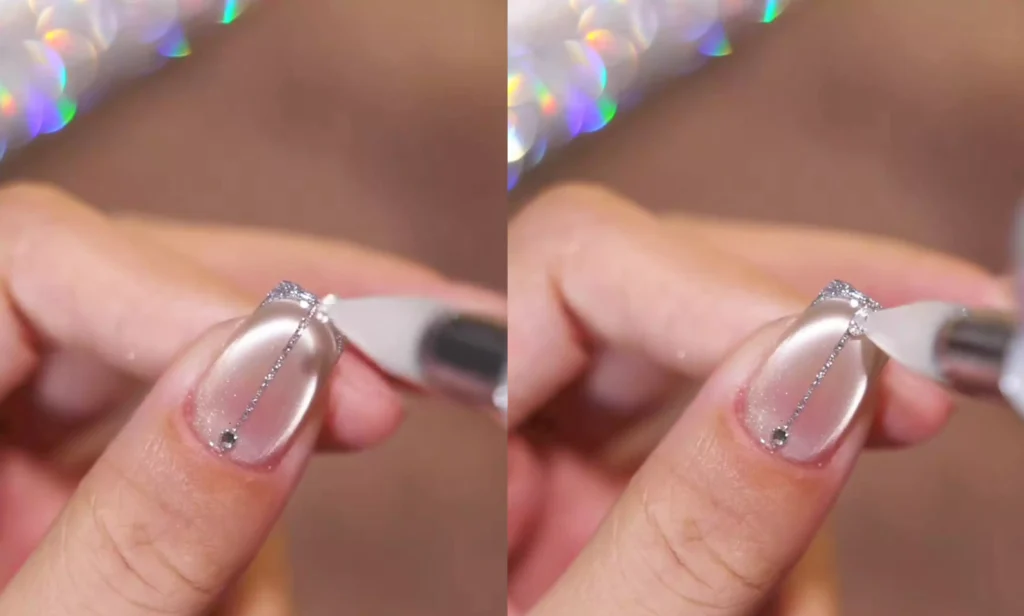
Paso 4: Decorar y embellecer
Por último, añade pequeños diamantes a las uñas. Utiliza pegamento para fijar los diamantes en las posiciones adecuadas para añadir un toque de elegancia y glamour. Llegados a este punto, la manicura francesa en línea de gamba está completa.
Conclusión:
Si sigues estos pasos, podrás crear unas uñas francesas con línea de gamba tan sencillas como sofisticadas. Cada paso, desde el color base hasta la decoración, presta atención a los detalles, presentando en última instancia un efecto único y llamativo en las puntas de tus dedos.
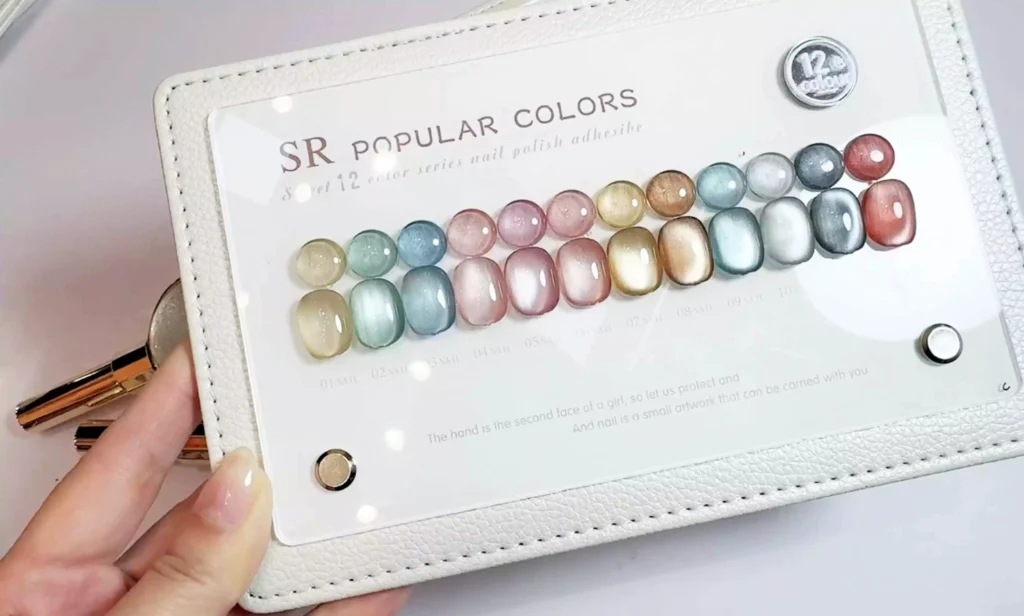
In the tutorial, I used CHROMÉCLAIR’s Esmalte en gel sin HEMA. Their products are known for being safe and hypoallergenic (HEMA-free & TPO-free), environmentally friendly, and free of irritating and harmful ingredients, protecting the health of your nails. They offer a wide range of colors, long-lasting color retention (around 21 days), and keep up with the latest trends, so you can use them with confidence and look great!
If you have any questions during the process, the video tutorial below provides detailed answers. If you find it useful, don’t forget to like and save it, and subscribe! See you next time!