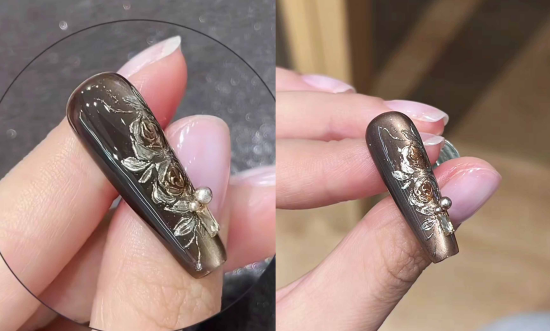
In diesem Tutorial wird ein "retro 3D floral" Nailart-Tutorial gezeigt, das von der Grundfarbe über das 3D-Blumendesign bis hin zum Puderlack reicht. Mit einer Schritt-für-Schritt-Anleitung wird eine luxuriöse Textur geschaffen.
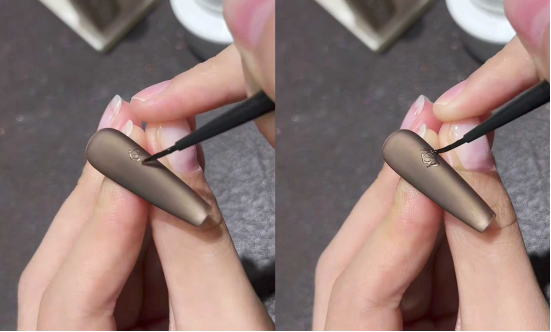
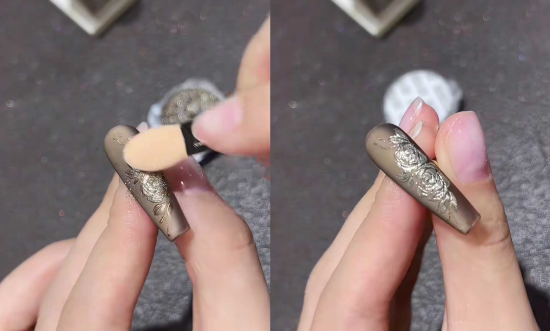
Schritt 1: Erstellen Sie die Grundfarbe für das Katzenauge
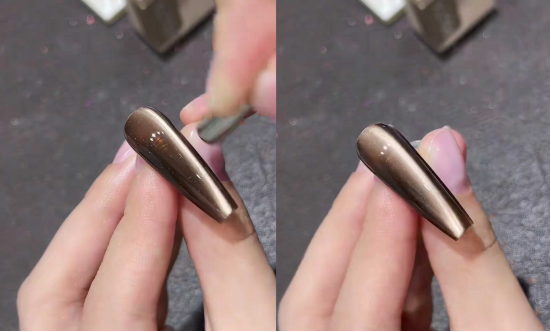
Tragen Sie eine dünne Schicht kupferfarbener Katzenaugen-Gelpolitur gel to the entire nail (I used CHROMÉCLAIR’s Hema Free Gel Polish Nr. 807, die eine anspruchsvolle, hochwertige Farbe hat und ungiftig und gesund ist).
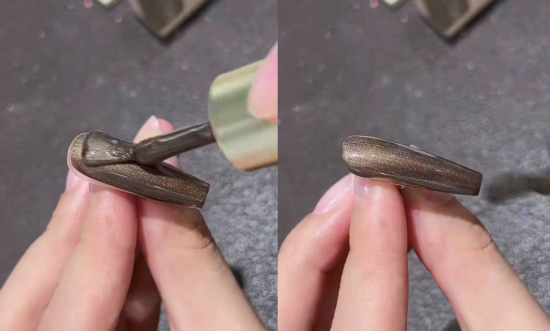
Use a magnet to sweep back and forth on one side of the nail surface to create a noticeable side glow. This cat’s eye gel magnetic powder is densely concentrated, so even a quick sweep can give the nail surface a metallic luster, laying a luxurious foundation for a retro look.
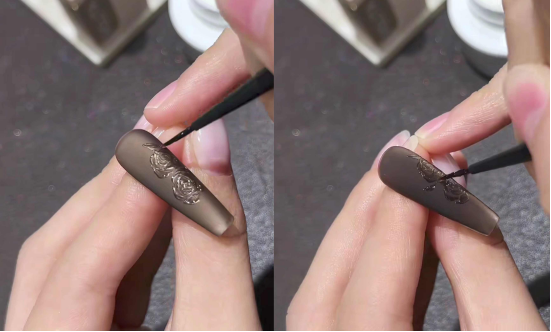
Schritt 2: Matte Versiegelung nach russischer Art + dreidimensionales Schnitzen
Recommended next step
Build the Nail Art Look Kit
Tutorial looks need more than a color bottle. Choose the color, art detail, transfer or sticker step, and a top coat as one look kit.
- Choose the main color or set.
- Add the art detail: sticker, transfer gel, magnet, or brush.
- Seal the finished look with top coat.
– First apply Russian-style matte sealant: the matte texture makes the subsequent carving more three-dimensional and avoids the sticky feeling of a glossy finish.
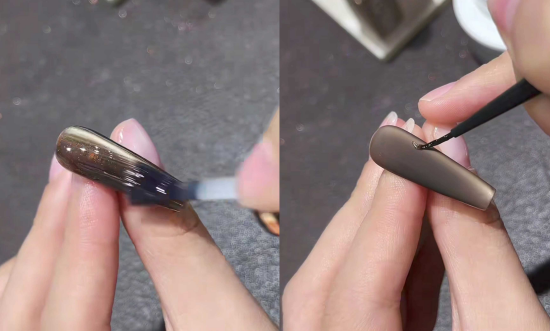
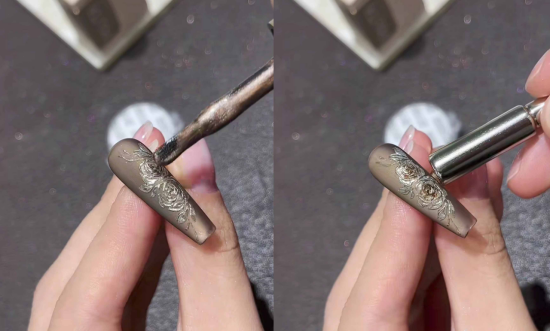
– Take some “non-collapsible modeling clay” and use a fine brush to draw the petals using a “light touch – heavy pressure – light lift” technique: starting from the center of the flower and working outward.
Die unregelmäßigen Dreiecke stellen die natürlichen Falten der alten Rosen dar, die von innen nach außen und von groß nach klein geschichtet werden, so dass die Struktur der Blütenblätter deutlich wird und nicht zusammenfällt.

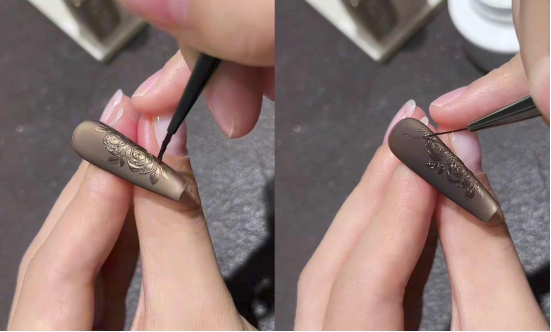
– Decorate with leaves: Draw leaf shapes next to the flowers, one next to the other.
Die Pinselstriche folgen eng den Rändern der Blütenblätter und simulieren so das Wachstumsmuster echter Blumen.
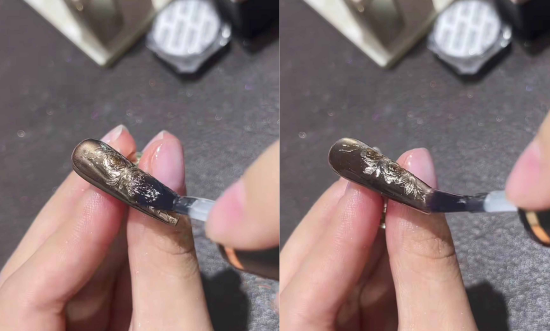
Schritt 3: Felsgold-Pulver + detaillierte Färbung
– After curing the modeling glue under a lamp, take some rock gold powder and lightly rub it onto the carved areas with a sponge.
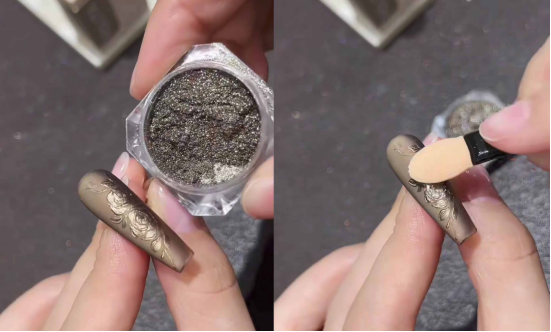
Fegen Sie alle Puderreste weg. Der goldene Puder verschmilzt mit der matten Basis und sorgt für einen subtilen, luxuriösen Look.
– Apply (807 color glue)to the center of the flower, use a magnet to remove some of the cat’s eye magnetic powder, and allow the center of the flower to appear “amber-colored,” naturally blending from the center to the edges to enhance the vintage layers.
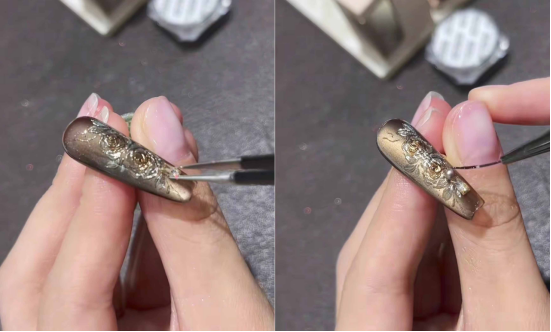
Schritt 4: Versiegeln und Verzieren
– Apply a layer of Magic Mirror Powder to cover the entire nail. This will fix the gold powder in place, protect the carving, and restore the translucent luster of the nail surface.
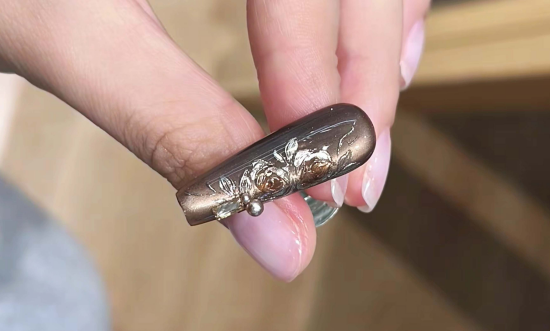
– Apply exquisite metal/pearl accessories to flowers or blank areas of the nail surface, secure with base glue, and complete the retro look.
Schlussfolgerung
Once completed, the nail surface will have both the shimmering texture of cat’s eyes and the vintage elegance of three-dimensional carvings, making it a sophisticated match for any style of clothing. By following the steps, even beginners can recreate luxurious and elegant nails.
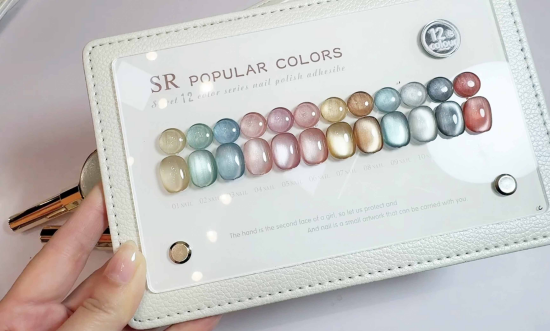
In the tutorial, I used CHROMÉCLAIR’s HEMA-freie Gel-Politur. Their products are safe and hypoallergenic (HEMA-free & TPO-free), environmentally friendly, and free of irritating and harmful ingredients, protecting the health of your nails. There is a wide range of colors to choose from, keeping up with the latest trends, so you can use them with confidence and look good!
Wenn Sie während des Prozesses auf Probleme stoßen, können Sie sich das Video-Tutorial unten ansehen. Wenn Sie das Tutorial nützlich finden und es Ihnen gefällt, vergessen Sie nicht, einen Daumen hoch zu geben, es zu speichern und mich zu abonnieren. Bis zum nächsten Mal!