You cure your nails, pull your hand out from under the lamp, and instead of that glossy, salon-perfect finish… they’re still tacky. Or wrinkled. Or already peeling at the edges. Sound familiar?
The thing is, there are very few problems with nail gels that don’t have a very obvious reason and solution. Once you know what you’re looking for, you’ll spend less time fixing problems and more time enjoying your manicure. Let’s break it all down.
1. Why Won’t My Nail Gel Cure?
Non c'è niente di più frustrante che affrontare l'intero processo per poi ritrovarsi con unghie molli e appiccicose. Ecco i quattro colpevoli più comuni.
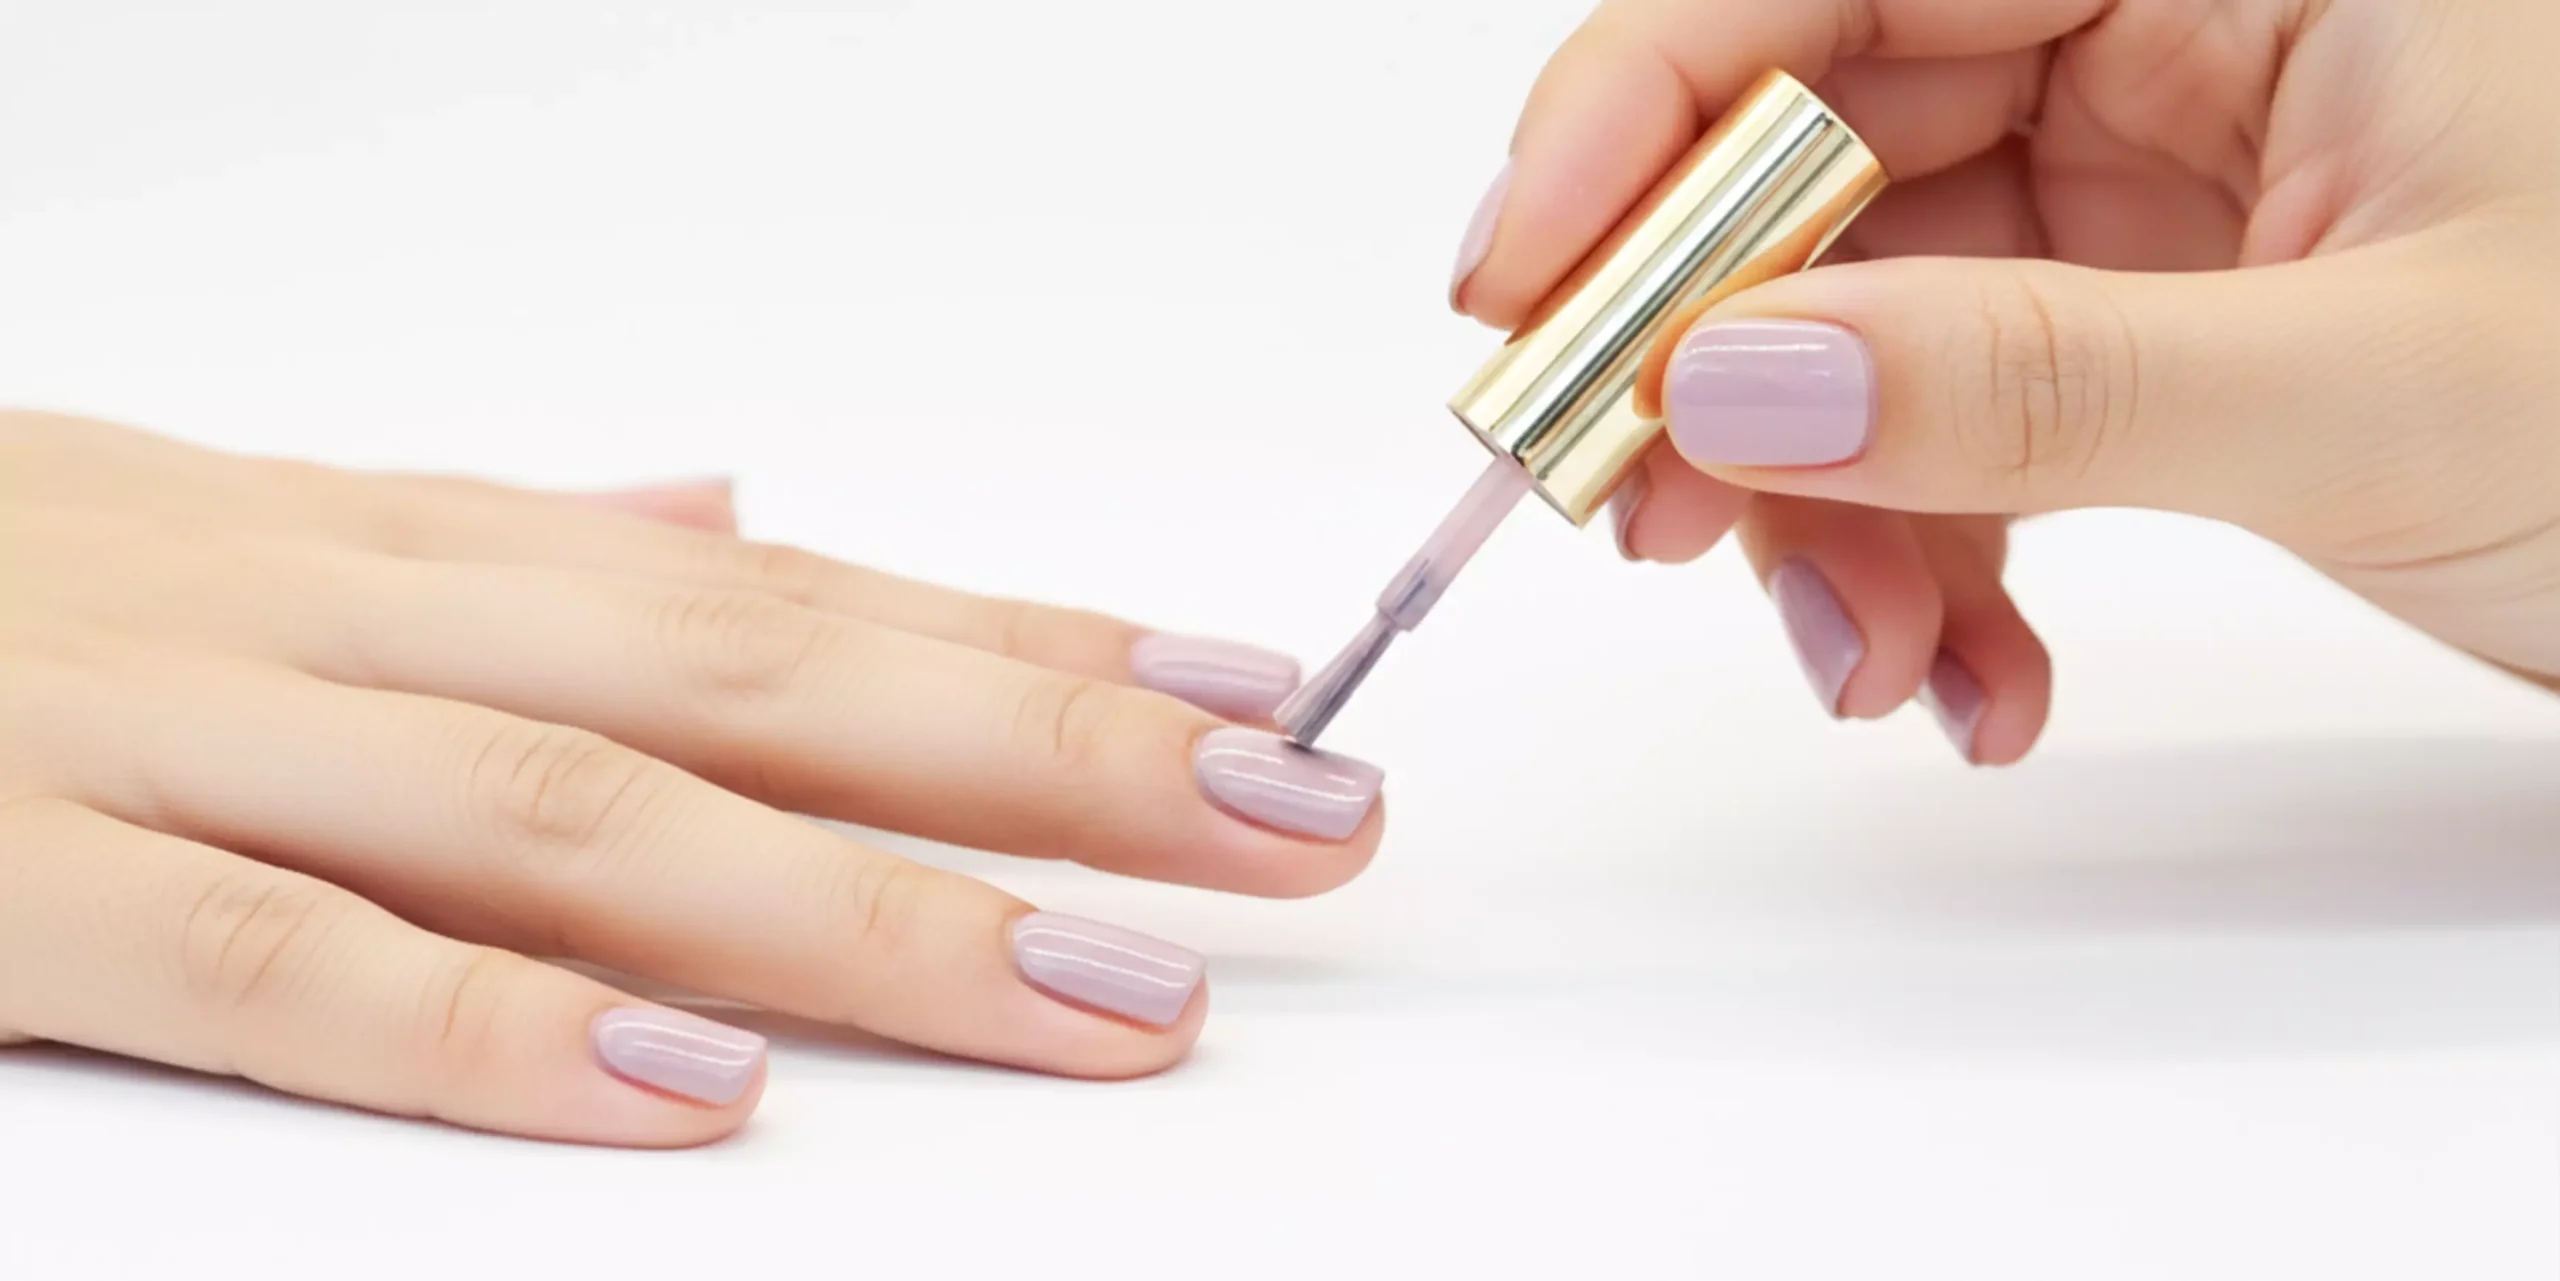
- You’re using too much mano di fondo. It seems counterintuitive, but more isn’t better when it comes to your gel base. You only need a thin, even layer — for a full set of ten nails, you’re really talking about 0.1ml total. Applying too much causes uneven adhesion and prevents proper curing before you’ve even started.
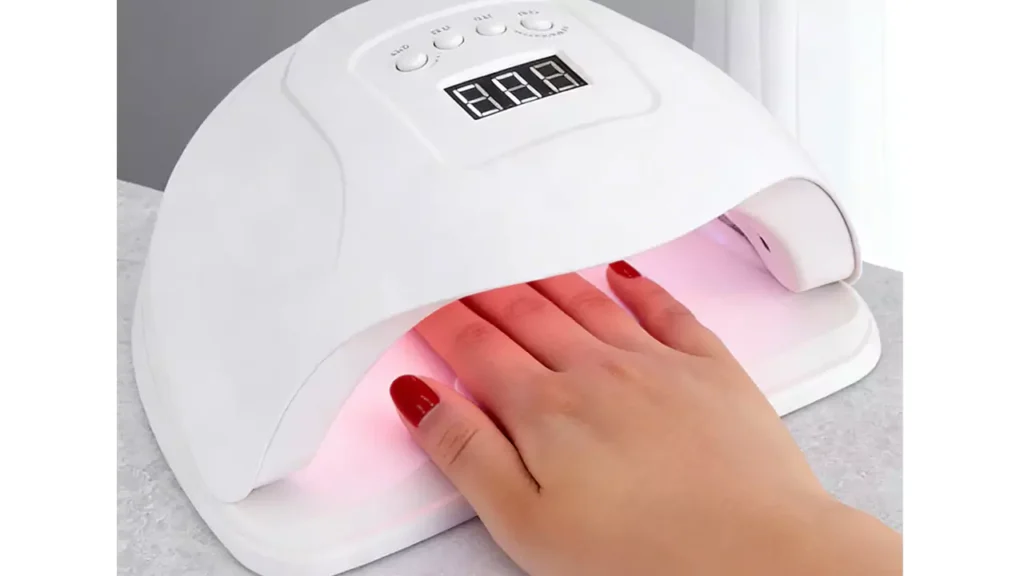
- La lampada non funziona correttamente. Also, gel polish doesn’t dry; it cures. The process of curing is called polymerization. Polymerization is the process where the lamp emits special light that reacts with the gel polish’s molecules, causing them to bond together. However, the lamp should be of the right power and type, with the right bulb not being old. It is recommended that you use a lamp with a power of at least 36W or even more for dark shades. The UV lamp should be changed every three or four months. The Lampada a LED dovrebbe essere controllata una volta all'anno. È inoltre importante assicurarsi che lo smalto gel sia compatibile con il tipo di lampada. Alcuni smalti gel funzionano meglio con i tipi di lampada LED, mentre altri funzionano meglio con i tipi di lampada UV.
- You’re cutting the curing time short. Impostate un timer. Davvero. Ogni strato di gel per unghie ha bisogno di 60-120 secondi sotto la lampada e gli ultimi secondi sono più importanti di quanto pensiate. Estrarre la mano in anticipo, anche di quindici secondi, può lasciare gli strati interni molli.
- Le mani non sono nella posizione corretta. The correct position is with the hands flat on the lamp, with the nails parallel to the lamp’s source of light. The thumbs should also be cured individually so that they are flat on the lamp. If the thumbs are not flat on the lamp, the light will not reach the nails properly, resulting in patchy nails.
2. Perché lo smalto gel si raggrinzisce dopo l'indurimento?
Le grinze o increspature si formano quando la superficie del gel si asciuga con forza mentre il resto degli strati è ancora liquido. Assomiglia a un tentativo fallito di usare la pellicola termoretraibile. È quasi sempre il risultato di due fattori:
- Lo smalto gel era troppo spesso quando è stato applicato. This is particularly true with deep colors like black, navy, or burgundy. The deep color is so thick with pigment that it prevents the UV or LED light from passing through completely. The general rule is two thin coats for colori solidi, and three thin coats for sheers or translucents. The first coat should be almost uncomfortably thin, with the second coat slightly thicker. One thick coat will not work as well as two thin ones, even though it is so tempting.
- Il processo di polimerizzazione è stato interrotto. Se si estrae la mano prima che suoni l'allarme, la superficie della pelle potrebbe essere indurita, ma il gel sottostante potrebbe essere ancora umido e in movimento, causando rughe. Assicuratevi di rispettare sempre il tempo di posa.
- Avete già le rughe?
You’ll need to buff the area back to a smooth surface, wipe it down with a gel cleanser, and apply a thin layer again.
3. Perché il mio gel per unghie ha un aspetto irregolare o granuloso?
That sandpaper-like texture on an otherwise finished nail is one of those problems that feels deeply unfair. Here’s what’s usually behind it.
- Nail dust wasn’t fully removed after filing. Dopo aver lucidato o limato l'unghia, spazzolare sempre la superficie prima di applicare qualsiasi prodotto. Queste minuscole particelle sono quasi invisibili sul momento, ma si evidenziano molto chiaramente una volta sigillate sotto il gel.
- You’re using alcohol to wipe. Alcohol-based solvents tend to have a lot of water content. Water is definitely not a friend to the gel polish. Water will interfere with the adhesion of the gel. In fact, water will leave a texture on the nail once the gel dries. Instead, you should be using a true gel cleaner. Also, make sure you only use the cleaner once on the nail.
- La velocità o la pressione della spazzola è troppo elevata. Lo smalto gel richiede un tocco leggero. Il pennello deve muoversi sull'unghia con un angolo di 45 gradi. Se il pennello è troppo piatto, cioè quasi parallelo all'unghia, il pennello premerà lo smalto gel sull'unghia invece di stenderlo. Se il pennello si muove troppo velocemente sull'unghia, si formeranno delle bolle d'aria. Le bolle d'aria assomigliano alla grana dell'unghia.
- Il tappo della bottiglia presenta un accumulo. Lo smalto gel tende ad accumularsi sul tappo della bottiglia. Ogni volta che si passa il pennello sul flacone, si raccoglie una piccola quantità di gel essiccato. Una rapida passata sul tappo della bottiglia risolverà questo problema.
- Il flacone di gel aperto cattura la luce della lampada. Questo aspetto sorprende le persone, ma se il vostro smalto gel non aperto rimane nel raggio d'azione della vostra lampada UV o LED mentre lavorate, il gel vicino all'apertura può iniziare a polimerizzare parzialmente, creando dei granelli solidi che contaminano il resto del prodotto. Tenete sempre i flaconi aperti lontano dalla lampada.
4. Tiny Bubbles While You’re Still Applying? Easy Fix.
If you notice small air bubbles halfway through your application, don’t worry, and please don’t start again! Just grab a clean brush and run it across your nail in a downward stroke towards the free edge. This will level out your gel and push out those bubbles. Easy!
5. Perché il mio gel si solleva ai bordi?
You did everything right, and a few days later — there it is. A corner lifting. An edge peeling. It’s one of the most disheartening gel polish problems, but it’s almost always preventable.
- Ti sei avvicinato troppo alla pelle. Leave about 0.8mm between your gel polish and the skin at the cuticle and sidewalls. The moment gel touches living skin, it’s going to lift — skin moves and flexes, and gel can’t keep up.
- Prep wasn’t thorough enough. Prima di applicare il gel per unghie, la superficie dell'unghia deve essere leggermente levigata, comprese le pareti laterali: è facile non notarlo, ma è importante. Anche la pelle morta e il tessuto delle cuticole devono essere ripuliti. Un'unghia ben preparata fa la differenza tra una manicure che dura due settimane e una che inizia a sollevarsi già al quarto giorno.
- Troppo prodotto vicino alla base. Una pesante perla di gel in corrispondenza della cuticola si insinuerà nella pelle man mano che la si spalma, provocando un sollevamento quasi immediato una volta polimerizzata. Mantenetelo leggero vicino alla base.
- Si è saltato di tappare il bordo libero. Dopo aver applicato ogni strato di smalto gel, passate il pennello leggermente lungo la punta dell'unghia per sigillarla. Questa singola abitudine riduce drasticamente le sbeccature e la separazione dei bordi, soprattutto se si usano molto le mani durante la giornata.
6. Perché le mie unghie sembrano opache dopo il top coat?
You’ve done the whole thing — base, color, top coat — and the finish is flat. Here’s what went wrong.
- La pulizia non è stata eseguita correttamente. Quando si usa il top coat dello smalto gel, di solito c'è uno strato di inibizione che deve essere rimosso con un detergente per gel. Il trucco per farlo correttamente consiste nel passare un panno pulito su tutta l'unghia, anziché strofinare avanti e indietro. Inoltre, è utile avere un pezzo di cotone pulito per ogni unghia. Se si utilizza lo stesso pezzo di cotone per tutte le unghie, non si fa altro che spostarlo.
- Ti sei pulito le unghie quando erano ancora calde. Lasciare raffreddare le unghie per qualche secondo prima di pulirle. Lo smalto gel caldo non funziona bene. Si spalma facilmente, e questo fa perdere la finitura prima ancora che abbia la possibilità di polimerizzarsi.
- Il top coat era troppo spesso o non si è indurito a sufficienza.. Use two thin layers for your top coat, not one thick one. Curing one coat for two minutes and another for four to six minutes will do the trick. A top coat that does not cure properly simply will not have the shiny, hard finish you’re looking for.
7. Perché il mio top coat in gel si screpola?
Le screpolature, talvolta chiamate "crazing", nello strato di finitura sono generalmente dovute a due problemi.
- Avete applicato solo uno strato sottile. A single coat of top coat doesn’t have enough structural strength for daily wear. Two layers is the standard, full stop.
- Il top coat isn’t flexible enough for your gel polish. Questo è un problema comune con le formule di base no-wipe, che spesso polimerizzano con una finitura rigida e fragile. Poiché lo smalto in gel ha una grande flessibilità naturale, un top coat rigido finirà per rompersi sotto la pressione dell'unghia che si piega. Cercate una formula no-wipe specificamente progettata per tenere conto della flessione, oppure passate a un top coat da cancellare, che in genere offre una migliore durata.
- Le unghie naturali sono sottili o morbide. If the nail plate itself bends easily, the gel layers above it are under constant stress. After your base coat, add a thin layer of clear builder gel or nail strengthener to add rigidity before your color. It makes a bigger difference than you’d expect.
8. Perché mi fa male la mano sotto la lampada?
Heat spikes during curing are real, and they range from a mild warmth to a sharp, stinging sensation. Here’s why it happens.
- Il motivo più comune è la presenza di strati spessi di gel. Thicker gel absorbs more light energy, which converts to heat, and that heat has nowhere to go but into your nail. Thin layers cure with minimal heat — one more reason the “thin coats” rule isn’t just about aesthetics.
- Gel that has touched the surrounding skin also generates heat during curing. Before placing your hand under the lamp, clean up any product that’s spread onto the skin.
- If you naturally have thin nail plates, you’ll feel heat more intensely. Durante la preparazione, la lucidatura deve essere più leggera e si può considerare l'aggiunta di uno strato di gel costruttore sopra la base come tampone.
- Se si verifica un picco di calore a metà polimerizzazione, it’s fine to briefly pull your hand out for a few seconds before going back in. It extends the process slightly but doesn’t ruin anything.
9. Why Won’t My Gel Soak Off?
La rimozione ostinata del gel è quasi sempre dovuta a tre fattori.
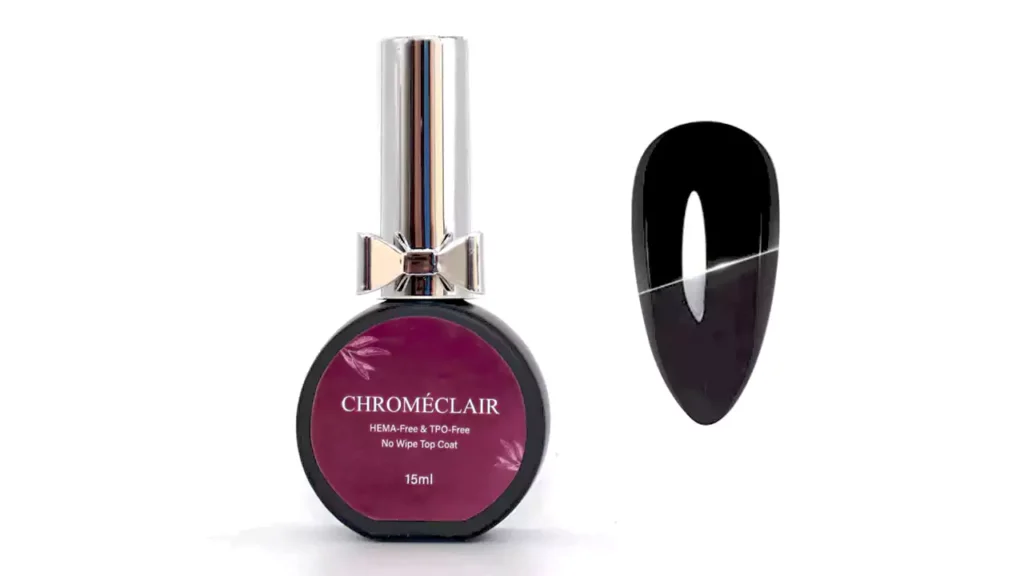
- Avete applicato un top coat che non può essere rimosso. Molti top coat no-wipe sono progettati per gel duri e non possono essere sciolti dall'acetone. Ciò significa che la soluzione per il soak-off non riesce a penetrare fino ai colori. Se lo smalto gel non si stacca, lucidare il top coat con una lima per unghie ruvida prima di applicare l'acetone.(Chroméclair's top coat no-wipe offers excellent longevity, and all of its gel polish formulas are TPO-free & HAMA-free, making them a healthier choice.)
- L'involucro di carta stagnola aveva degli spazi vuoti. Se l'aria può entrare, l'acetone evapora prima di fare il suo lavoro. Tagliare il foglio di alluminio abbastanza grande da avvolgere completamente il polpastrello e chiuderlo senza spazi vuoti. Deve risultare aderente.
- You didn’t wait long enough. Gel polish needs at least five to ten minutes of contact with acetone before it breaks down enough to slide off cleanly. Forcing it off before then doesn’t just leave residue behind — it takes layers of your natural nail with it.
Il bilancio
It seems like every issue with nail gel comes back to the same two rules: layer thickness and curing time. Master those two, and you’ll solve the majority of problems before they ever begin.
Take your time when prepping, be gentle with the polish, and let the lamp do its job. It’s worth it.