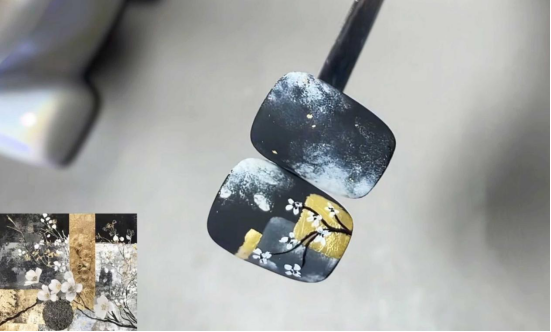
This black and gold floral manicure combines traditional artistic conception with modern nail art techniques. The steps are clear and easy to use. Let’s create fingertip art with unique oriental aesthetics together!
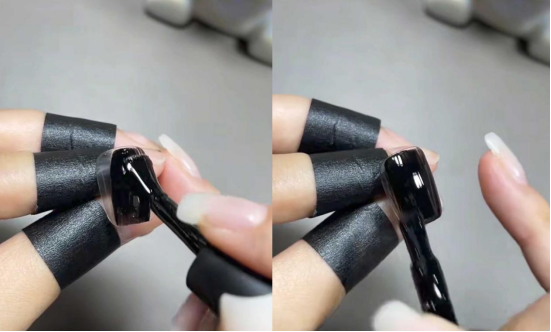
Fase 1: Primer nero e cornice bianca
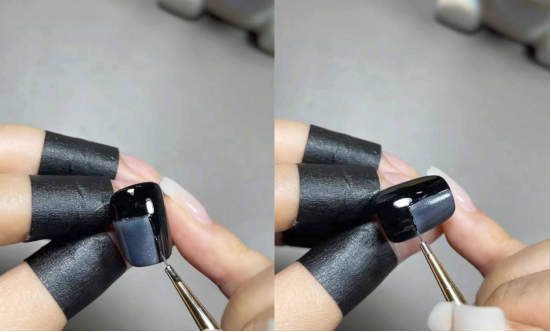
Per prima cosa, applicare lo smalto gel nero su tutta l'unghia (io ho usato CHROMÉCLAIR Smalto gel senza ema N. 811; il colore è perfetto per questo stile e scorre bene, permettendo anche ai principianti di applicarlo in modo uniforme). Applicare due strati e polimerizzare sotto una lampada.
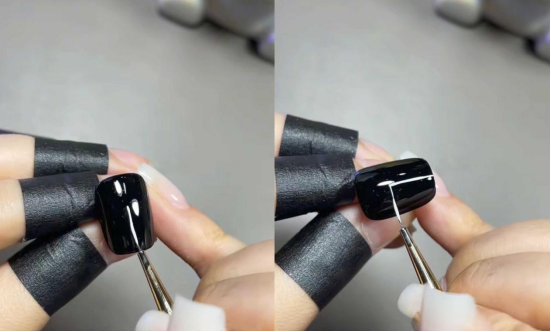
Then use a drawing pen to dip into white pat glue and draw a frame on the nail surface (no need to use a light) – this step is to make the basic layout for subsequent gradients and layers. The lines do not need to be absolutely straight, and retaining the handmade feel has more Chinese style.
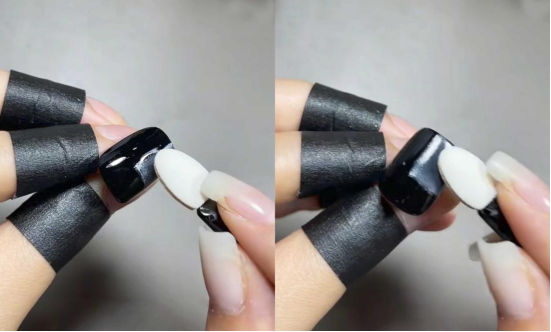
Fase 2: sfumare e impostare con la luce
Recommended next step
Build the Nail Art Look Kit
Tutorial looks need more than a color bottle. Choose the color, art detail, transfer or sticker step, and a top coat as one look kit.
- Choose the main color or set.
- Add the art detail: sticker, transfer gel, magnet, or brush.
- Seal the finished look with top coat.
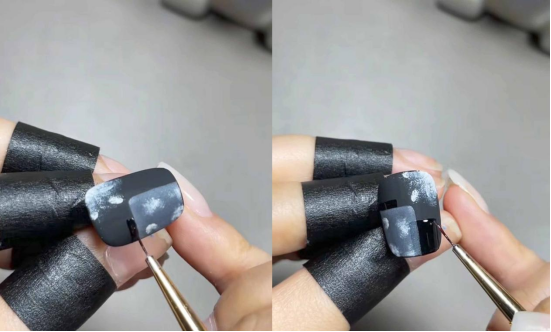
Use an eyeshadow applicator to gently blend the eyeshadow within the white frame to create a natural blending effect. (Don’t worry if the application is uneven; it will create a more hazy effect later.) After applying, hold the eyeshadow under light to set the color.
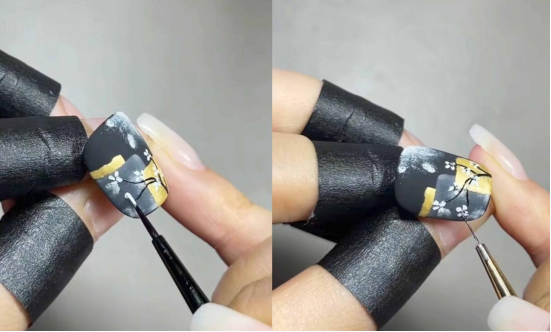
Fase 3: Contornare e stratificare
Use black gel polish (or painting glue) to outline the edges of the white frame, creating a more defined silhouette.
Quindi utilizzare il bianco o il grigio chiaro per creare un effetto screziato all'interno della cornice, simulando gli strati di ombreggiatura della pittura a inchiostro tradizionale.
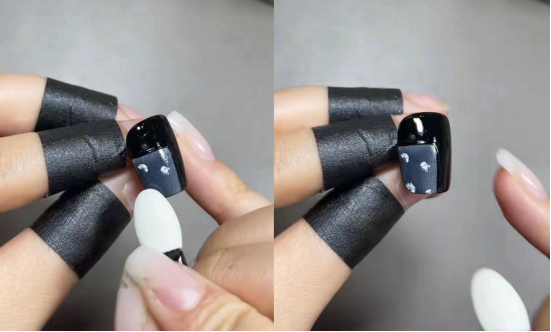
Then use white glue to pat the upper right corner of the nail surface to embellish it, creating a “white space” atmosphere, and then light it up when completed.
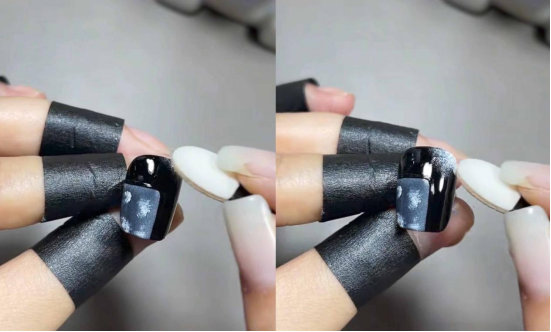
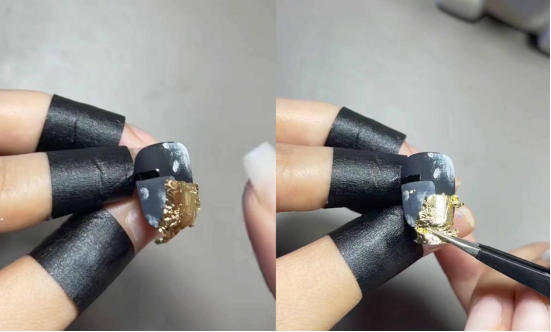
Fase 4: Finitura opaca e trasferimento della lamina d'oro
Applicare un top coat opaco su tutta l'unghia. In questo modo si otterrà una finitura opaca quando si illumina (questo passaggio è fondamentale per ottenere l'effetto vaporoso dello stile cinese tradizionale).
Quindi, con un pennarello, prendere la colla di trasferimento e disegnare un riquadro sull'area in cui si desidera applicare la lamina d'oro.
After shining the light, apply gold foil and use tools to tear off the excess gold foil – the metallic luster of the gold foil collides with the matte background, instantly enhancing the sense of luxury.
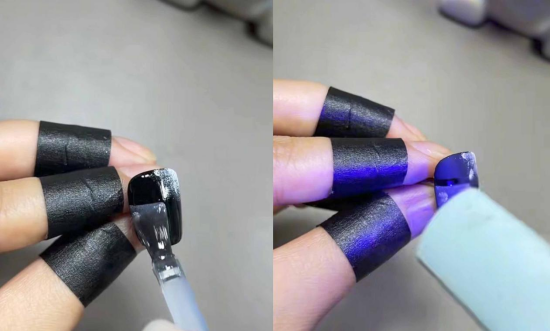
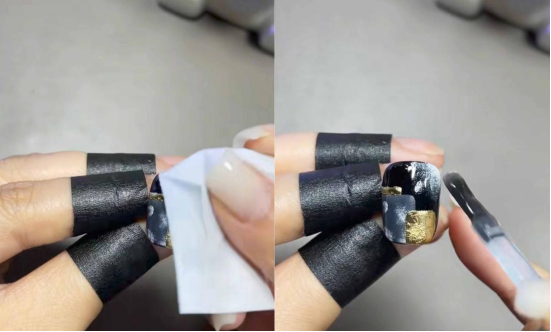
Fase 5: rinforzo e livellamento
Applicare la colla di rinforzo su tutta l'unghia. Capovolgere l'unghia per livellare la superficie dell'unghia (questo renderà la superficie dell'unghia più liscia per la successiva pittura). Quindi, illuminare l'unghia.

Dopo aver applicato lo smalto gel, utilizzare un batuffolo di cotone per eliminare la colla sciolta dalla superficie, che renderà più delicata la texture della superficie dell'unghia. Applicare quindi uno strato di top coat opaco su tutta l'unghia per esaltare la finitura opaca.
Fase 6: seconda carteggiatura e pittura a mano dei fiori
Use washable black paint to draw the branches (using a relatively fine brush), following the direction of the gold leaf to blend in the natural curves of the branches. Curl under a light.
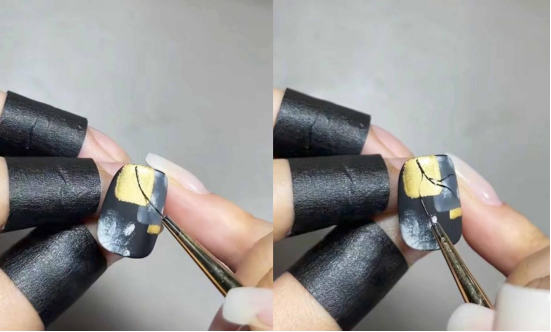
Passare quindi alla colla per pittura bianca senza lavaggio e punteggiare le forme dei fiori intorno ai rami (possono essere piccoli fiori come i fiori di prugno e di ciliegio). Dopo aver acceso la luce, usare il nero per punteggiare il nucleo dei fiori per renderli più vivaci.
Fase 7: illuminazione finale e prodotto finito
Una volta completate tutte le fasi di pittura a mano, illuminare nuovamente le unghie per farle solidificare. Ora la manicure tradizionale in stile cinese è completa, con una combinazione di colori nero e oro, sfumature sfumate, accenti in lamina d'oro e fiori dipinti a mano!
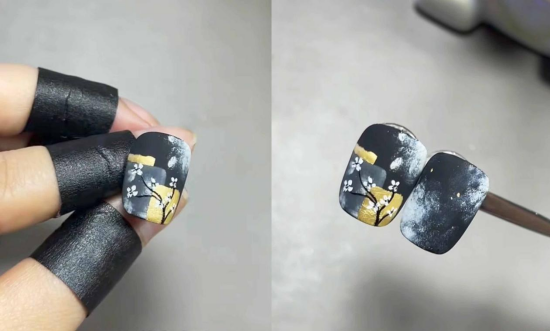
(Suggerimento: Seguire le istruzioni dello smalto gel per ogni fase; quando si dipingono a mano rami e fiori, mantenere le pennellate leggere e naturali, emulando la sensazione di mano libera della pittura cinese tradizionale).
Watching the black and gold blossoms bloom on your fingertips, it’s as if you’re holding an ink painting scroll and the elegance of gold foil in your hands. The unique charm of traditional Chinese manicure unfolds in these details.
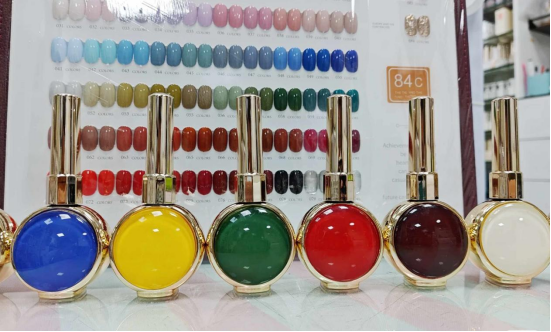
In this tutorial, I used CHROMÉCLAIR’s Smalto gel senza HEMA. Questo prodotto è sicuro, ipoallergenico (senza HEMA, senza TPO) ed ecologico, privo di sostanze irritanti e ingredienti dannosi per la salute delle unghie. Con un'ampia scelta di tonalità che si mantengono al passo con l'estetica di tendenza, potete essere sicure delle vostre unghie e allo stesso tempo avere un aspetto magnifico!
Se riscontrate qualche problema durante il processo, potete guardare il video tutorial qui sotto. Se ritenete che il tutorial sia utile, mettete un "mi piace" e iscrivetevi. Alla prossima volta.