Questa volta creiamo un fresco design per unghie chiamato "Il Mago di Oz", che utilizza il nero come colore di base ed elementi verdi per creare uno stile unico e rinfrescante, perfetto per chi persegue un look naturale e raffinato.

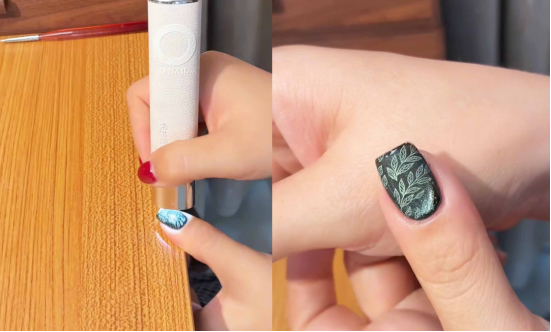
Step 1: Base color and cat’s eye effect
First, apply black gel polish as the base color (here, we are still using our old friend CHROMÉCLAIR’s Smalto gel senza ema N. 03, che ha una buona fluidità e può essere applicato in modo uniforme anche dai principianti).
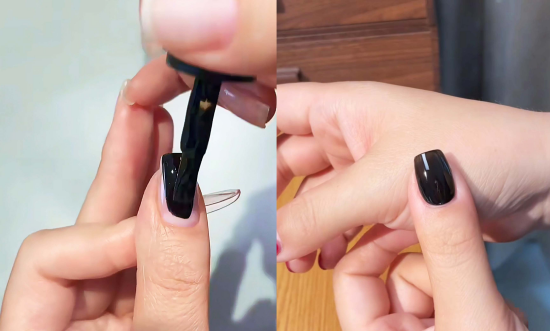
Once dry, apply green cat’s eye gel polish.
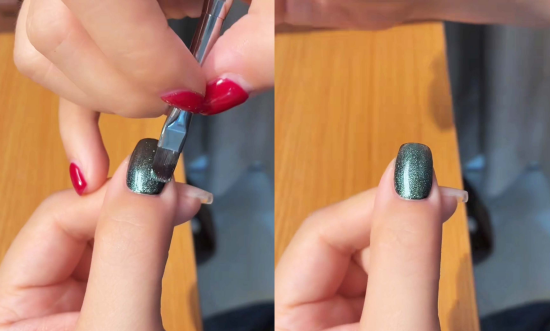
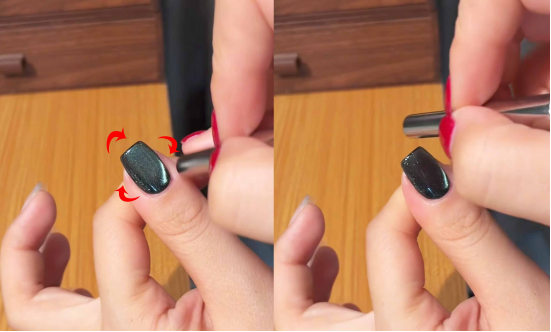
Con una calamita disegnate dei cerchi intorno ai bordi delle unghie, creando un effetto tridimensionale di luci e ombre simile alle "perle di vetro".
Recommended next step
Build the Nail Art Look Kit
Tutorial looks need more than a color bottle. Choose the color, art detail, transfer or sticker step, and a top coat as one look kit.
- Choose the main color or set.
- Add the art detail: sticker, transfer gel, magnet, or brush.
- Seal the finished look with top coat.
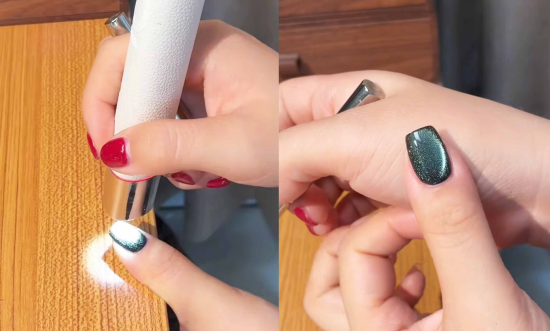
Then cure this layer of gel polish under a lamp to make the cat’s eye texture more durable.
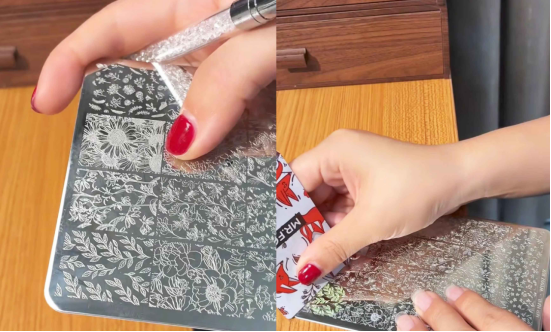
Fase 2: preparazione del modello di trasferimento
Select a nail transfer steel plate with a small leaf pattern, take some light green gel polish, and use a scraper to spread the gel polish evenly over the pattern on the steel plate, ensuring that the grooves of the pattern are filled with gel polish to prepare for the subsequent transfer of a clear pattern.
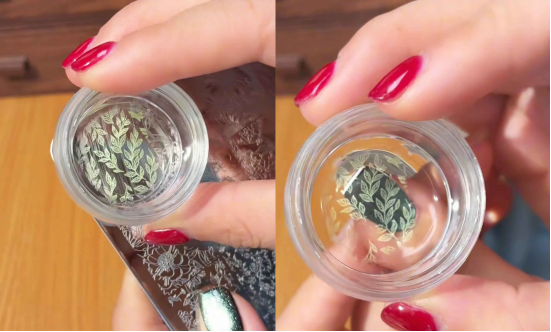
Fase 3: Trasferimento e fissaggio del modello
Premere la colla di trasferimento sull'area del disegno della piastra d'acciaio per rimuovere il disegno della foglia con lo smalto gel verde. Dopo aver scelto una posizione adeguata sulla superficie dell'unghia, premere il timbro con il motivo sulla superficie dell'unghia, assicurandosi che il motivo si adatti perfettamente alla superficie dell'unghia.
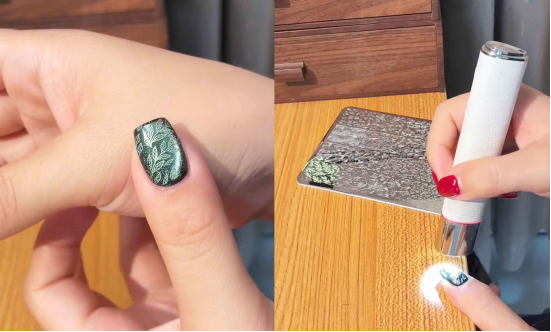
Dopo aver completato la retroilluminazione, il modello di trasferimento viene fissato saldamente sull'unghia.
Passo 4: Top Coat per Shine
Finally, apply a shiny top coat to give your nails extra shine and protect the previous designs and gel polish layers.
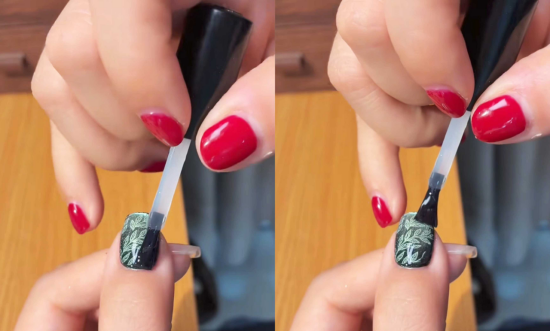
Dopo aver applicato il top coat, polimerizzarlo nuovamente sotto la lampada per aumentare la durata dell'intera manicure.
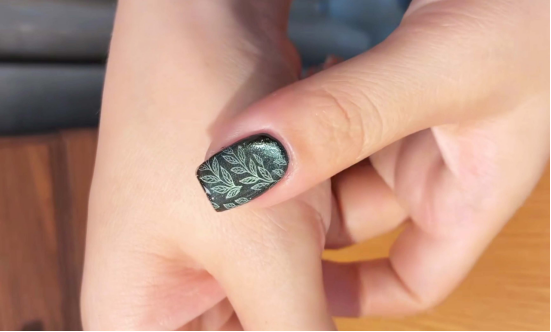
Conclusione
This “Wizard of Oz” manicure is now complete. The black base color is not dull at all, and the green cat’s eye and leaf patterns create a fresh atmosphere. Under polarized light, it also presents a different kind of beautiful luster, adding a natural and refined feel to your fingertips.
Il tutorial utilizza lo smalto gel CHROMÉCLAIR, che punta sulla sicurezza, sulla bassa irritazione, sulla protezione dell'ambiente e non contiene ingredienti nocivi, riducendo il rischio di allergie (Smalto gel senza HEMA). Cura unghie sane, offre un'ampia gamma di colori che si adattano alle estetiche più diffuse e garantisce a ogni consumatore un'esperienza sicura e protetta.

If you have any questions during the process, the video tutorial below provides detailed answers. If you find it useful, don’t forget to like and save it, and subscribe! See you next time!