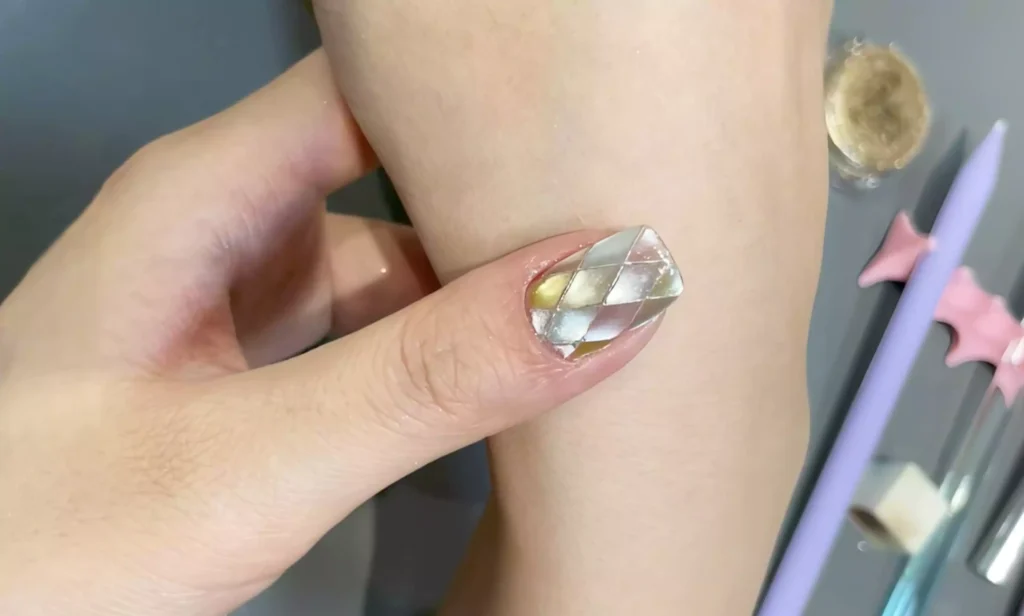
This tutorial shares with you a “checkered cat’s eye manicure” that is perfect for early autumn. It is beautiful and delicate, suitable for both everyday wear and dates or shopping. Without further ado, let’s get started!
First, confirm the tools and materials you need: non-stick powder sanding sealant, white brushed glue, UV/LED lamp, champagne-colored magic mirror powder, base glue, your favorite cat’s eye gel polish glue, glass sealant, nail art brush, etc.
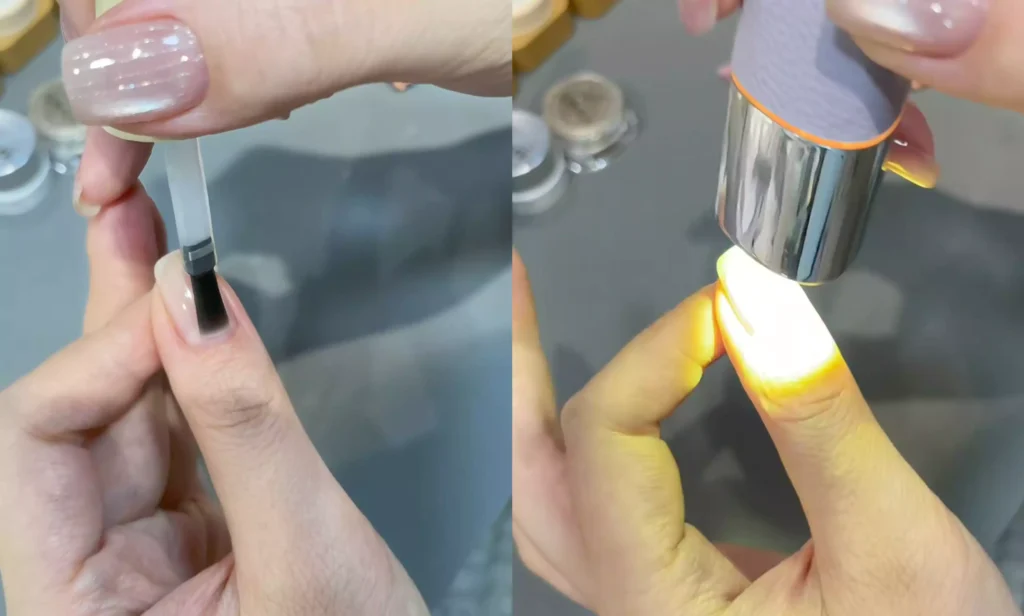
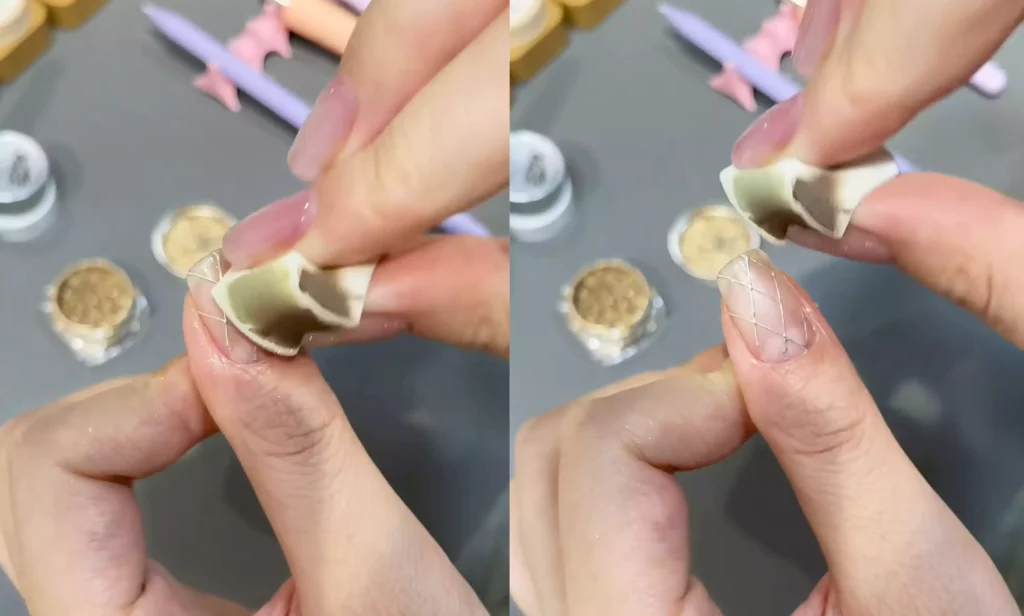
Fase 1: Applicare una polvere antiaderente top coat opaco e curare sotto una lampada
Select a nude-colored gel polish as the mano di fondo, apply it, and cure under a lamp until dry. Then, take the non-stick powder matte top coat and use a nail brush to apply an even layer over the nail surface. Place the nails with the top coat into a UV/LED lamp and cure according to the lamp’s specified time to solidify the top coat.
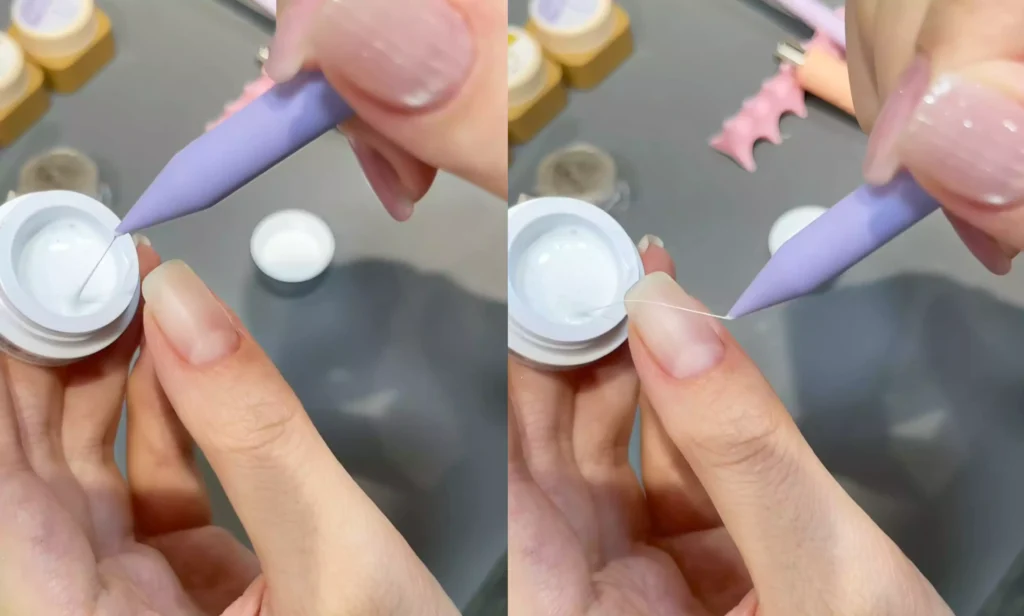
Fase 2: Disegnare linee di griglia bianche e curare sotto la lampada
Recommended next step
Complete the Cat Eye Look
Cat eye gel is not just one bottle. The magnetic effect works best when color, magnet, base, and top coat are chosen as a complete look.
- Apply the cat eye shade over a prepared base.
- Shape the magnetic effect before curing.
- Seal with no-wipe top coat for a glossy finish.
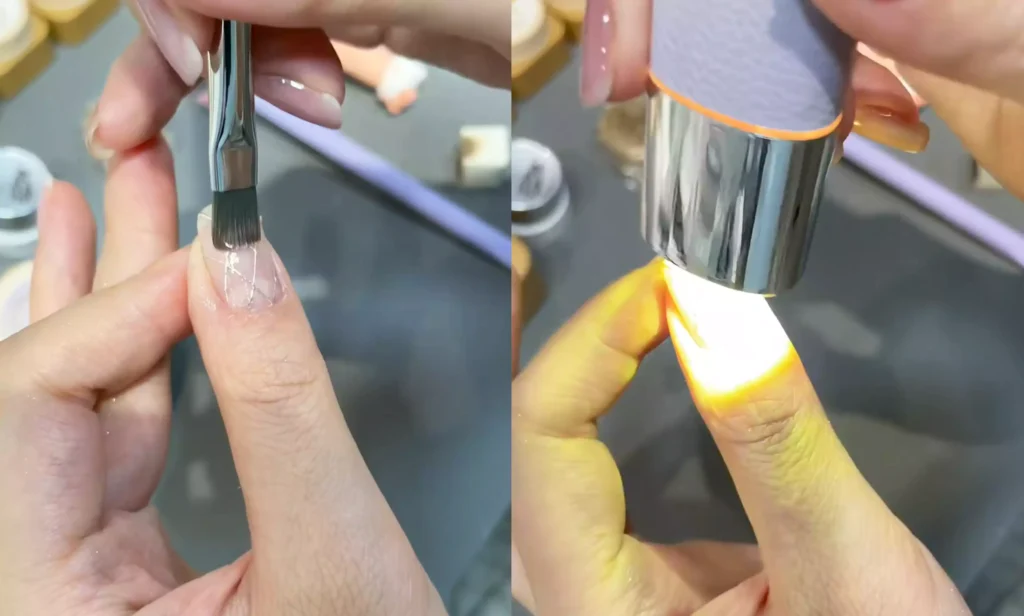
Aprire il contenitore dello smalto gel bianco e con una penna per nail art dalla punta fine intingere una quantità adeguata di smalto gel. Disegnare le linee da un lato all'altro dell'unghia in modo obliquo. Le linee devono essere lisce e di spessore uniforme.
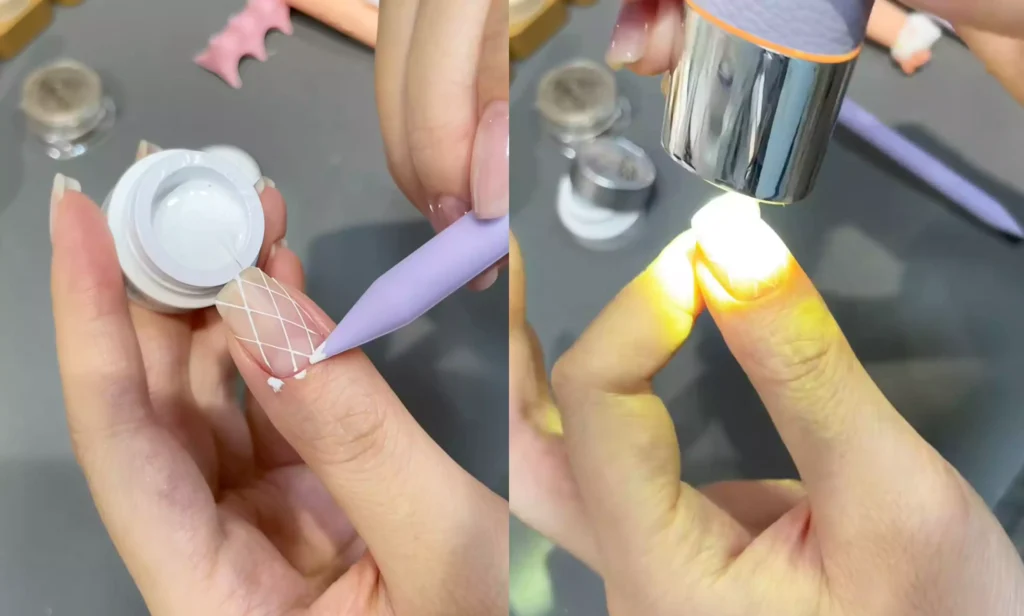
Una volta completate le linee diagonali, passare alla direzione opposta e utilizzare il composto per trafilatura per disegnare nuovamente le linee.

Creare una griglia sulla superficie dell'unghia. Posizionare l'unghia con le linee della griglia disegnate sotto una lampada UV/LED per polimerizzare e fissare la forma del gel per infilare.
Fase 3: Applicazione della polvere per specchi e applicazione della vernice di base
Prendere la polvere di specchio color champagne e strofinarla delicatamente sulla superficie dell'unghia con la punta delle dita o con uno strumento speciale per far aderire la polvere di specchio all'area della griglia, creando una lucentezza metallica.
Prendete la base, immergetevi un pennello per unghie e applicatene uno strato sottile sulla superficie dell'unghia ricoperta di polvere magica a specchio. Lo scopo è quello di coprire la polvere di specchio magico e gettare le basi per le fasi successive. Mettere le unghie rivestite con il base coat sotto una lampada UV/LED per farle asciugare.
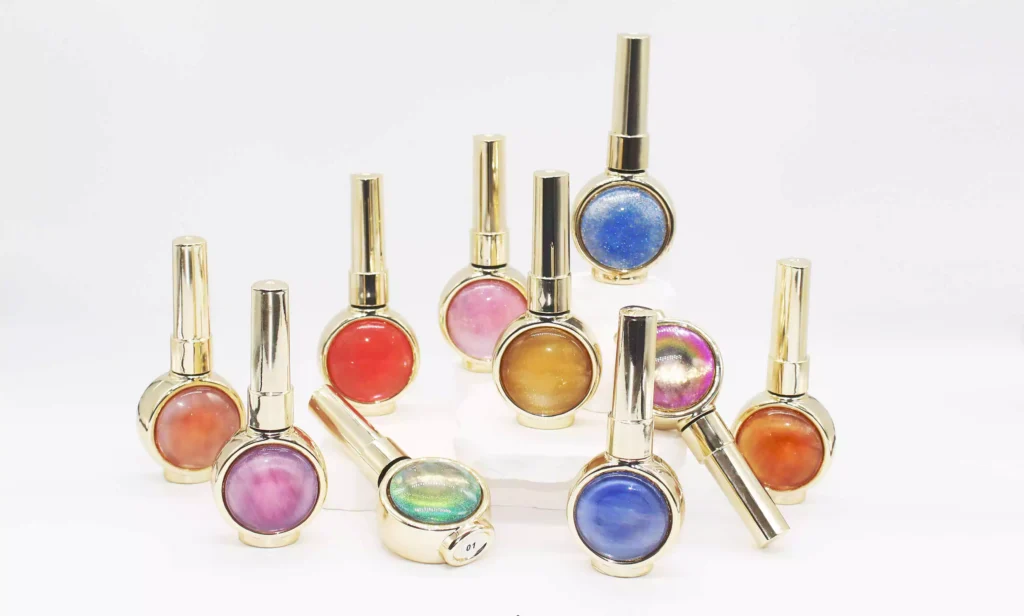
After that, fill in the gaps in the checkered pattern with your favorite cat-eye gel polish (I used CHROMÉCLAIR’s Smalto gel senza ema Serie CE, che è perfetta per questo stile, ha un buon flusso ed è atossica e salutare).
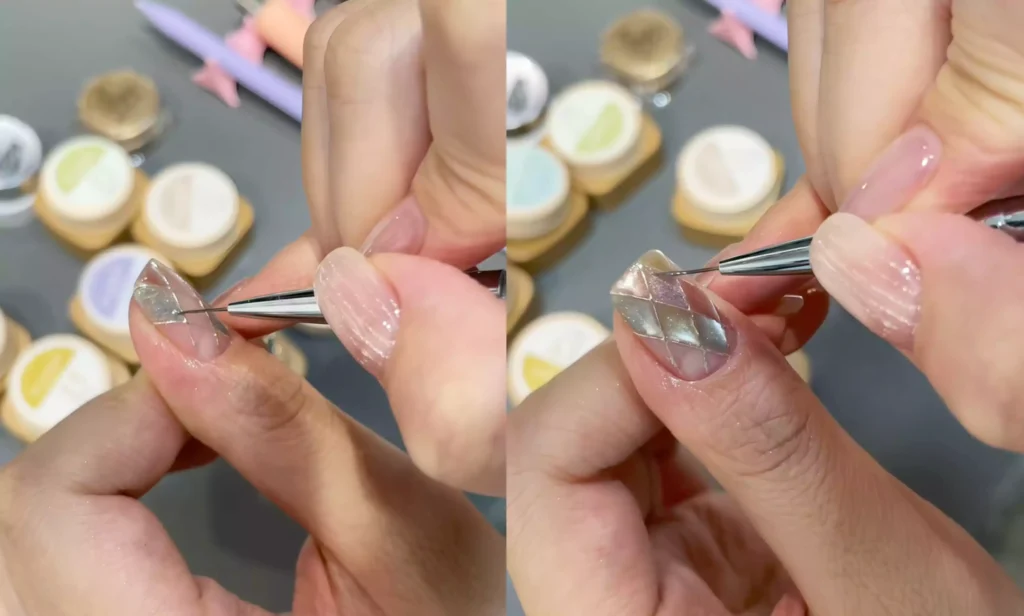
Quando si riempie, assicurarsi che i bordi siano ordinati.
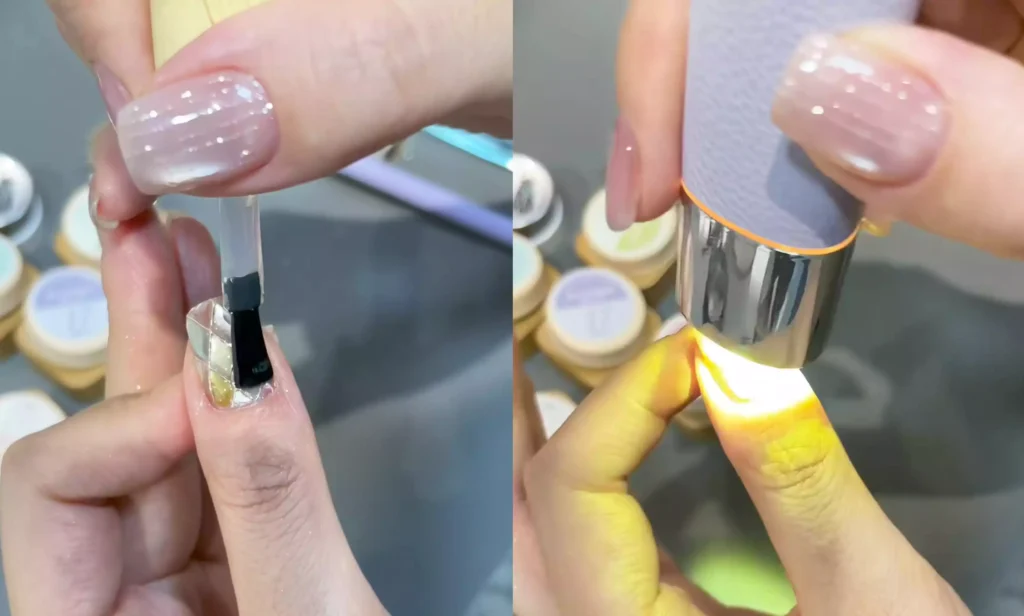
Fase 4: creare un effetto perla di vetro e polimerizzare sotto una lampada
Use a magnet to attach the nail filled with cat’s eye gel at an appropriate angle, creating a three-dimensional glass bead-like light and shadow effect. Place the nail with the attached effect under a UV/LED lamp to cure, allowing the cat’s eye gel to fully cure with the previous coating.
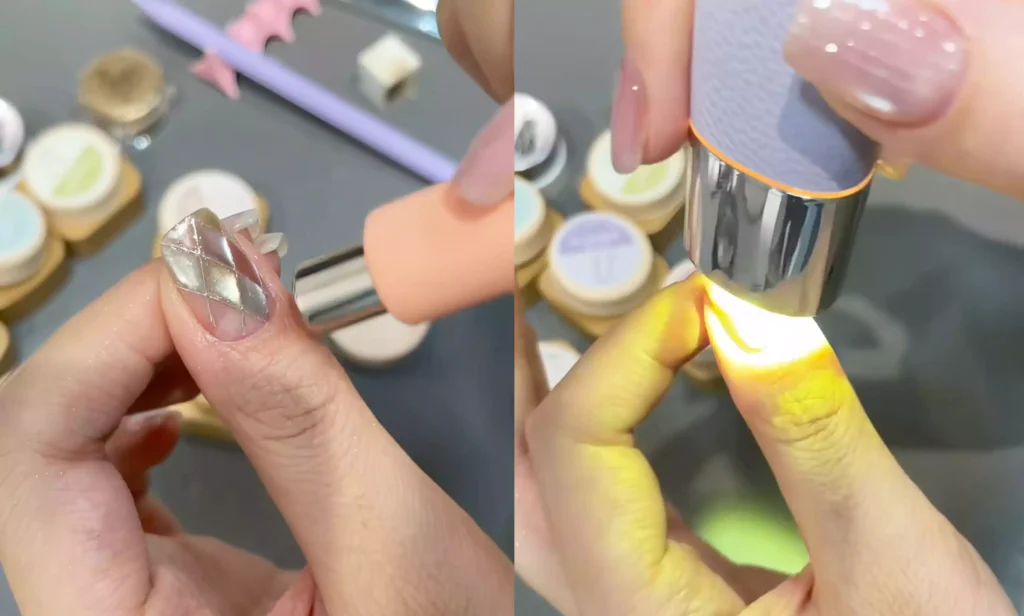
Fase 5: applicazione del sigillante per vetro e polimerizzazione sotto la luce UV/LED
Prendete il sigillante per vetri e utilizzate un pennello per unghie per applicarne uno strato uniforme sulla superficie dell'unghia. Questa fase è un processo di post-costruzione che rende la superficie dell'unghia più liscia e migliora la lucentezza e la durata complessiva. Posizionare le unghie rivestite con il sigillante di vetro sotto una luce UV/LED per polimerizzare il sigillante. Una volta polimerizzata, la ricostruzione unghie a scacchi di inizio autunno è completa.
Seguendo i passaggi indicati, è possibile creare una manicure di inizio autunno che combina un motivo a quadri retrò con un effetto cat-eye da sogno. Dalla base al disegno delle linee, agli accenti di polvere a specchio e al top coat finale, ogni passaggio è studiato per ottenere un effetto manicure raffinato.

Finally, I recommend CHROMÉCLAIR’s Smalto gel senza HEMA. Their products are safe and hypoallergenic (HEMA-free & TPO-free), environmentally friendly, and free of irritating and harmful ingredients, protecting the health of your nails. They offer a wide range of colors that keep up with the latest trends, so you can use them with confidence and look great!
Se riscontrate qualche problema durante il processo, potete guardare il video tutorial qui sotto. Se il tutorial vi è stato utile e vi è piaciuto, ricordatevi di dare un pollice in su, di salvarlo e di abbonarvi a me. Alla prossima!