
Dalla salute delle unghie alle tecniche di applicazione: Evitare le 90% insidie della manicure
Ciao amanti della nail art! Sono Starry. Con otto anni di esperienza approfondita nel settore dei materiali per unghie, dai test sui materiali in prima linea alla consulenza pratica nei saloni di bellezza, ho visto innumerevoli amiche rovinare le proprie unghie sane, rendendole sottili, fragili e persino infiammate o gonfie, tutto a causa della mancanza di conoscenza sulla cura delle unghie, della scelta errata dei prodotti e di tecniche scorrette.
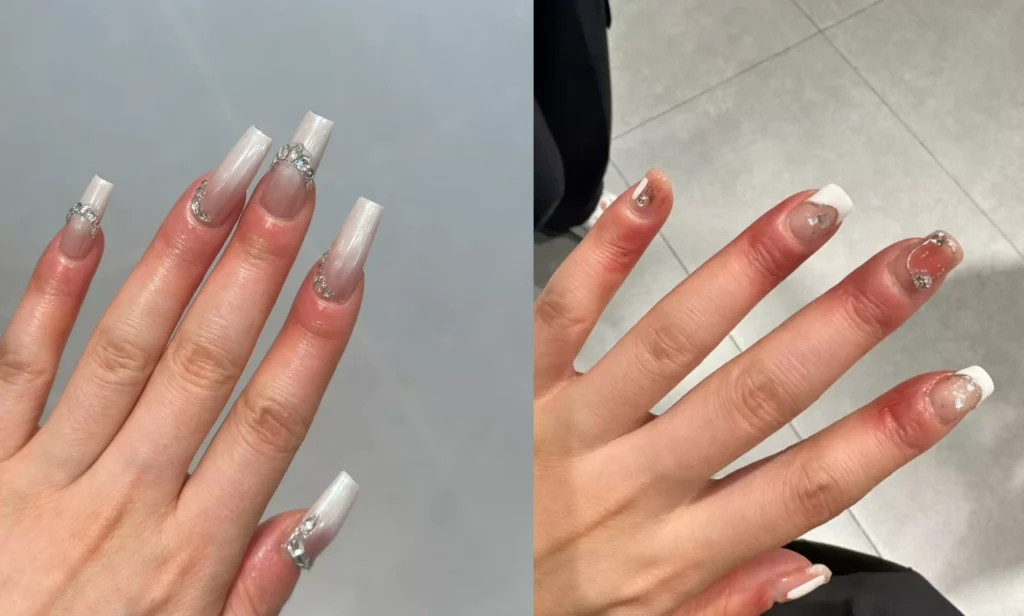
In questo articolo, vado dritta al punto. Basandomi sulla mia esperienza pratica e sulla conoscenza del settore, tratterò tutto, dalla salute delle unghie alla scelta dei prodotti, fino alla corretta applicazione e rimozione. Questa è la tua guida completa per districarti tra tutti i dubbi sulla nail art, aiutandoti ad avere un look alla moda proteggendo le tue unghie naturali!
I. Privilegiare la salute delle unghie prima della manicure: Unghie sane sono il fondamento della bellezza
Molte persone si preoccupano solo dell'aspetto estetico della manicure, trascurando la salute delle proprie unghie naturali. Ricorda, le unghie danneggiate, per quanto delicata sia la decorazione, non possono mantenere una bellezza duratura. Al contrario, ti intrappolano in un circolo vizioso: manicure → unghie danneggiate → unghie più deboli → necessità di ritocchi frequenti. Basandomi su migliaia di casi di unghie che ho trattato nel corso degli anni, assicurati di evitare queste tre principali insidie per la salute delle unghie!
1. Lucidatura eccessiva: il "killer invisibile" delle unghie - 901 persone su 3 commettono questo errore
Ricordo di aver visitato un salone di bellezza partner per un'ispezione e di aver visto un'estetista limare ripetutamente la superficie dell'unghia di una cliente con una lima a grana grossa, arrivando persino ad abradere la zona delle cuticole. La cliente pensava: "Così lo smalto semipermanente durerà più a lungo", ma è un'idea completamente sbagliata!
Passo successivo consigliato
Routine con gel lisciante e a lunga durata
Bolle, sfaldamento, restringimento e opacità sono solitamente problemi del sistema. Realizza la manicure contemporaneamente con la preparazione, la base, il colore e il top coat.
- Preparare la lamina ungueale prima di applicare lo smalto.
- Utilizzare una base coat che si abbini al sistema in gel.
- Completa il lavoro con uno strato di finitura compatibile per una maggiore durata e brillantezza.
Acquista un kit di routine a lunga durataScopri il top coat senza bisogno di puliziaConfronta tutte le routine
La superficie dell'unghia presenta uno strato protettivo. Una limatura eccessiva rimuove direttamente questa "pellicola protettiva", rendendo le unghie sottili, fragili e soggette a rotture. Inoltre, facilita l'invasione di funghi e batteri, causando potenzialmente un'infiammazione del letto ungueale.
Ecco un consiglio pratico (di comprovata efficacia):
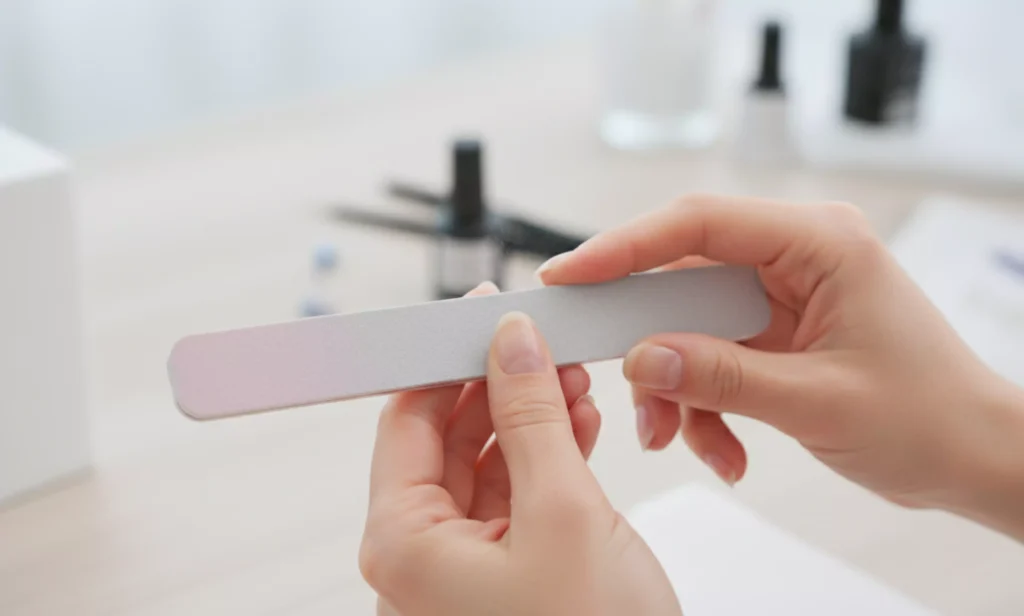
- Durante la preparazione, utilizzare una lima a grana fine (180-240). Levigare delicatamente la superficie dell'unghia quel tanto che basta per rimuovere l'olio e la lucentezza – non è necessario abradere lo strato superficiale.
- Limare in un'unica direzione (dalla cuticola alla punta). Evitate di segare avanti e indietro, che può causare lo sfaldamento e la stratificazione dell'unghia.
- Spingete delicatamente le cuticole all'indietro con uno spingi-cuticole e tagliate con cura solo la pelle morta con un taglia-cuticole. Non tamponare mai la zona delle cuticole.
2. Igiene delle unghie: Un piccolo dettaglio che nasconde un grande rischio per la sicurezza
La pulizia e l'asciugatura delle unghie prima di una manicure influiscono direttamente sul rischio di infezioni successive. Una volta ho avuto una cliente le cui unghie si sono arrossate, gonfiate e pruriginose tre giorni dopo una manicure. Un controllo in ospedale ha confermato un'infezione fungina, riconducibile a residui di crema per le mani sulle unghie che non erano state rimosse accuratamente prima del trattamento.
Le fasi di pulizia corrette sono semplici, ma devono essere eseguite correttamente: Per prima cosa, pulire la superficie dell'unghia con un pad di alcol per rimuovere olio e polvere. Quindi, asciugare con un batuffolo di cotone pulito, assicurandosi che l'unghia sia completamente asciutta prima di procedere. Ricordate: una superficie ungueale umida non solo compromette l'adesione del gel, ma diventa anche un terreno fertile per i batteri.
3. Pianifica un periodo di riposo: concedi alle tue unghie una "pausa" per una bellezza duratura.
Ho molte amiche che cambiano i disegni delle loro unghie quasi settimanalmente, a volte ne fanno un nuovo set subito dopo la rimozione. Con il tempo, le loro unghie diventano sottili come carta e si spezzano al minimo urto. Secondo i dati del settore, fare continuamente la manicure per oltre tre mesi senza interruzioni porta a un tasso di danneggiamento delle unghie pari a 82%.
Il mio consiglio: ogni 4-6 settimane, lasciate riposare le unghie per 1-2 settimane. Durante questo periodo, non applicate smalto semipermanente. Applicate quotidianamente un rinforzante per unghie o un olio nutriente per permettere alle unghie di crescere naturalmente e ripararsi. Non preoccupatevi se sembrano spoglie: un semplice strato di smalto trasparente nutriente le protegge e dona un aspetto pulito e curato.
II. Scegliere i prodotti giusti: La sicurezza prima di tutto, l'estetica in secondo luogo (con consigli provati e testati)
Lavorando nel settore dei materiali per unghie, mi imbatto quotidianamente in diversi smalti semipermanenti e ho visto innumerevoli prodotti "senza marca" contenenti ingredienti nocivi come formaldeide, TPO e HEMA. L'uso prolungato non solo danneggia le unghie, ma può anche influire sulla salute generale attraverso l'assorbimento cutaneo. I miei criteri di selezione dei prodotti si riducono a due cose: sicurezza e praticità.
1. Scegli prodotti certificati, evita la trappola dei marchi sconosciuti.
Per tagliare i costi, molti piccoli saloni per unghie utilizzano smalti gel economici e non regolamentati. Questi prodotti sono spesso privi di test, hanno ingredienti poco chiari, emettono un odore forte e pungente e possono causare l'ingiallimento e la fragilità delle unghie.
Ecco un modo semplice per capirlo: quando acquisti uno smalto semipermanente, controlla sempre la confezione per verificare il nome della marca, il produttore, l'elenco degli ingredienti e i rapporti sui test: sono tutti elementi essenziali. Gli smalti di marche affidabili hanno un odore delicato, polimerizzano correttamente senza lasciare residui appiccicosi e sono meno irritanti per le unghie.
2. Comprendere l'elenco degli ingredienti: Evitare le sostanze nocive, privilegiare le formule nutrienti
Molte persone guardano solo il colore e ignorano l'elenco degli ingredienti. Tuttavia, l'elenco degli ingredienti è fondamentale per giudicare la qualità del prodotto, soprattutto per chi ha la pelle sensibile o le unghie fragili. Prestate molta attenzione a questi punti:
- Evitare gli ingredienti nocivi: TPO (un fotoiniziatore che può irritare la pelle in caso di esposizione prolungata), HEMA (può causare allergie) e formaldeide (una sostanza cancerogena che danneggia le unghie e le vie respiratorie).
- Privilegiate gli ingredienti nutrienti: Gli smalti in gel contenenti ingredienti come squalane, vitamina E o pantenolo possono nutrire le unghie durante la manicure, riducendo i danni.
- Ideale per la pelle sensibile: Cerca smalti etichettati “Smalto gel senza TPO”" E "“Smalto gel senza HEMA.Sono meno irritanti e hanno meno probabilità di causare allergie.
3. Raccomandazione collaudata: Smalto gel CHROMÉCLAIR - Sicuro e bello
Lavorando in questo settore da così tanto tempo, ho utilizzato moltissimi marchi. Lo smalto semipermanente CHROMÉCLAIR è uno di quelli che consiglio sempre ad amici e saloni partner, principalmente perché ho partecipato personalmente ai test dei suoi componenti, quindi la sua sicurezza e praticità sono comprovate.
Il punto di forza principale del loro smalto gel è che è "privo di TPO e HEMA", ovvero privo di questi due componenti potenzialmente irritanti e allergenici. È sicuro per le pelli sensibili e le unghie fragili. Inoltre, si concentra sulla bassa sensibilità e sul rispetto dell'ambiente, con un odore quasi impercettibile all'applicazione e una splendida finitura lucida dopo la polimerizzazione.
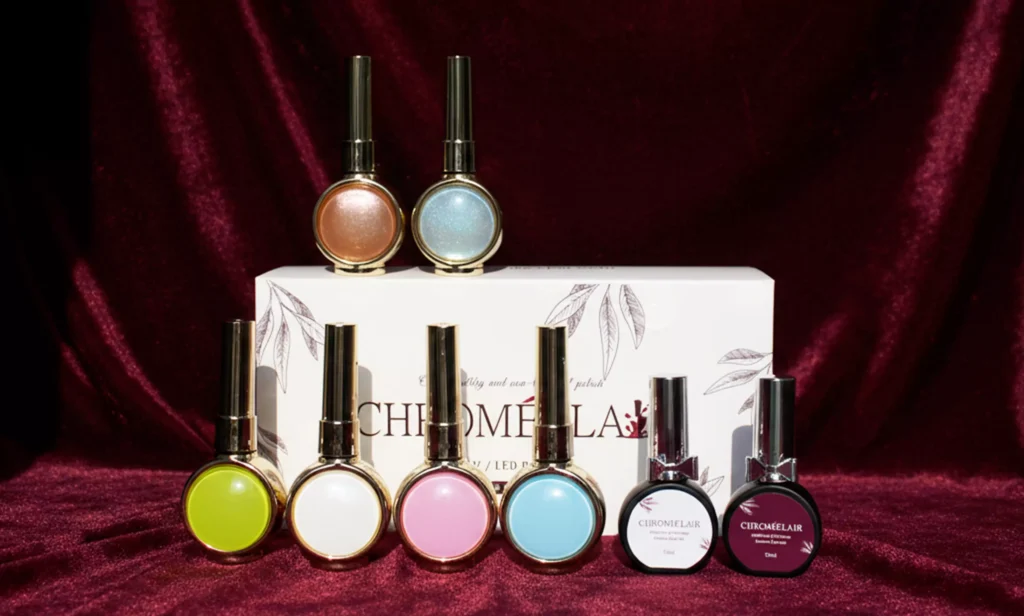
Al di là di questo, i suoi vantaggi sono evidenti: una vasta gamma di colori, dai nudi quotidiani e dai tenui malva ai colori vivaci di tendenza, al passo con l'estetica della nail art attuale. La sua durata è eccellente, con una prova di tenuta di circa 21-35 giorni con normali attività come i lavori domestici e la digitazione. La consistenza è fluida, e quindi facile da applicare anche per le principianti, senza pennellate visibili.
III. Applicazione standardizzata: I dettagli determinano la longevità della manicure e la salute delle unghie
Anche con i prodotti giusti e una buona preparazione dell'unghia, un'applicazione scorretta può rovinare tutto. Ho visto molti casi in cui la tecnica errata di un'estetista ha danneggiato le unghie, causato sfaldamento precoce o addirittura infezioni. Prestate molta attenzione a questi tre dettagli operativi!
1. Sterilizzazione degli strumenti: Una delle principali fonti di infezione crociata: non trascuratela mai
Se gli strumenti per la cura delle unghie (forbici, pinzette, lime, spingiunghie, ecc.) non vengono sterilizzati tempestivamente, possono ospitare batteri e funghi provenienti dalla cliente precedente, causando facilmente infezioni crociate. Ogni volta che vado in un salone, la prima cosa che verifico è se l'estetista sterilizza i suoi strumenti: è un indicatore fondamentale di un salone professionale.
Il metodo corretto: Dopo ogni utilizzo, pulire le superfici degli strumenti con un tampone alcolico 75%. Per gli articoli difficili da pulire, come le lime, è necessario metterli in uno sterilizzatore professionale (come una cabina UV o un'autoclave). Gli strumenti devono essere conservati separatamente per evitare contaminazioni.
2. Qualifica del tecnico: Lasciare che i professionisti facciano il loro lavoro
Un tecnico esperto non si limita a creare bellissimi disegni, ma protegge anche le unghie durante il processo. Una volta ho fatto da mentore a una tecnica principiante che, non avendo familiarità con la corretta preparazione della superficie, applicava lo smalto gel in strati spessi e ripetuti. Questo ha portato alla formazione di uno strato spesso che tendeva a sfaldarsi e ha anche danneggiato la superficie dell'unghia.
Consiglio di scegliere tecnici con certificazioni professionali e almeno tre anni di esperienza. I tecnici qualificati possono adattare le loro tecniche in base alle condizioni dell'unghia. Per esempio, useranno una pressione minore quando lucidano unghie sottili per evitare danni eccessivi.
3. Evitare abbellimenti eccessivi: Sono belli, poco pratici e dannosi.
Molte persone amano decorare le proprie unghie con numerosi strass, perle o complesse sculture 3D, pensando che le rendano più raffinate. Tuttavia, troppe decorazioni aumentano il carico sull'unghia, causando una distribuzione irregolare dello stress e rendendola più soggetta a deformazioni e rotture. I bordi delle decorazioni possono inoltre intrappolare lo sporco, rendendo difficile la pulizia e aumentando il rischio di infezioni.
Il mio consiglio: per l'uso quotidiano, optate per design più semplici con solo uno o due elementi decorativi. Se scegliete un design elaborato, non tenetelo per più di una settimana; rimuovetelo subito per ridurre lo stress sulle unghie.
IV. Rimozione e cura quotidiana: Una finitura forte riporta le unghie in salute
Molti si concentrano solo sul processo di applicazione, trascurando la rimozione e la cura quotidiana successiva. In realtà, una rimozione scorretta può essere più dannosa della manicure stessa. Una cura quotidiana costante mantiene le unghie sane e prolunga la durata della manicure.
1. Rimozione corretta: Non sbucciare o fare leva: la rimozione delicata è fondamentale.
Il comportamento più dannoso che osservo è quello di persone che, trovando difficile rimuovere lo smalto semipermanente, usano forbici o lime ruvide per raschiarlo o staccarlo con la forza. Questo rimuove lo strato superficiale dell'unghia, lasciandola sottile, sensibile e potenzialmente causando onicolisi (separazione della lamina ungueale dal letto ungueale).
Fasi di rimozione corrette (testate per non danneggiare):
- Lucidare delicatamente lo strato superiore dello smalto gel con una lima a grana fine per rimuovere il top coat lucido (questo aiuta il remover a penetrare).
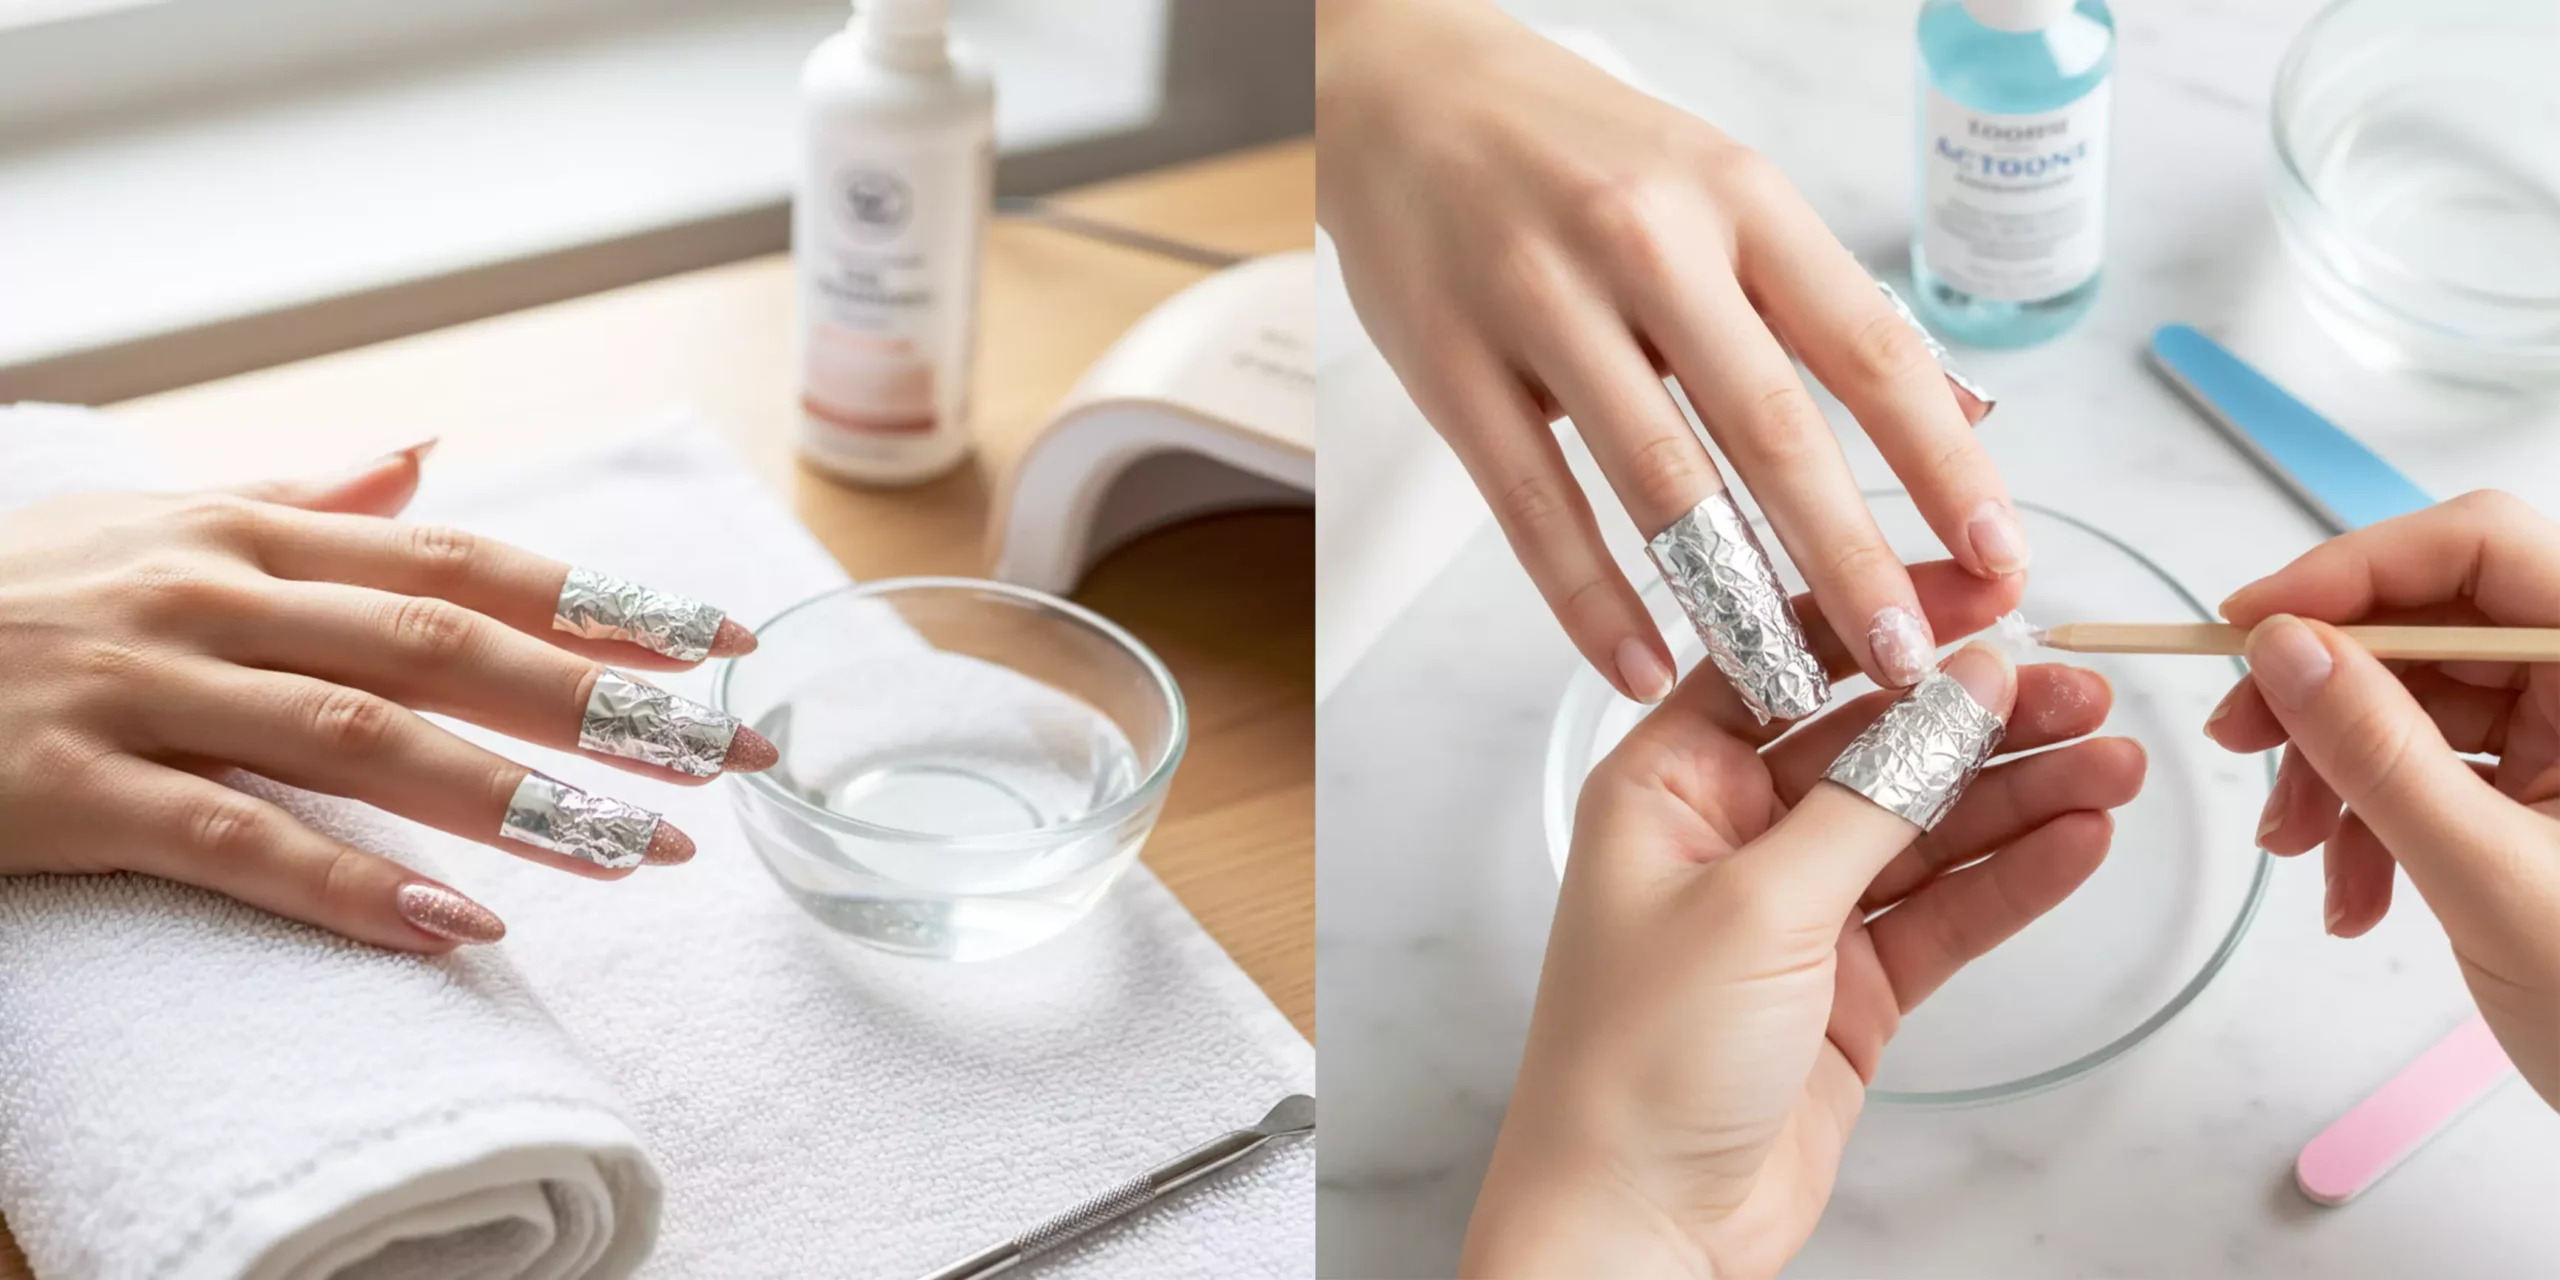
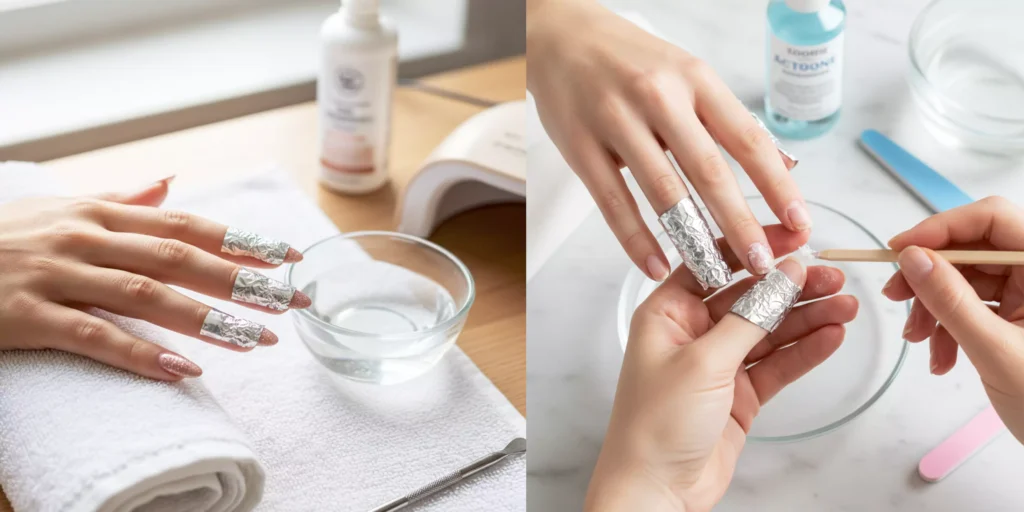
- Imbevete un batuffolo di cotone con un solvente per unghie professionale (a base di acetone), appoggiatelo sull'unghia e avvolgetelo saldamente con un foglio di alluminio. Attendere 10-15 minuti.
- Trascorso il tempo necessario, pulire delicatamente l'unghia. Il gel dovrebbe staccarsi facilmente. Se rimangono dei residui, rimuoverli delicatamente con un bastoncino di legno per cuticole, senza mai grattare con forza.
- Dopo la rimozione, pulire l'unghia con un pad di alcool per rimuovere ogni residuo di remover.
2. Cura post-rimozione: riparazione e nutrimento tempestivi per le unghie
Dopo la rimozione, le unghie sono vulnerabili e necessitano di cure tempestive; altrimenti, continueranno a indebolirsi. Ogni volta che rimuovo lo smalto, seguo una semplice routine di cura:
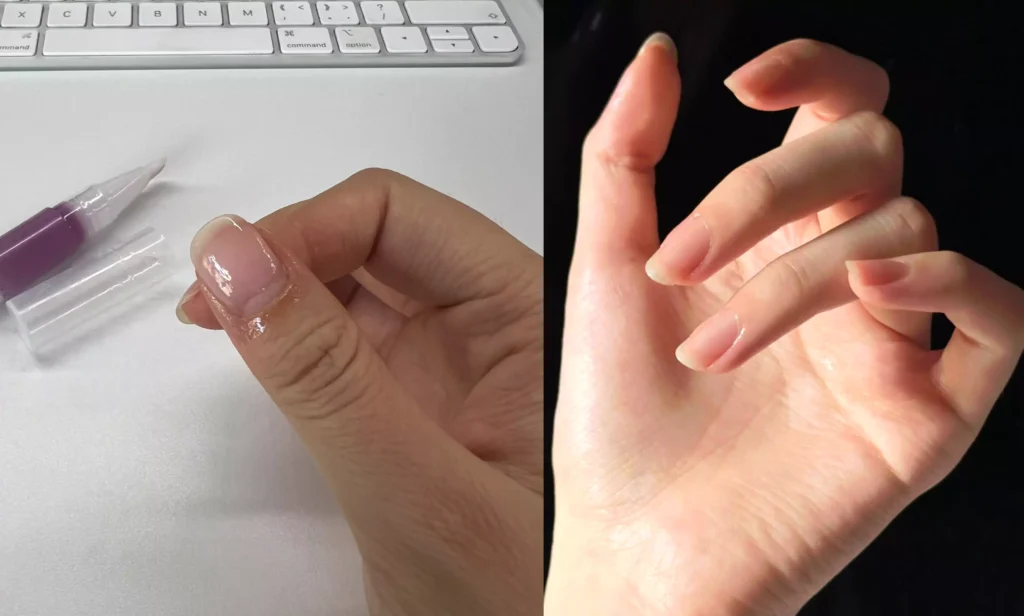
- Applicare l'olio per cuticole, massaggiandolo sulle cuticole e sulla pelle circostante per alleviare la secchezza e prevenire le unghie a penzoloni.
- Applicare un rinforzante o un trattamento nutriente per le unghie, coprendo l'intera lamina ungueale per fornire sostanze nutritive e riparare la superficie.
- Continuare ad applicare il trattamento per unghie 1-2 volte al giorno per 3-5 giorni per aiutare le unghie a recuperare rapidamente.
3. Cura quotidiana: piccole abitudini per manicure più durature e unghie più sane
Dopo aver fatto la manicure, prestare attenzione ai piccoli dettagli quotidiani può prolungarne notevolmente la durata e proteggere le unghie. Ricordate questi punti:
- Evitare le sostanze chimiche aggressive: Indossare sempre guanti di gomma durante i lavori domestici (lavare i piatti, il bucato) per evitare che le unghie vengano a contatto diretto con detersivi e detergenti. Queste sostanze possono corrodere lo smalto gel e danneggiare le unghie.
- Attenzione agli impatti: Le unghie sono un po' più vulnerabili dopo la manicure. Evitate di farle sbattere contro oggetti duri (come aprire porte o sollevare oggetti pesanti) per evitare rotture o scheggiature.
- Rifinitura regolare: Anche con la manicure, tagliate regolarmente le unghie per mantenere una lunghezza adeguata (bordo libero consigliato non più lungo di 1 cm). In questo modo si evita una leva eccessiva che può portare alla rottura.
V. Uno sguardo al futuro: il futuro della manicure punta su "salute e praticità"“
Nei miei otto anni di esperienza, ho assistito a una chiara evoluzione del settore: da una ricerca puramente estetica a una crescente attenzione alla salute, alle formule ipoallergeniche e alla praticità. Osservando le tendenze attuali, ho un'ipotesi: la "skinificazione delle unghie" o "manicure trattanti" diventeranno la norma.
Ciò significa integrare profondamente la manicure con la cura delle unghie. Gli smalti semipermanenti non saranno solo sicuri e ipoallergenici, ma saranno arricchiti con ingredienti più nutrienti, che tratteranno continuamente le unghie durante l'applicazione. Applicazione e rimozione diventeranno più pratiche, grazie a innovazioni come le formule peel-off o ad asciugatura rapida, che soddisferanno il nostro desiderio di bellezza riducendo al minimo i danni durante la rimozione.
Naturalmente, ciò richiede una continua innovazione da parte dell'industria dei materiali per unghie, al fine di sviluppare prodotti più sicuri e pratici. Richiede inoltre che noi, in quanto consumatori, adottiamo una mentalità che privilegi la salute e poi la bellezza, rendendo la manicure una scelta di vita sana e alla moda.
Infine, vorrei chiederti…
Avete mai avuto problemi alle unghie o allergie legate alla manicure? Qual è la vostra priorità principale nella scelta dei prodotti per le unghie? Condividete pure le vostre esperienze e opinioni nei commenti! Scambiamoci consigli sulla cura e la bellezza delle unghie e diventiamo "bellissime"! e Appassionate di nail art "sana", riunite!
 English
  Spanish
  German
  French
  Italian
  Dutch
Dutch